Brownies: the final recipe
Translated by  Alison Isherwood
— 6 years ago
Alison Isherwood
— 6 years ago
Blog: Translation blog by Alison in EnglishTags: Erasmus recipes
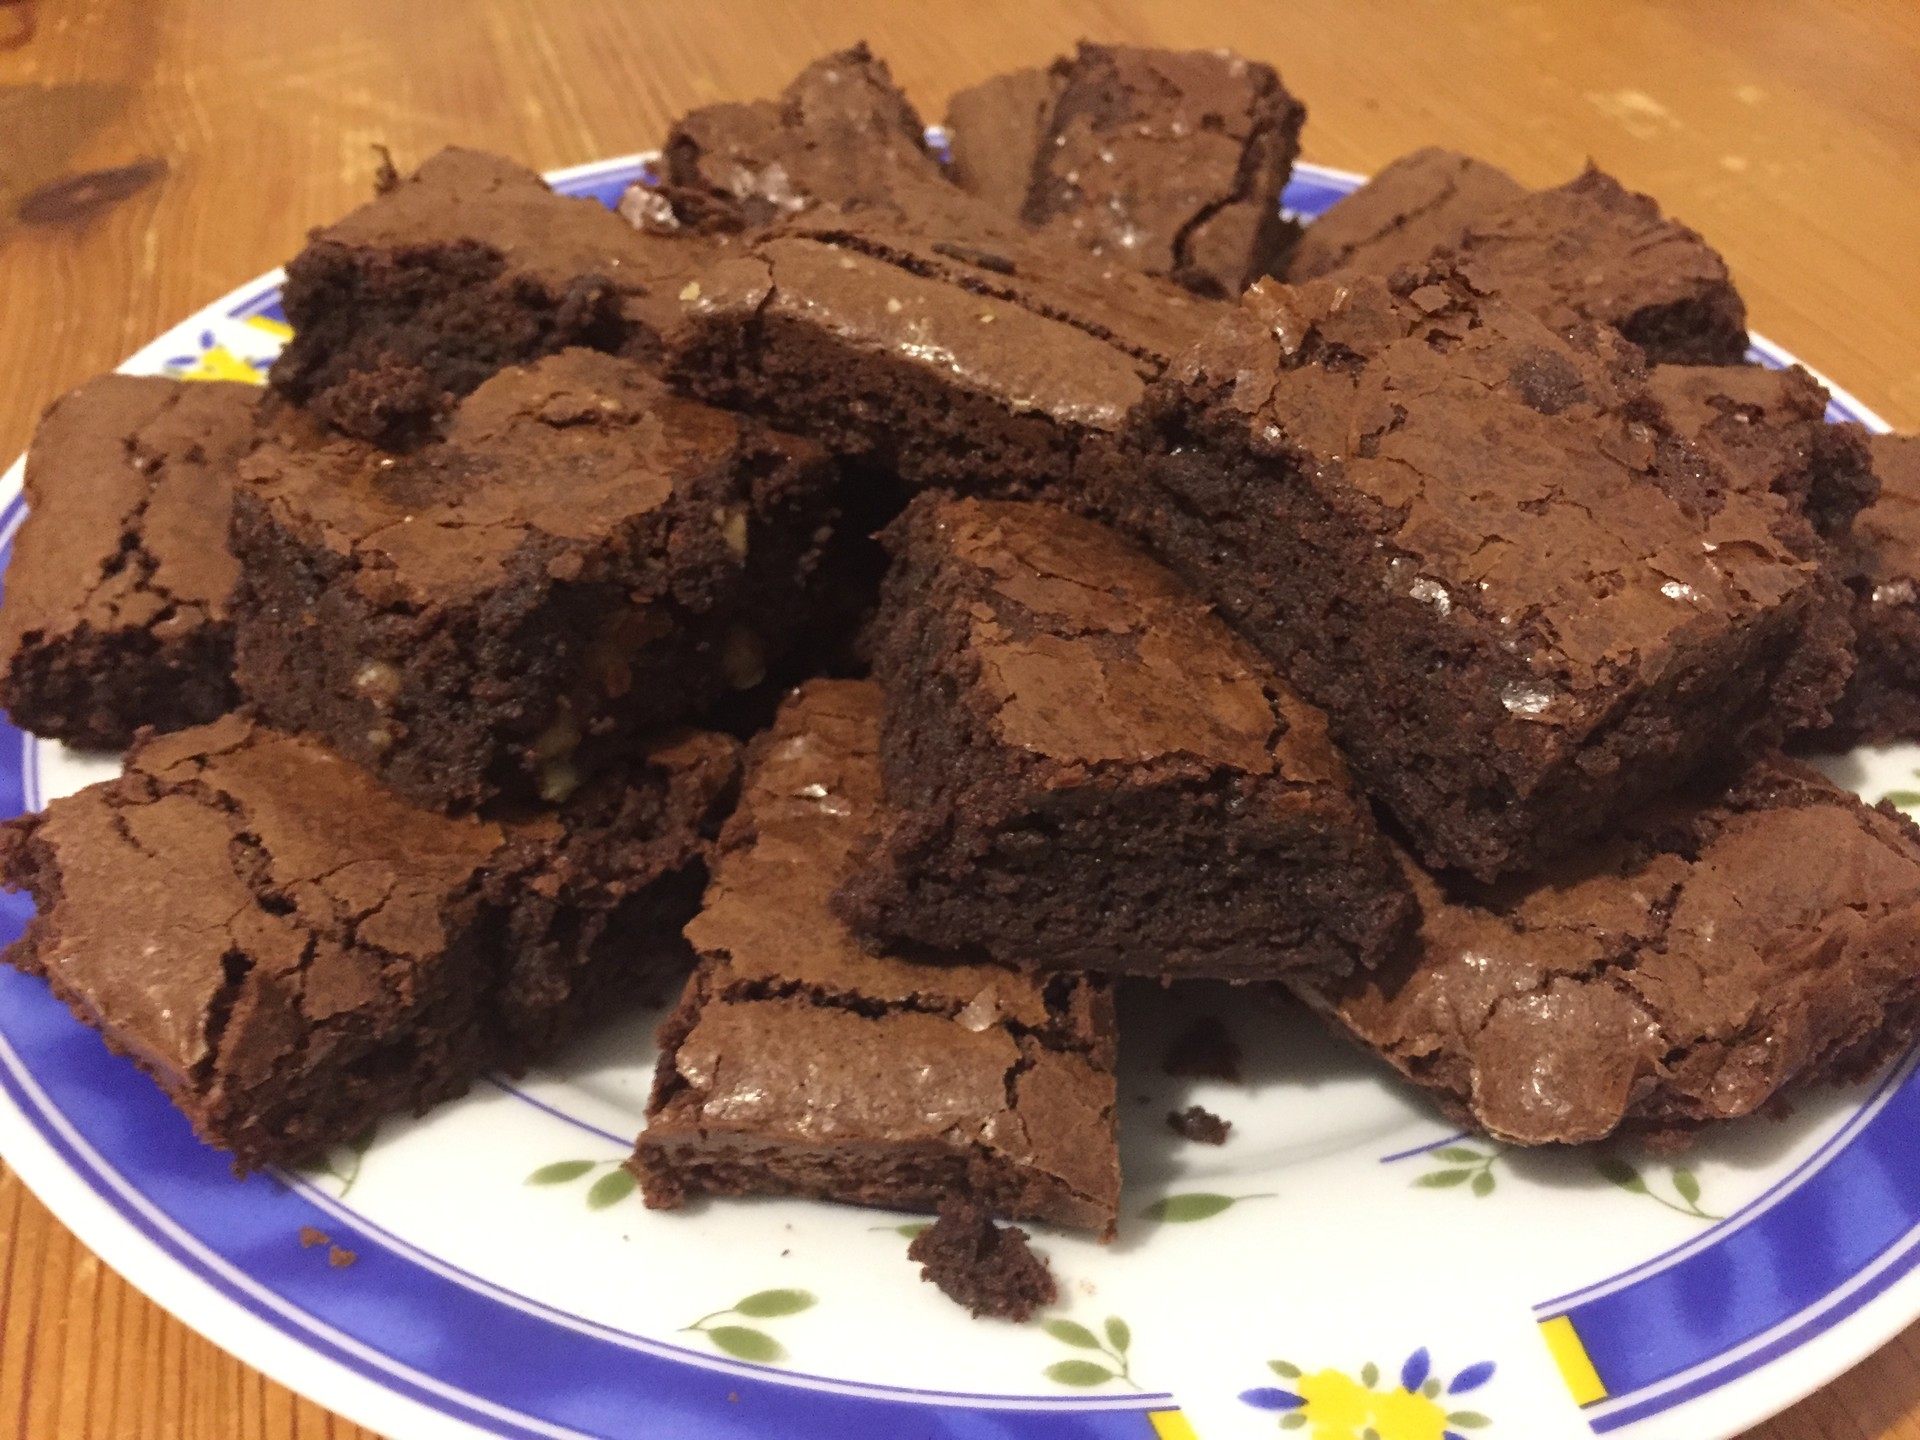
Today, I bring you the recipe to make the best and crispiest, most flavoursome and delicious home-made brownies that have ever been made.
After many attempts with different recipes, I finally give you the final one. With this recipe, you will never again return to eating brownies from a box or industrially-made brownies, because this recipe is truly very simple, without strange mixtures or ingredients, only brownies in their purest form.
Is there anything better in life than some well-made brownies? Maybe brownies served with a scoop of mint chocolate chip ice-cream, but apart from this there is nothing better than some crispy, flavoursome and delicious home-made brownies.
This recipe was given to me by a friend, after many failed attempts with other recipes. I have to admit that I have been able to make some quite good brownies with some of the other recipes, but nothing compared to these.
They are very crispy on the outside, and very smooth and sweet on the inside. Sweet, but not too sweet, and mouth-watering like nothing else.
A good brownie should be crispy and light at the same time, otherwise they are not brownies but a sponge cake.
Sponge cakes tend to be spongy and soft, and rise a lot, but brownies should have a texture that is as crispy on the outside as it is doughy on the inside, with little crispy bits on the inside as well due to the chocolate chips and/ or pieces of nuts.
Firstly, I have to advise you that this recipe is full of calories, as it uses all the chocolate and sugar possible, so if you're looking for something healthy, this isn't the recipe for you (sorry not sorry).
I don't know how many of you will already know the basic ingredients to make brownies, but there are four in total: chocolate, eggs, flour and sugar (as you can see, you don't use milk). The consistency and flavour of the brownies can change depending on the quantities that you use of each ingredient.
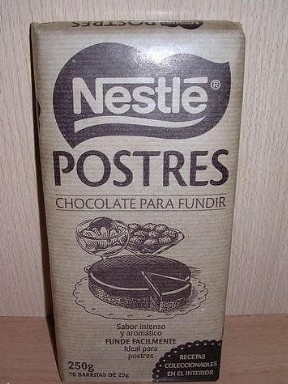
In my opinion, I believe that the most important ingredient in the recipe is the chocolate, which is why I recommend you choose a good brand of special chocolate to use for desserts (usually Nestlé is one of the best), and the chocolate should only be dark chocolate, not milk chocolate; this will ruin the texture and, above all, the flavour.

Never forget that recipes are to be followed exactly, to the T, otherwise they wouldn't exist, unless you are a phenomenal chef and you know how to improvise. Although, I do have to admit that when you have experience cooking the same dessert many times, in the end you know what measurements make it the most delicious, and to get to this point, you have to try adding "a little more of this", and then the next time "more of this" and "less of that".
But all in all, in this instance, this recipe for crispy, flavoursome and delicious brownies is the perfect one.
Here we go!
Ingredients:
- 115 grams of salted butter
- 228 grams of melting chocolate
- 150 grams of regular sugar
- 50 grams of brown sugar
- 3 large eggs
- 1 teaspoon of vanilla extract
- 80 grams of flour
- 11 grams of cocoa powder
- A pinch of salt
- Another recommendable option: 100 grams of chocolate chips and nuts
Method:
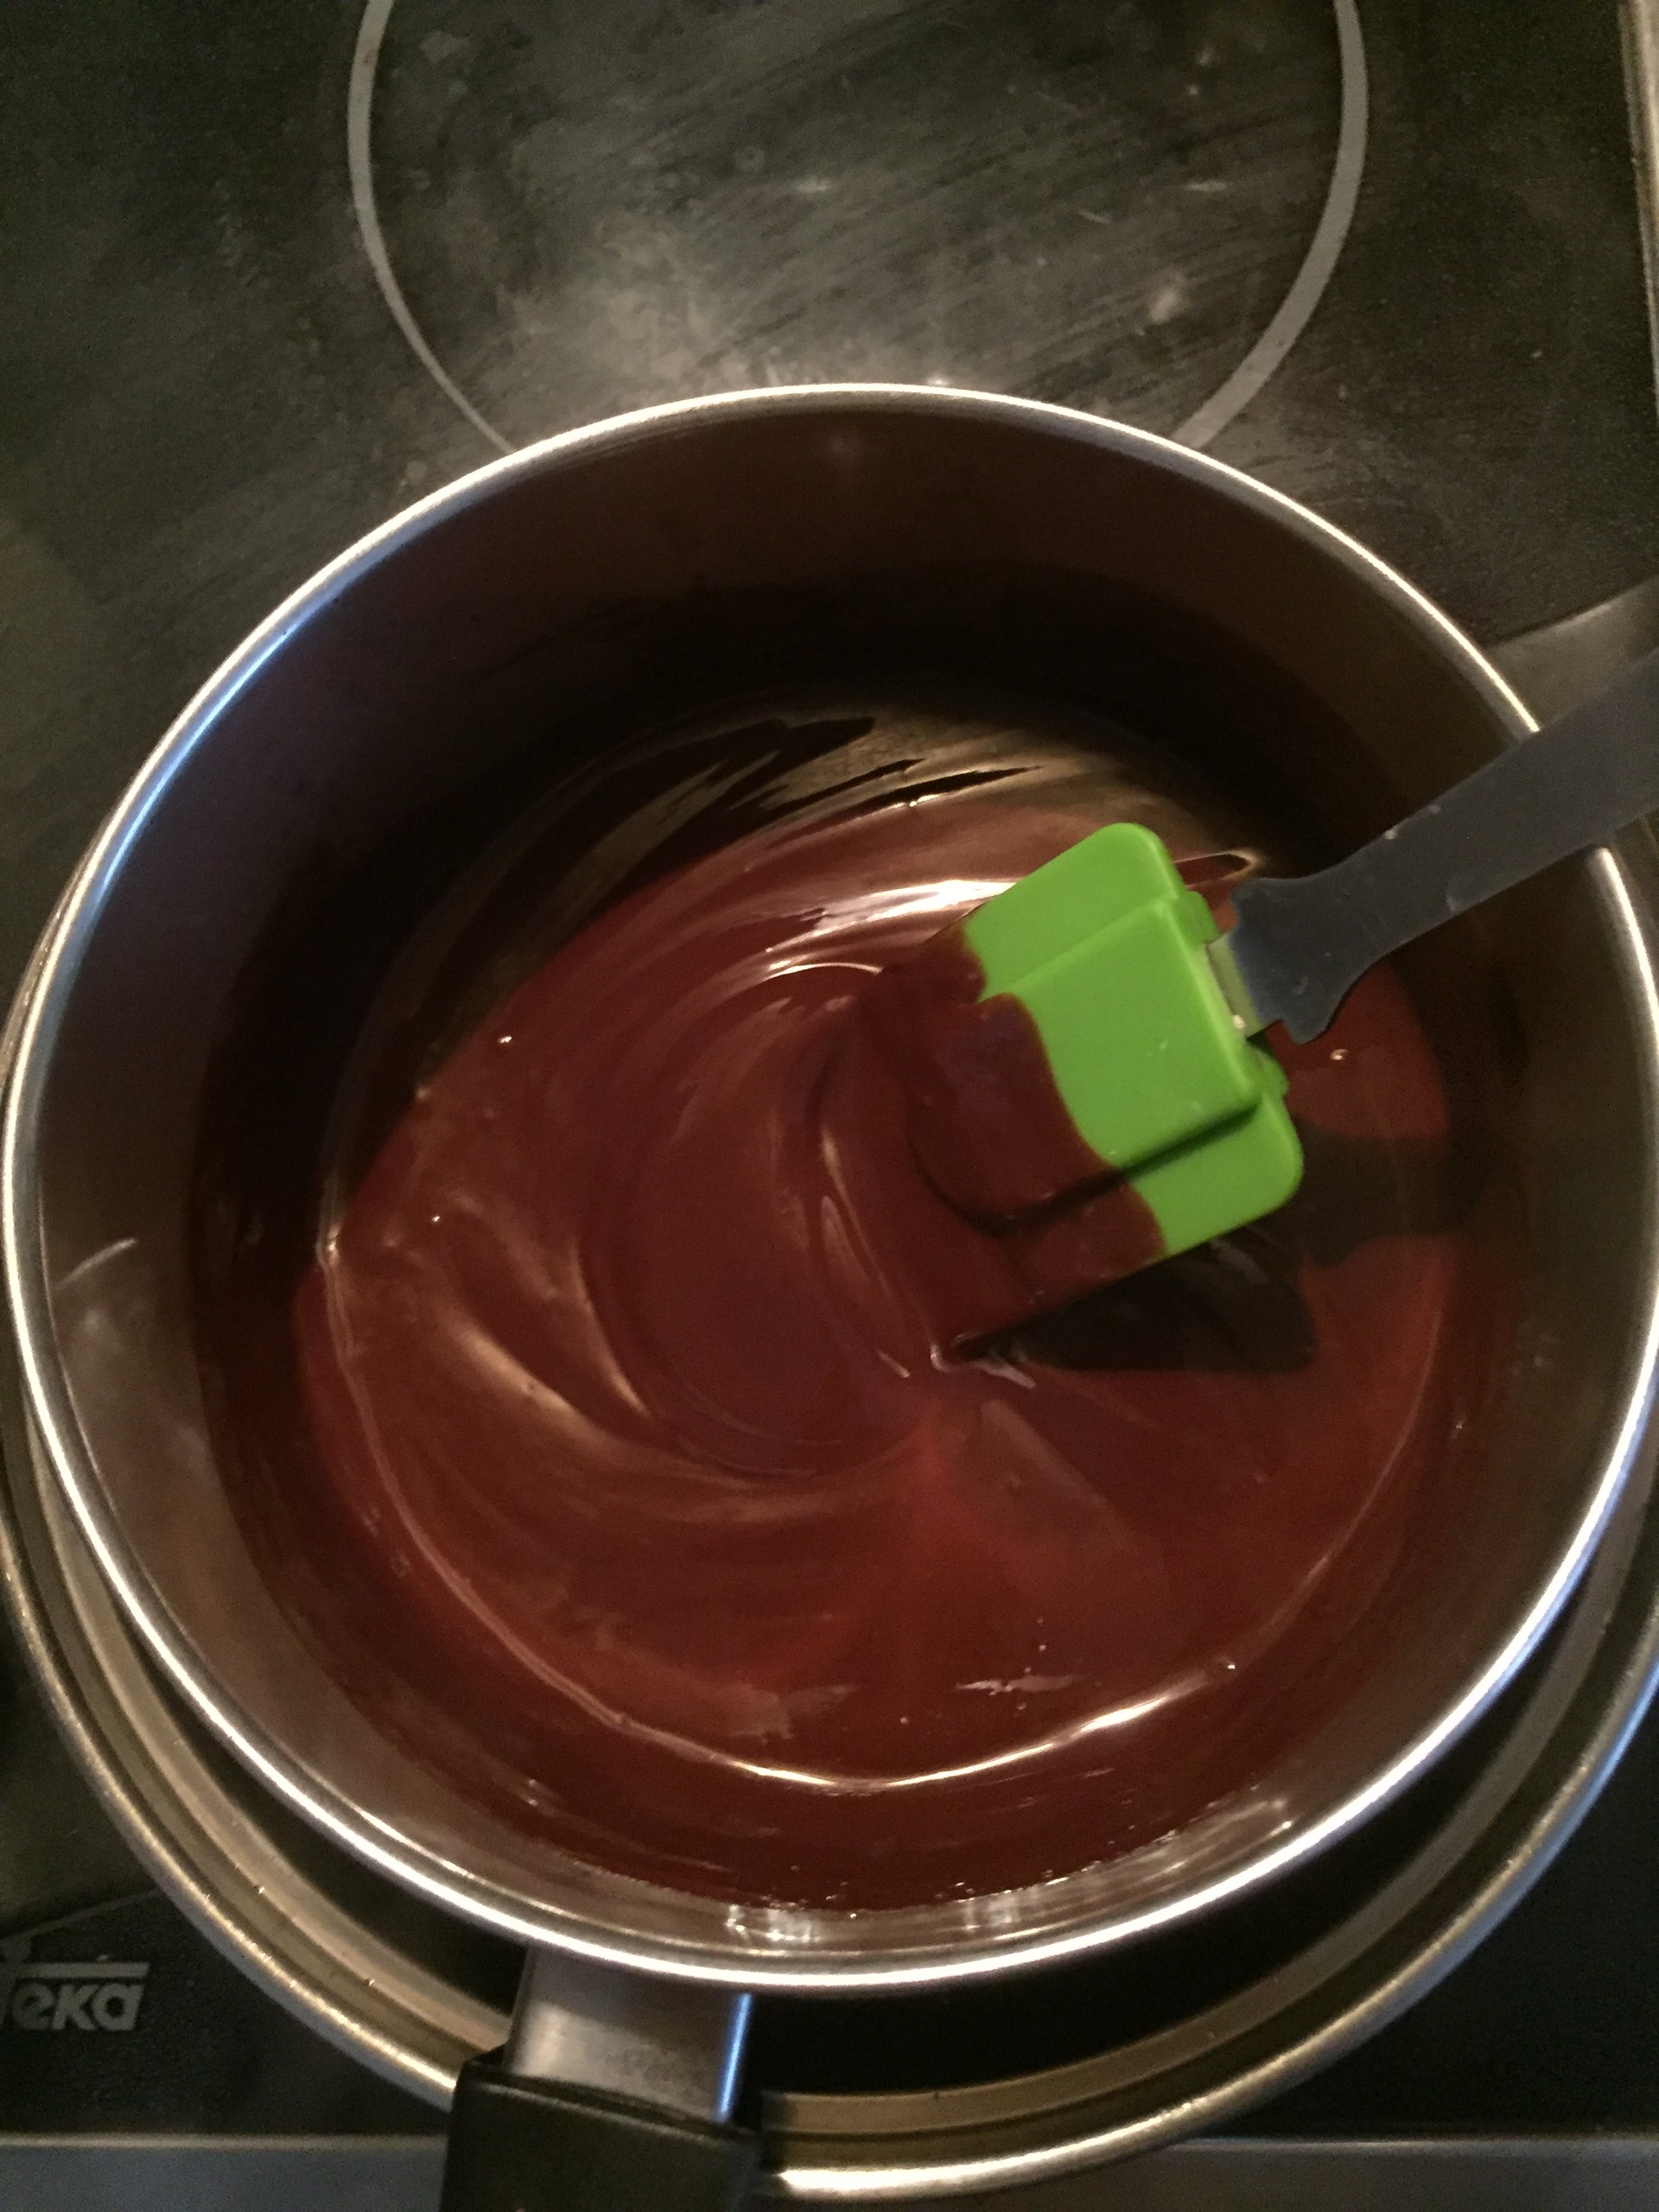
To start, melt the salted butter and the dessert chocolate, melting them in a bain-marie (cooking container) As I explained in one of my recipes: 3 ingredient Japonese cheesecake, to melt something in a bain-marie, you have to use two plans, one that is much larger than the other. Put the butter and the melting chocolate into the small one, and fill the other one less than halfway with water, and put the smaller one, with the butter and chocolate, inside the larger one.
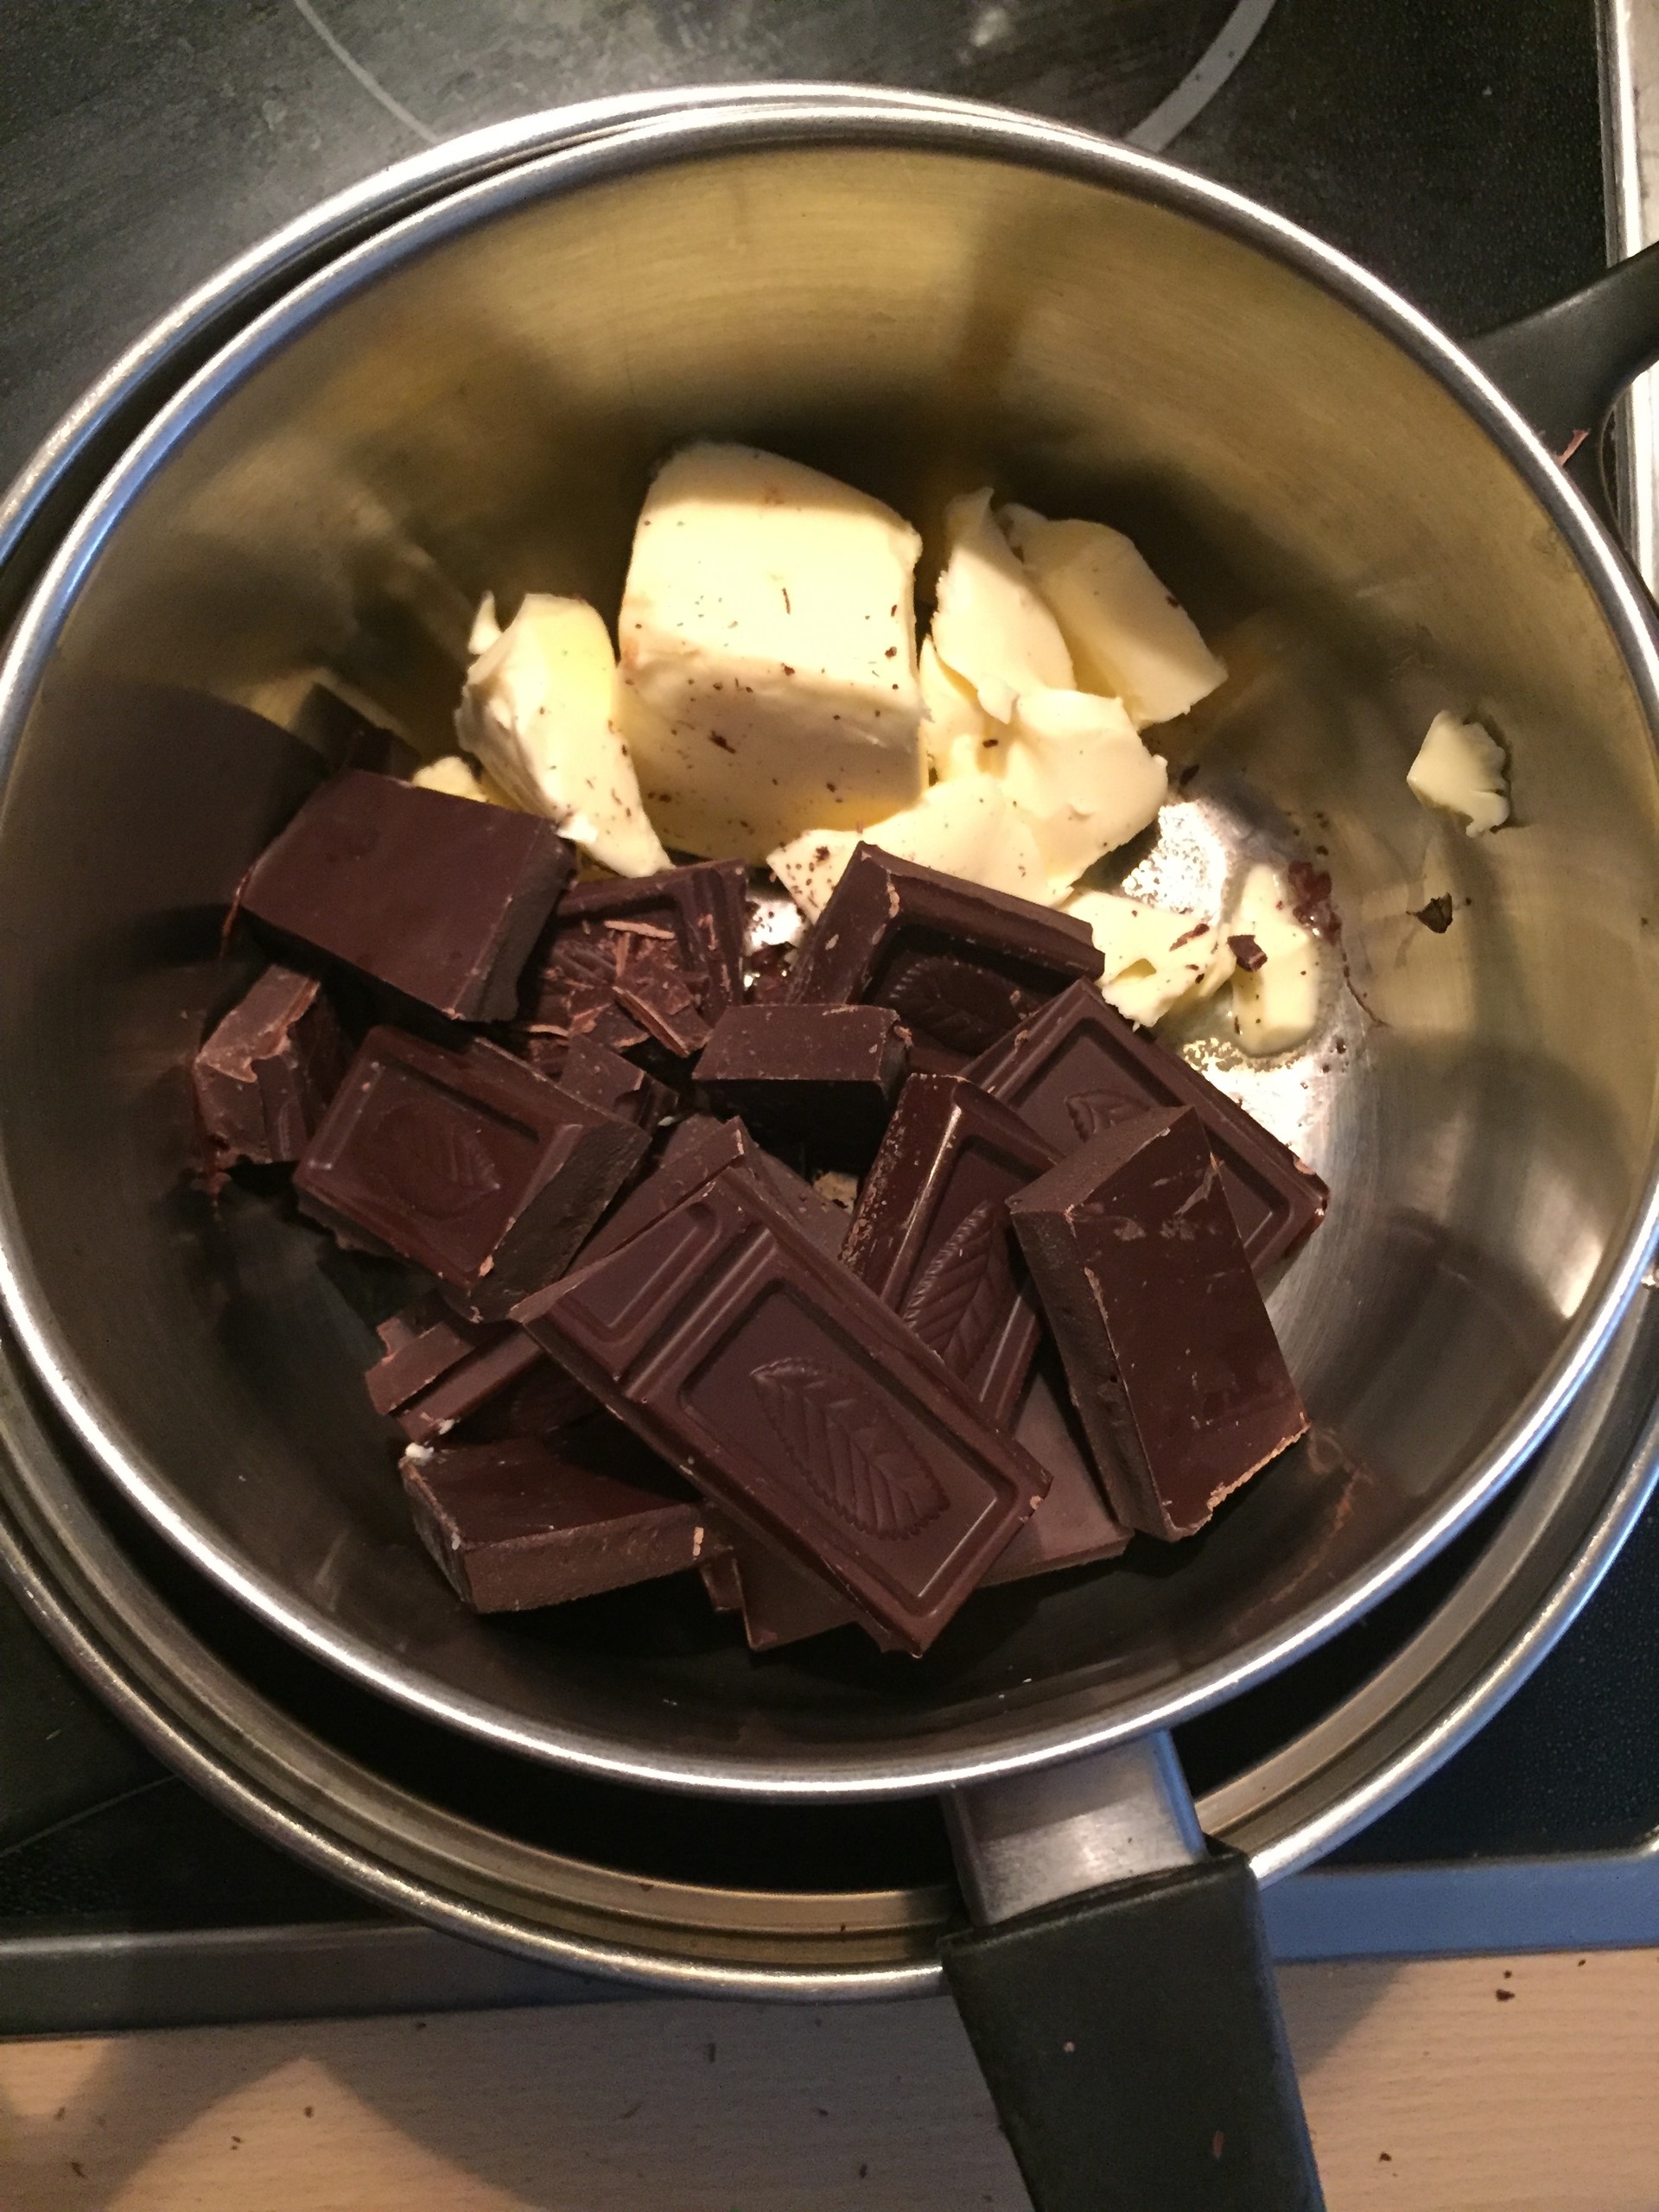
Put it on a medium to high heat and stir constantly for five minutes or until everything is melted.
If you don't want to use the bain-marie, you can also melt the ingredients in the microwave. For this, put the butter and the chocolate in a microwavable container, and then put this into the microwave for 20 seconds. Afterwards, remove and stir, then return it to the microwave for another 20 seconds. And so on and so forth until they are fully melted.
It doesn't matter what procedure you use to melt them, but once they're melted, let the mixture cool for at least ten minutes. Do not put the mixture in the fridge, or else it will harden and it won't work. Simply leave it on the side until the ten minutes are up.

Whilst you wait, turn on the oven and slide the tray into the lowest slot and set the temperature to 170º degrees.
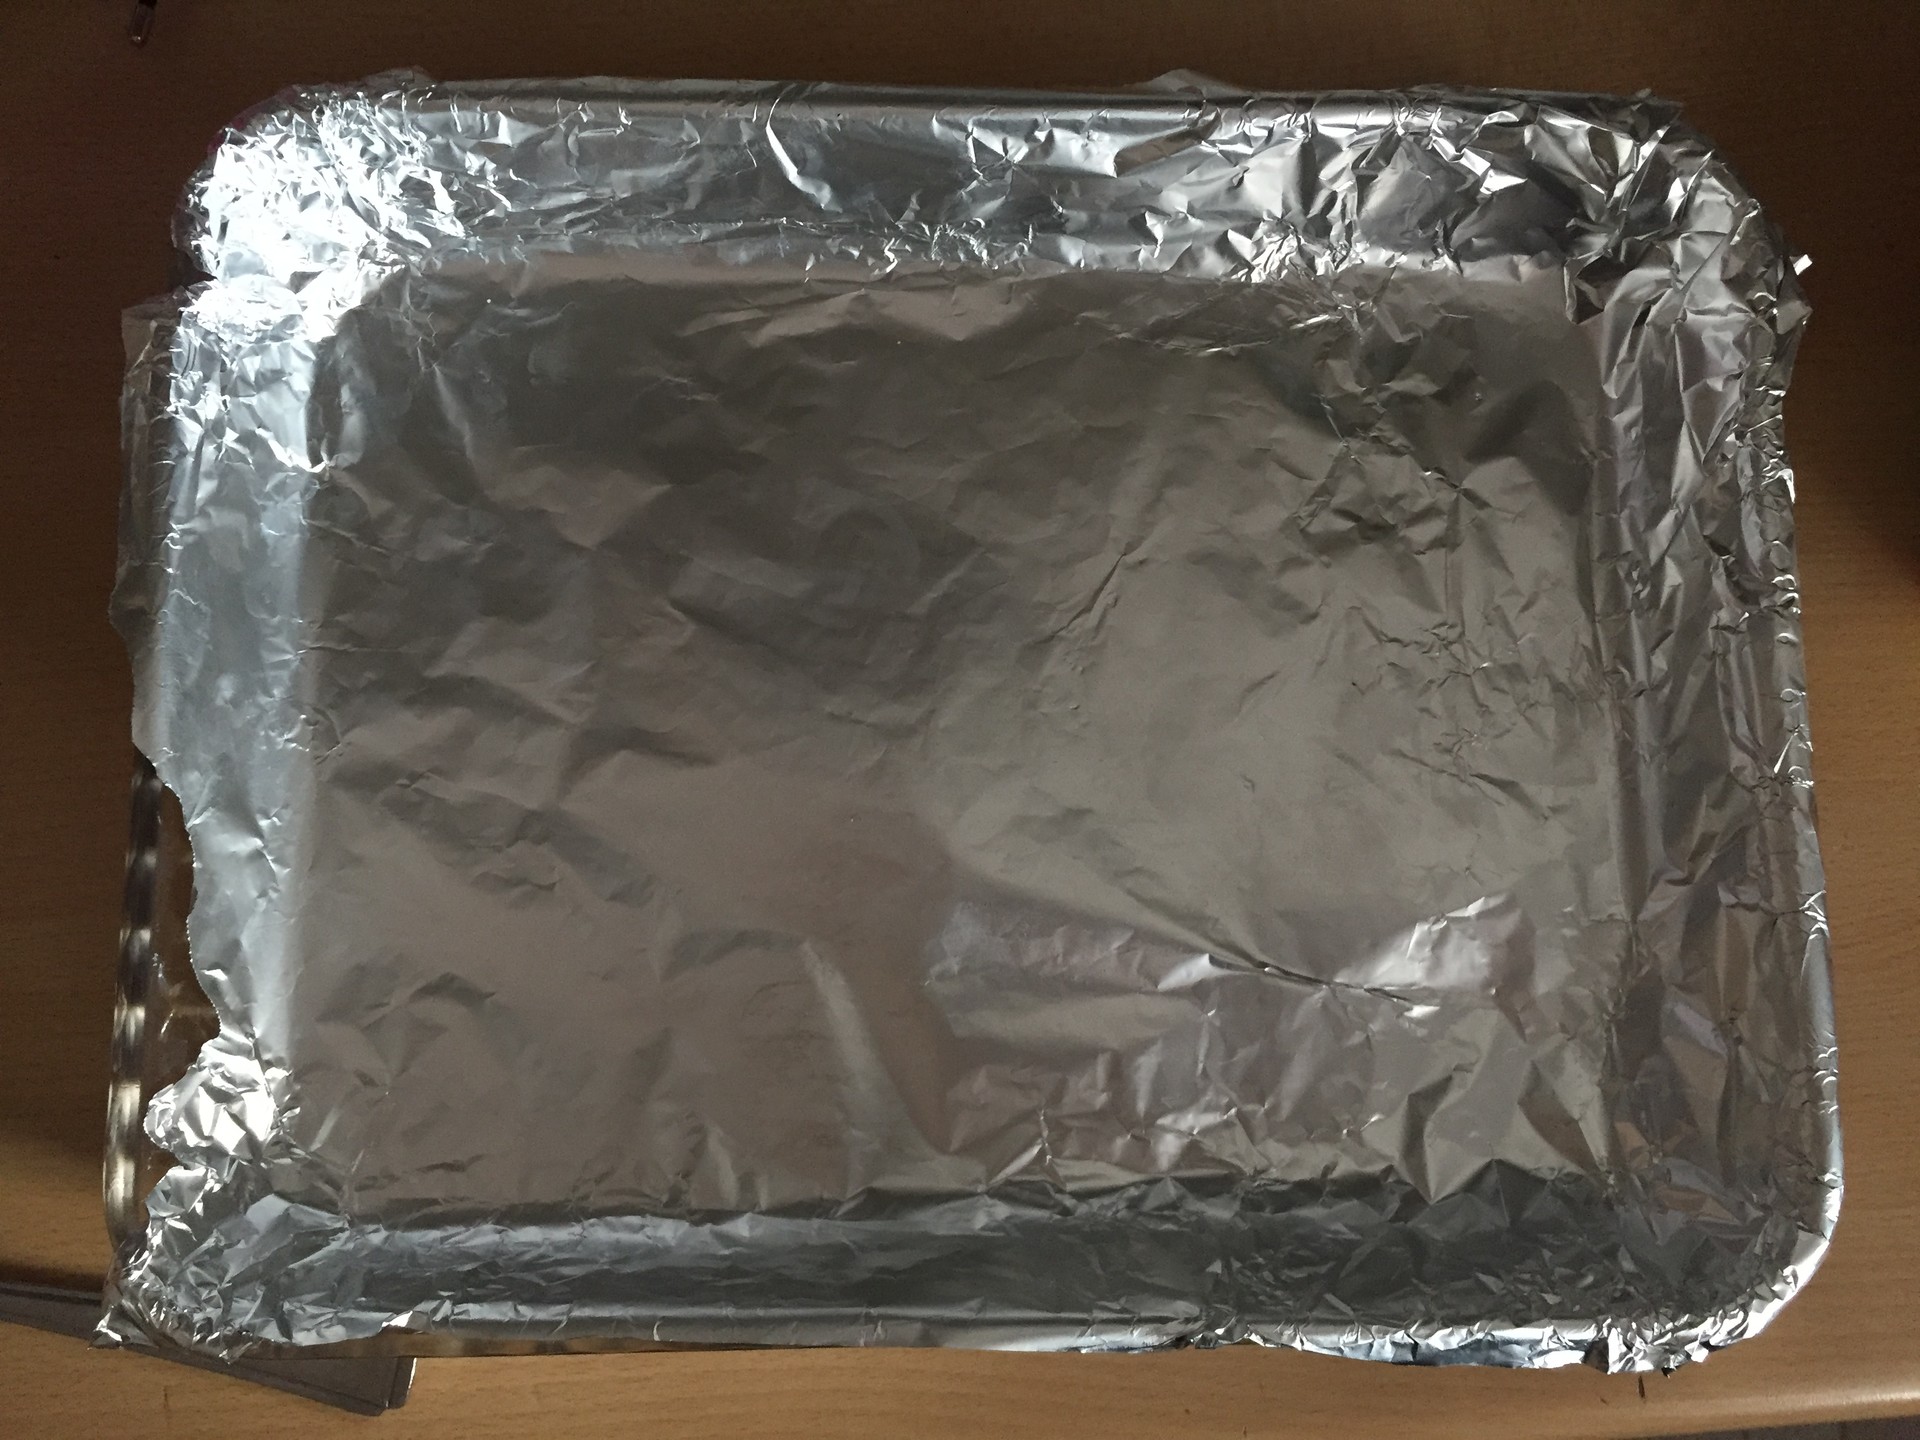
Then, take the container or mould that you are going to bake the brownies in, and cover it with aluminium sheets so that it doesn't stick. If you don't want to use aluminium sheets, you can use baking paper, but those that don't have it know that nothing bad will happen if you use aluminium sheets; it's better than using butter. Also, then you won't have to clean the mould; )
Leave a little of the aluminium over the side, to make it easier to take it out from the mould afterwards.
Now, to continue, what you will do is mix the white sugar with the brown sugar in a separate bowl.
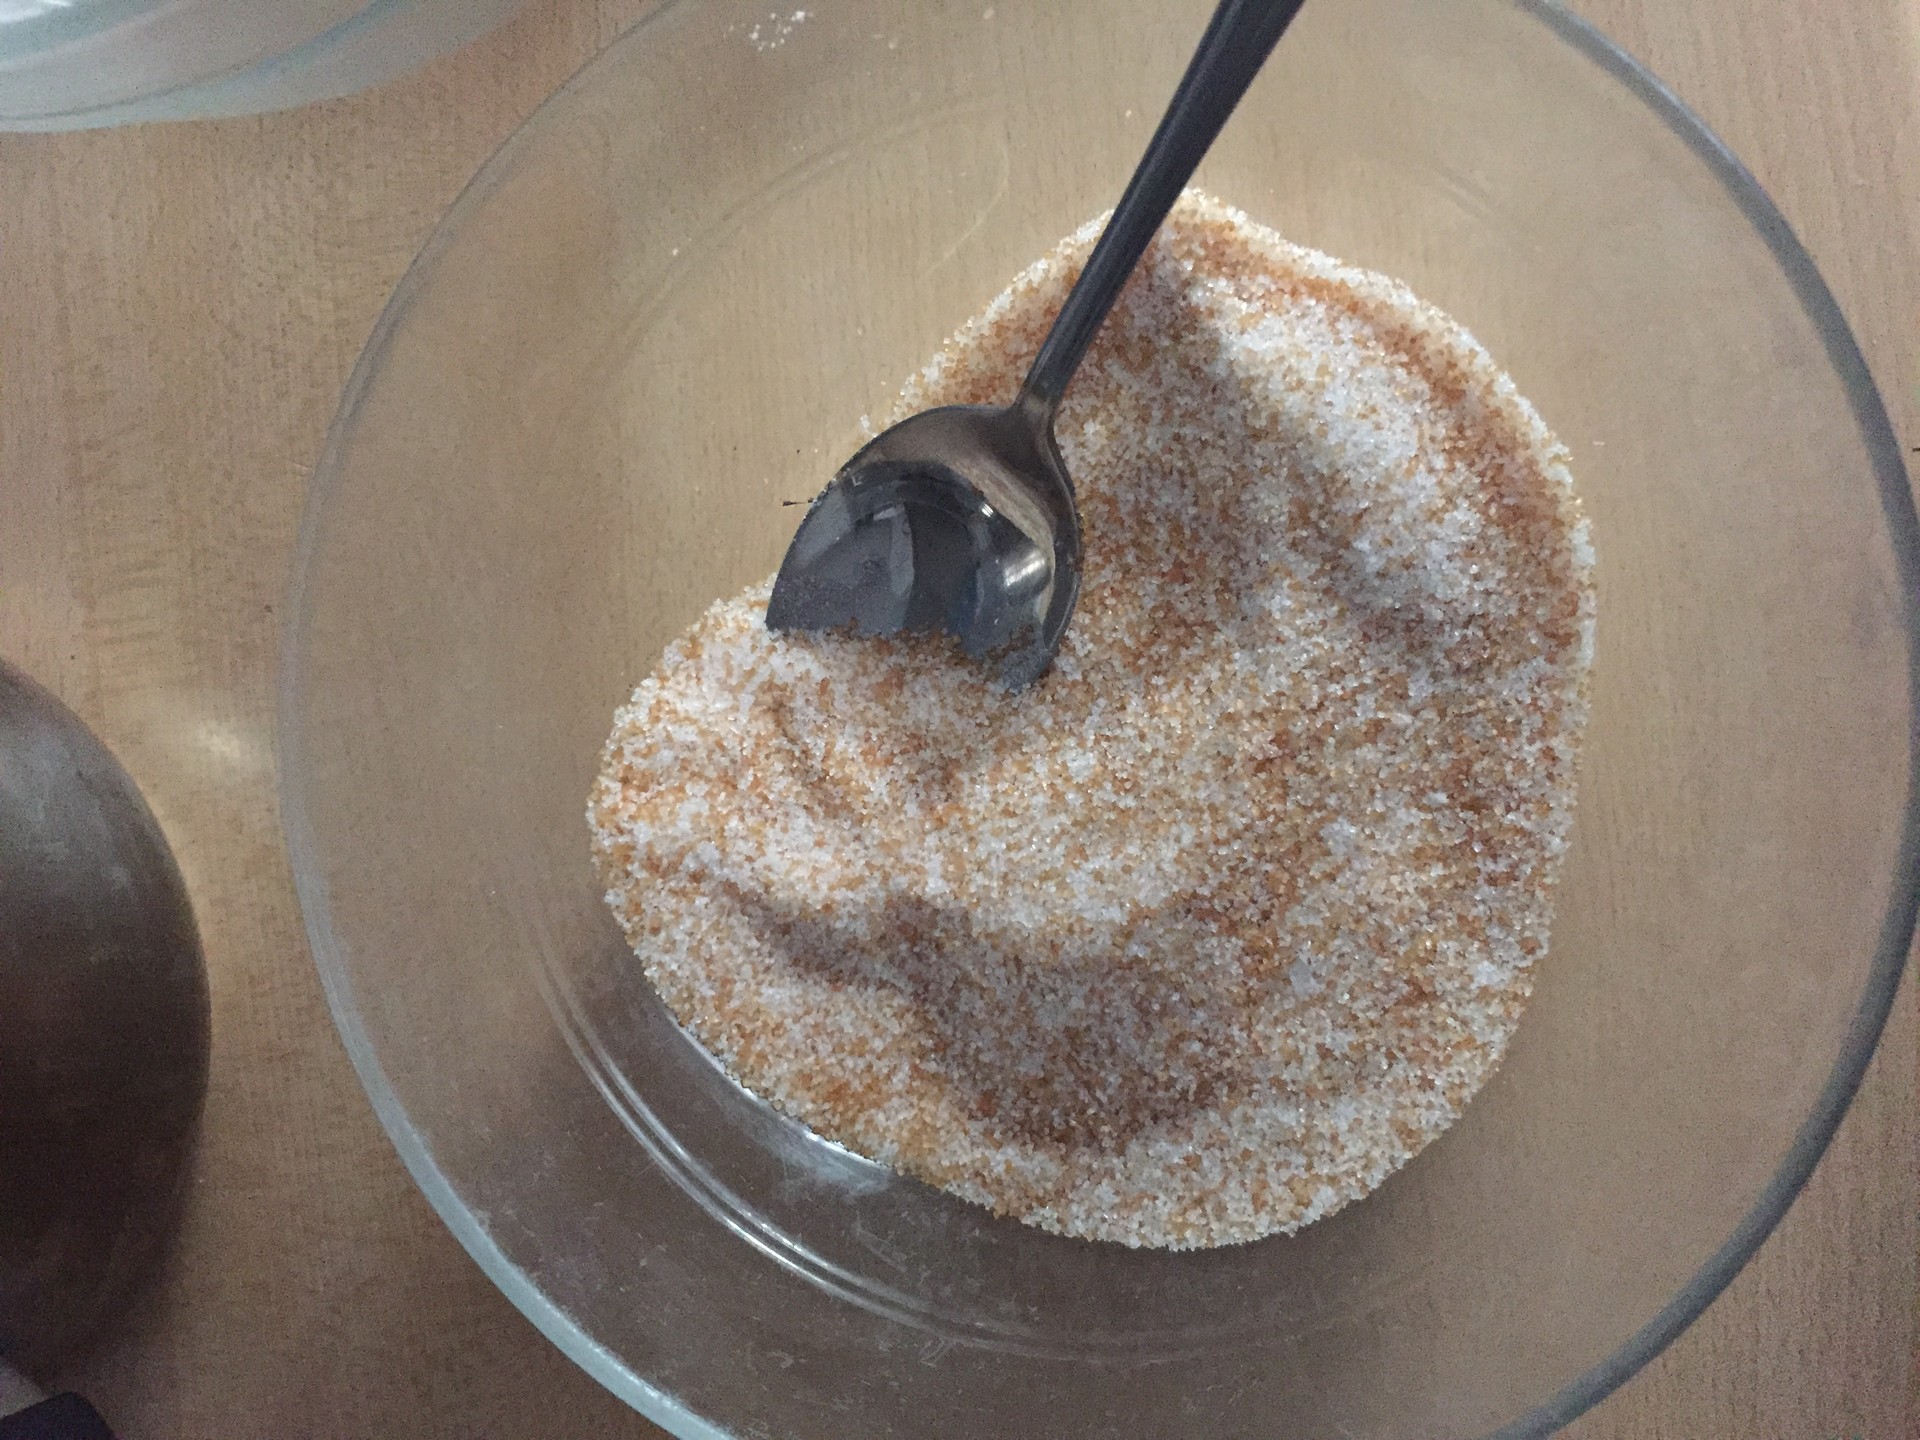
An important thing in regards to the sugar, is that the white sugar is what will add the sweet flavour to the brownies, whilst the brown sugar is what will give the brownies the doughy texture.
It's very important that you do not use any kind of sugar substitute such as sweetener or something like this, because it will end up a disaster and the texture could become very hard or very soft when you go to cook the mixture in the oven.
If you don't have brown sugar, don't worry. You can substitute it with more white sugar, but don't use more than the stated quantity.
And now, let's continue with the recipe. When you see that both sugars are well mixed together (you only need to stir a little), add the cooled mixture of butter and chocolate that you melted earlier and gently but continuously stir together until the mixture is smooth.
The mixture should be a little sticky and grainy, but don't worry; it should be like that.
Then, you have to add the eggs, but one by one. First, break an egg and gently, but continuously, stir until it has mixed in well, and then add the next egg, using the same steps as with the first, and then the third in the same way. Please, do not throw them in all at once because then the resulting brownies won't be the same.
What you do by adding the eggs in this way, is create that doughy texture that is so characteristic of brownies. So you have to add exactly three, not one more nor one less.
Try to use medium-sized eggs, because if they are too big or too small, the rest of the ingredients will then have to be readjusted.
I tell you this from experience, because one time I bought some small eggs and, as the recipe says to use three medium-sized eggs, I thought I could get away with using four of the small ones to compensate the difference in size, but the brownies came out way too soft, as though they were gum. Once I saw that, I decided to leave them in the oven for longer, to cook the eggs through more, but this made it worse and the brownies ended up being like rocks.
After adding the eggs, proceed to add the teaspoon of vanilla extract. It's not a massive problem if you don't have vanilla extract, but the flavour will lose some of its strength.
Sometimes, instead of using liquid vanilla extract, I have used vanilla sugar, but it's not the same, although it wasn't too far off.
In any case, a 200 millilitre bottle of vanilla extract costs less than two euros in the supermarket and it lasts for a long time, therefore, it's worth buying one of these little bottles if you are a fan of making desserts.
Once you have added the vanilla extract, mix the flour with the cocoa powder and pinch of salt in a separate bowl.
If possible, the cocoa powder should not be Colacao or Nesquik but pure cocoa powder; this will improve the flavour of the brownies. When both ingredients are well mixed together, proceed to add the first mixture and stir well until everything is well mixed together.
Once all the ingredients are well combined, you will see that the mix is thick and a bit difficult to stir but, don't worry, this means that everything is going well.
Then add the chocolate chips or pieces and spread them so they are well distributed throughout the mixture, and then add the pieces of nuts and repeat, mixing them in so they are well distributed.
As I said when listing the ingredients at the start, the chocolate pieces and the nuts are both optional. In any case, I really recommend them because the sensation of the contrast between the crispy and the smooth, cloying brownie filling is fantastic and addictive.
I have tried this recipe without the chocolate pieces and nuts, and believe me when I say that it's not the same. I have also tried adding just the chocolate pieces, and another time adding just the nuts, and my final verdict is that you should add both of them, with maybe more of the chocolate pieces than the nuts.
Even so, as good as it is, for those who are allergic to nuts, just adding the chocolate pieces is enough.
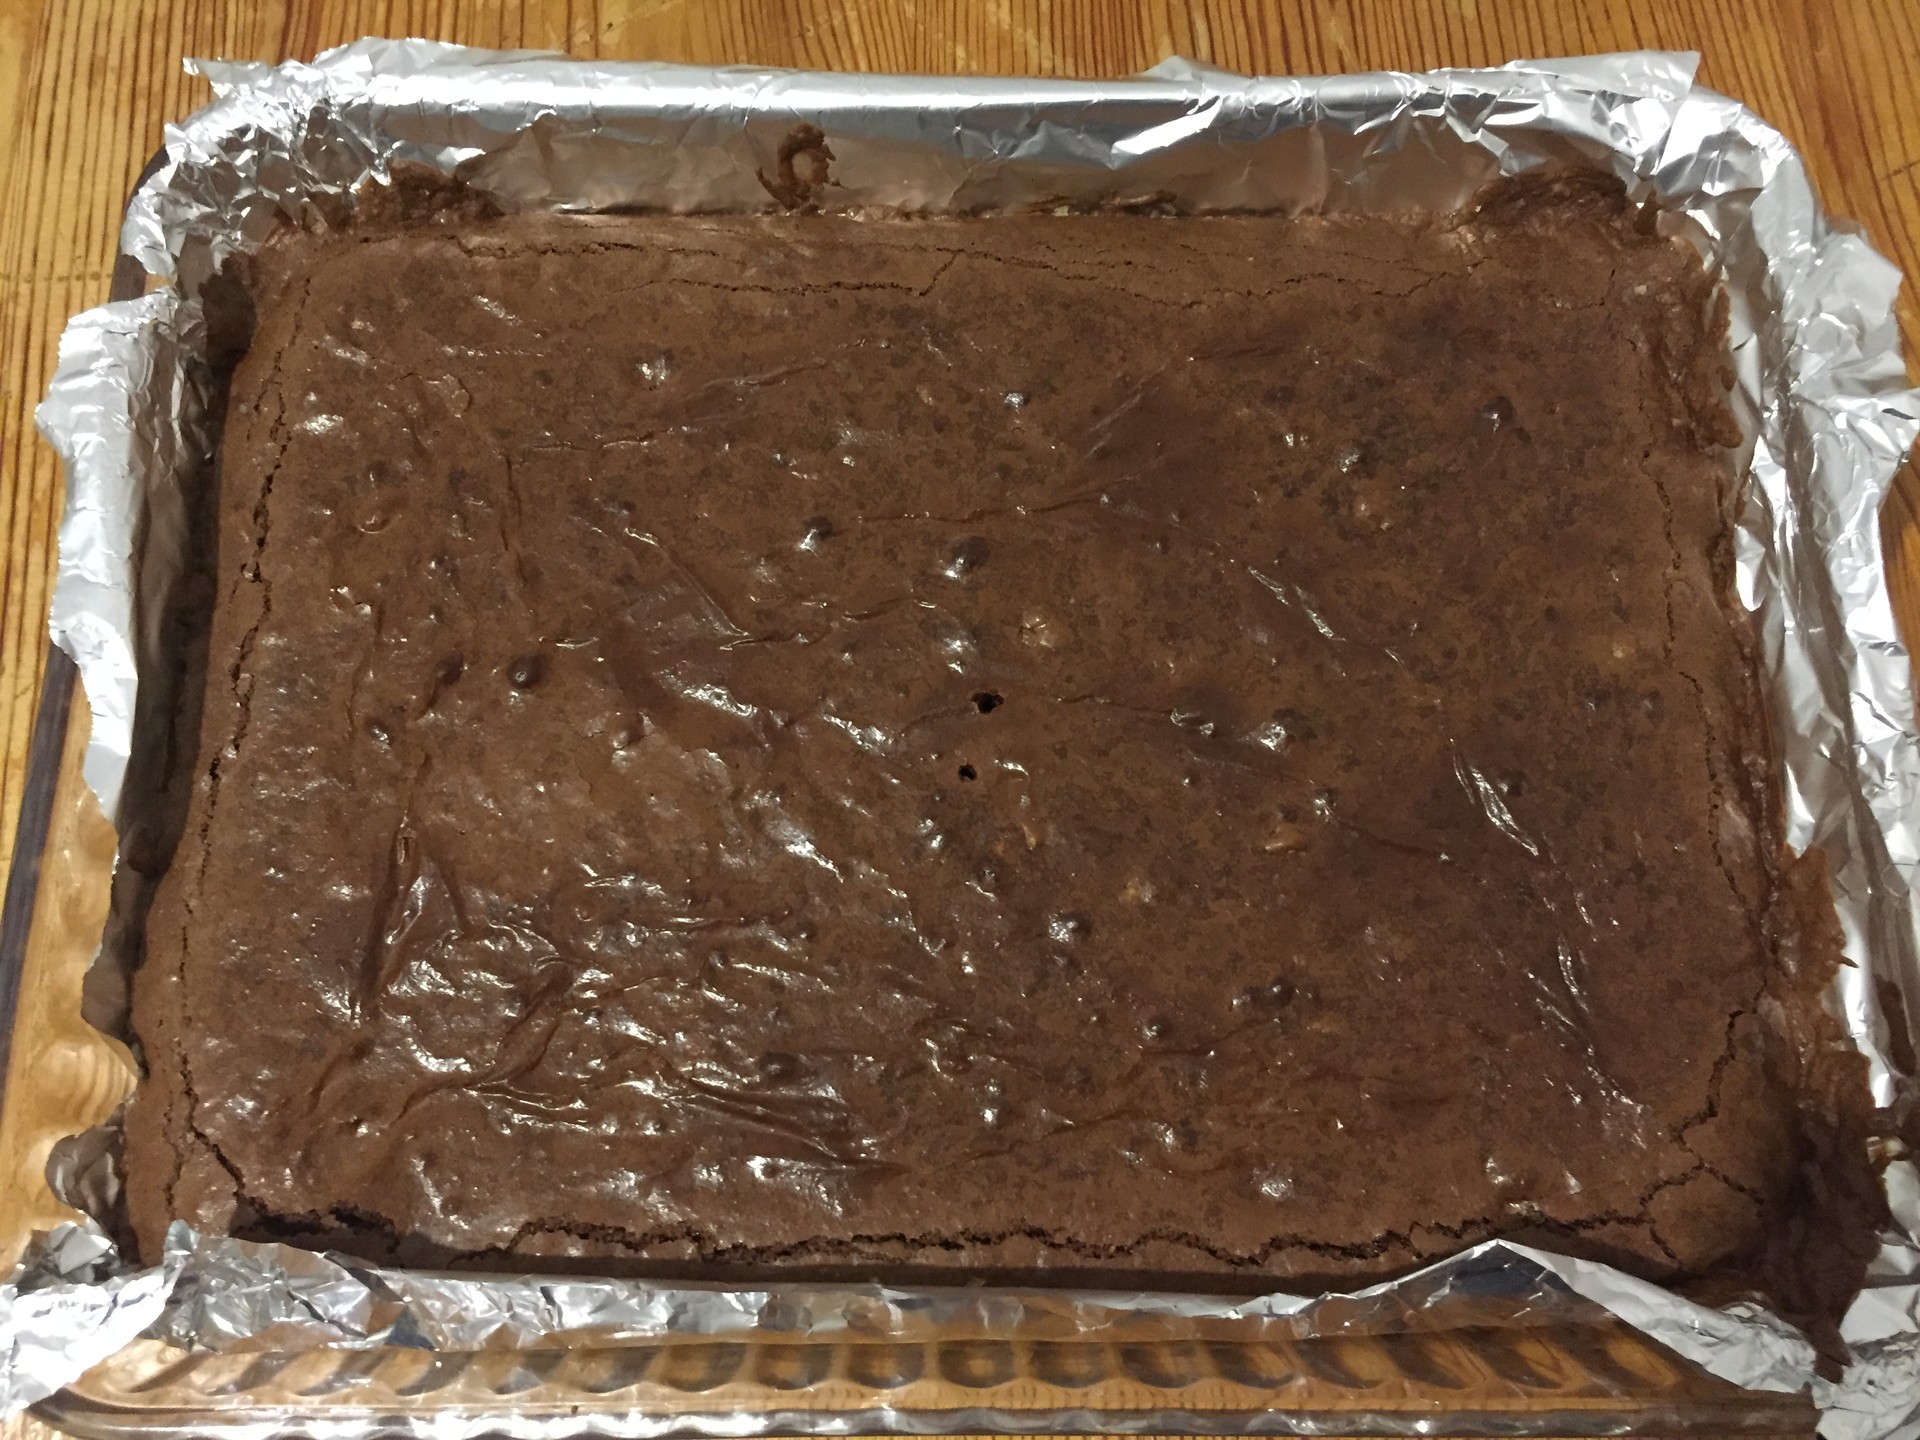
Then, after mixing together the ingredients, proceed to put the mixture into the mould covered by the aluminium sheets.

If you don't want to use the aluminium sheets, and you don't have baking paper, don't worry. As I have said before, you always have the option to use a buttered mould, but I don't like this option, because no matter how much butter I add, there is always something that ends up stuck.
Yesterday I made them using aluminium sheets, and it worked brilliantly.
The oven should be preheated to a temperature of 170º degrees, with the tray in the lowest position. Put the mould with the mixture into the over, and leave to bake for 35 minutes.
As every oven in the world is different, I advise you to keep an eye on the brownies from 30 minutes onwards, in case the oven that you have is stronger, even though you set it to 170º degrees.
To see if it is done or not, you only need to prick the mixture with a toothpick in the middle, and when you take it out, you should see that only the tip is a bit wet from the chocolate.
Let's say that you put the toothpick in halfway, only a quarter of the half of the stick should come out stained from the chocolate. This means that when you take the brownies out to cool, they will have that marvellous texture that I told you about.
I, for example, had to take the brownies out exactly thirty minutes after having put them in, and it's good that I did, because if I hadn't, they would have overcooked and come out dry.

So, once you have verified that they are done, take them out of the oven and leave them to cool on the side or on a table only; do not put them in the fridge because it will ruin them.
A curious fact, in case you didn't already know, is that, although you'll have taken the mould out of the oven, the brownies continue to cook until they have completely cooled inside and out, so it is very important that you take them out when the stick is only stained at the tip and that you do not put them in the fridge.
Once it has all completely cooled - let's say it takes around 20 to 30 minutes from when you left them to cool - you can use the aluminium sheet to take the brownies out from the mould and then cut the brownies into pieces.
After you have cut the pieces, you will see how the aluminium sheets separate easily and effortlessly from the brownies, without anything getting stuck, which is the result you are looking for.
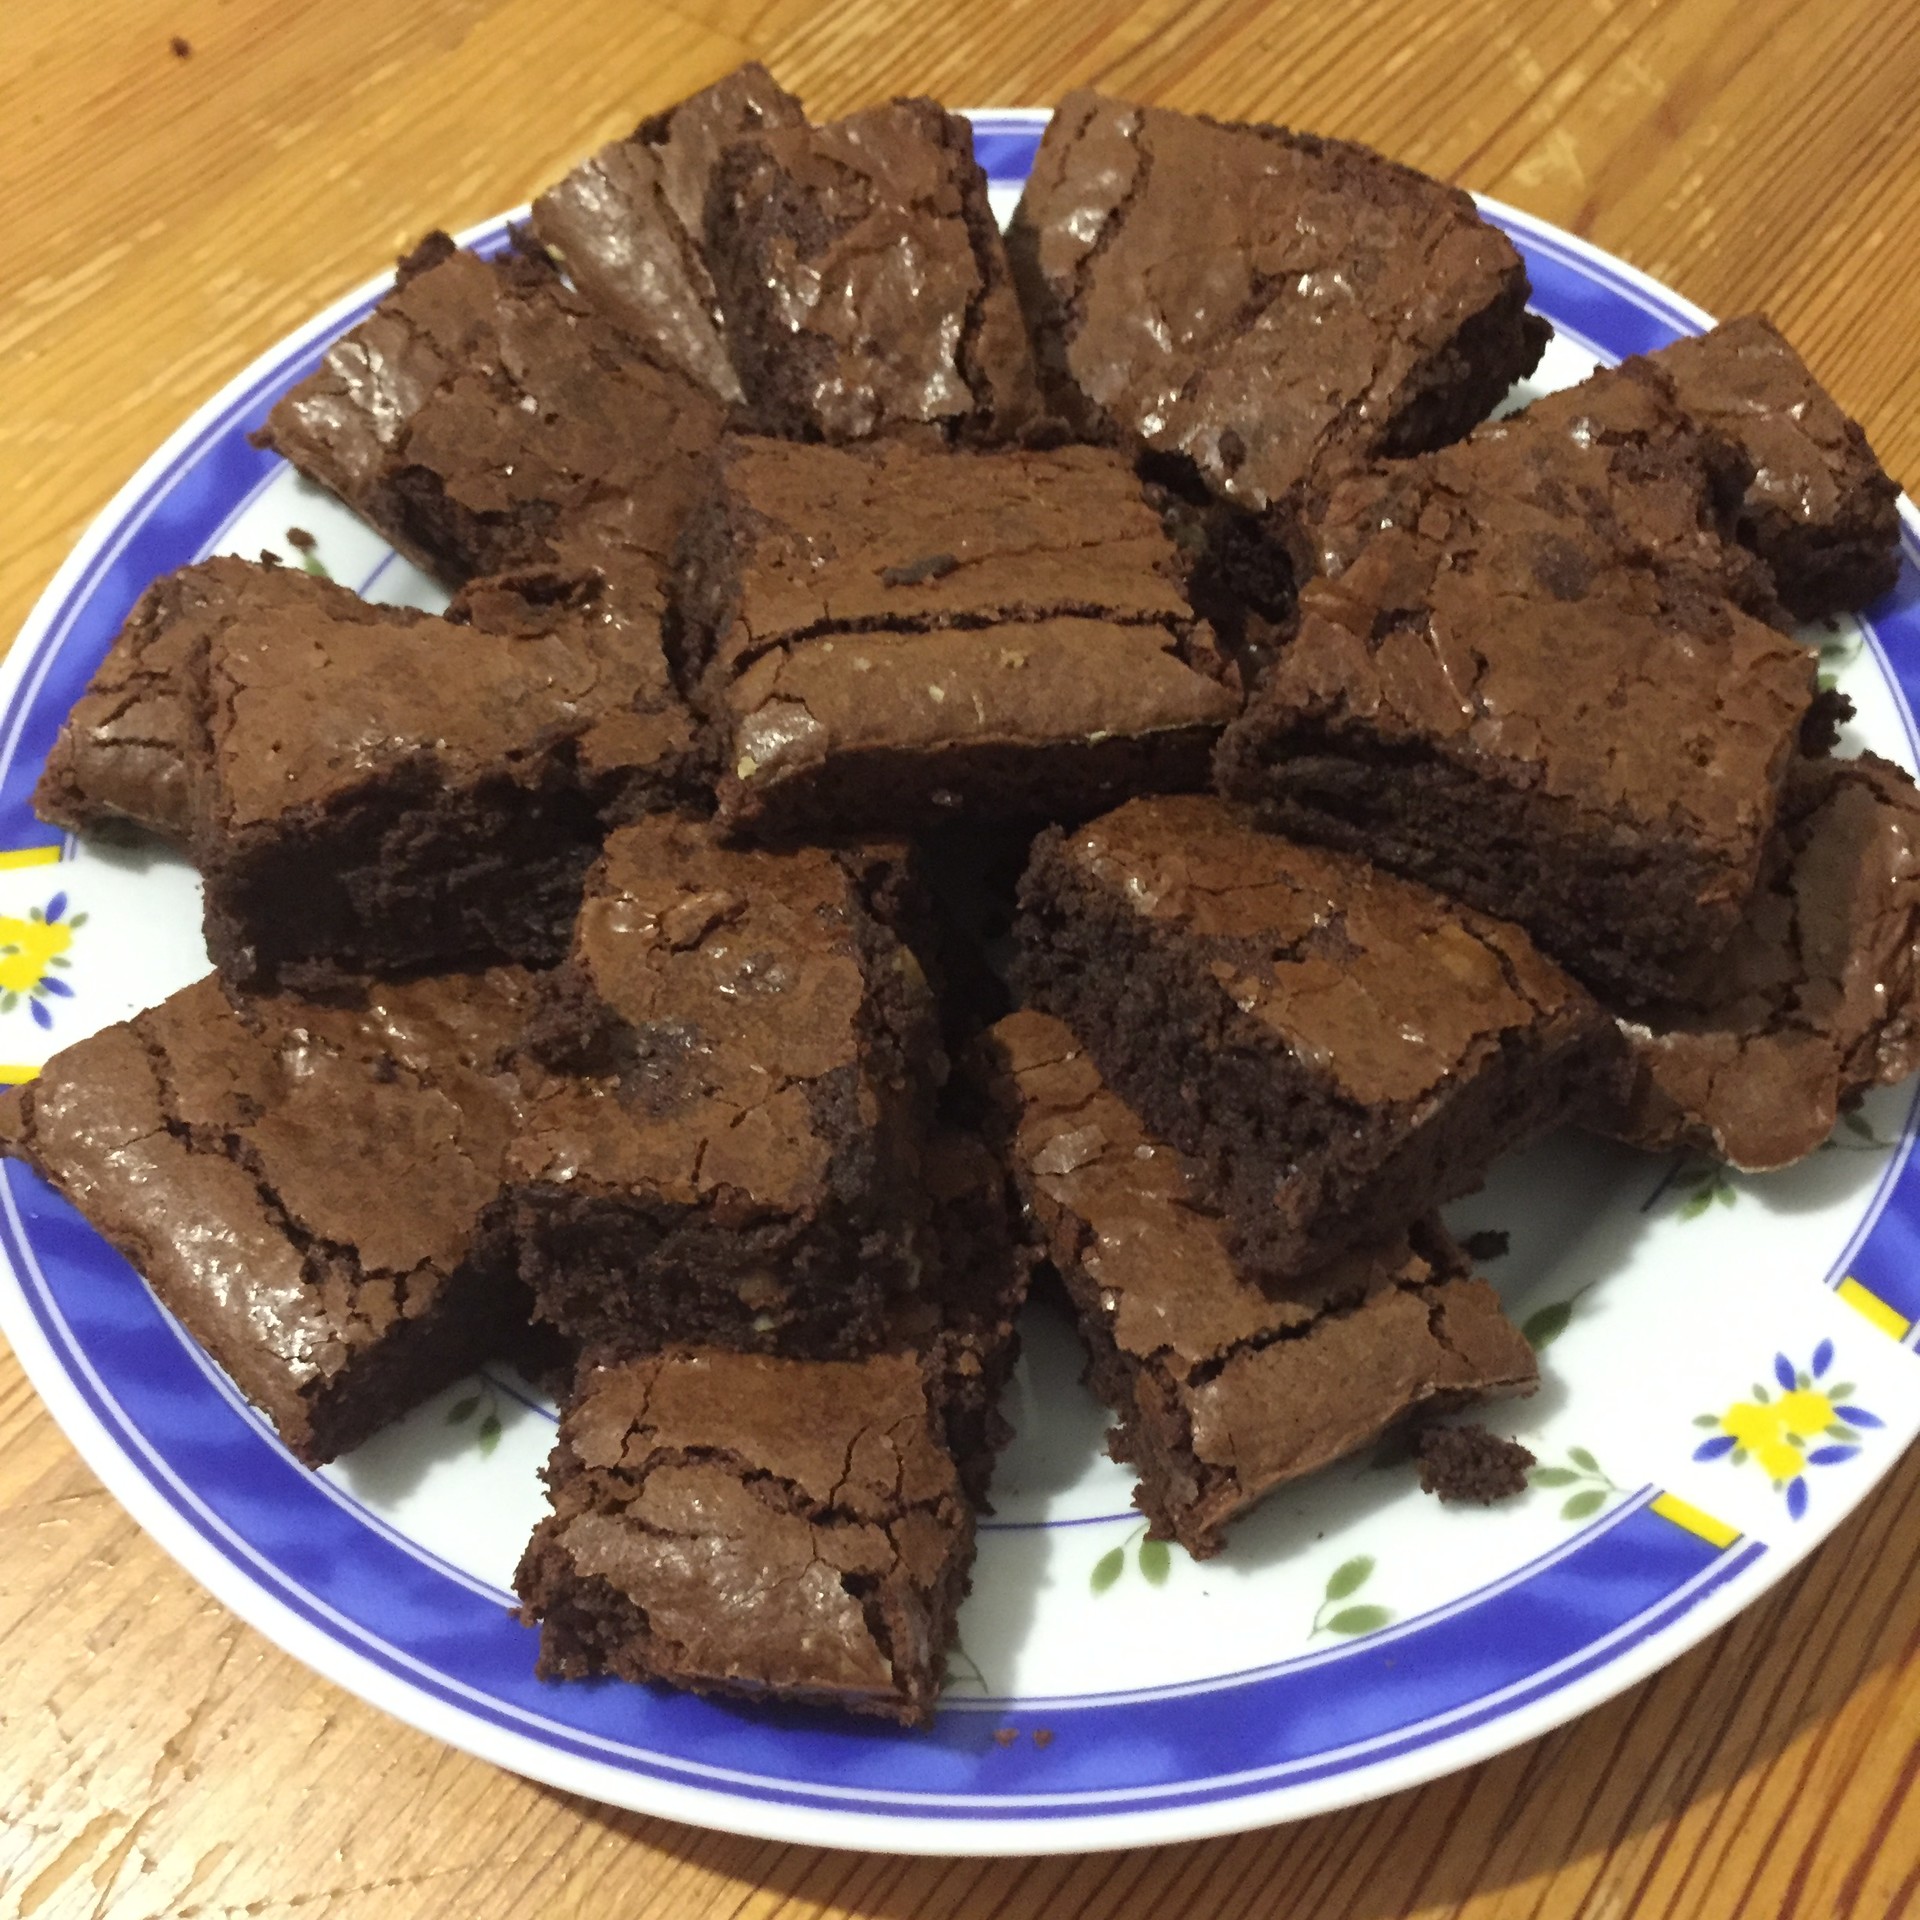
And voilà! You can eat the most crispy, flavoursome and delicious brownies that you have ever made :)

I hope that this works as well for you as it has for me (because it worked stupendously for me), and if not, don't be discouraged or disappointed. I assure you that, in the end, it will become easy for you if you keep practicing, because I am sure that, sooner or later, the brownies will be really good, you'll see.
P. S. : yesterday I took advantage of using the oven to make brownies and made the Japonese cheesecake; look how good it looks; )
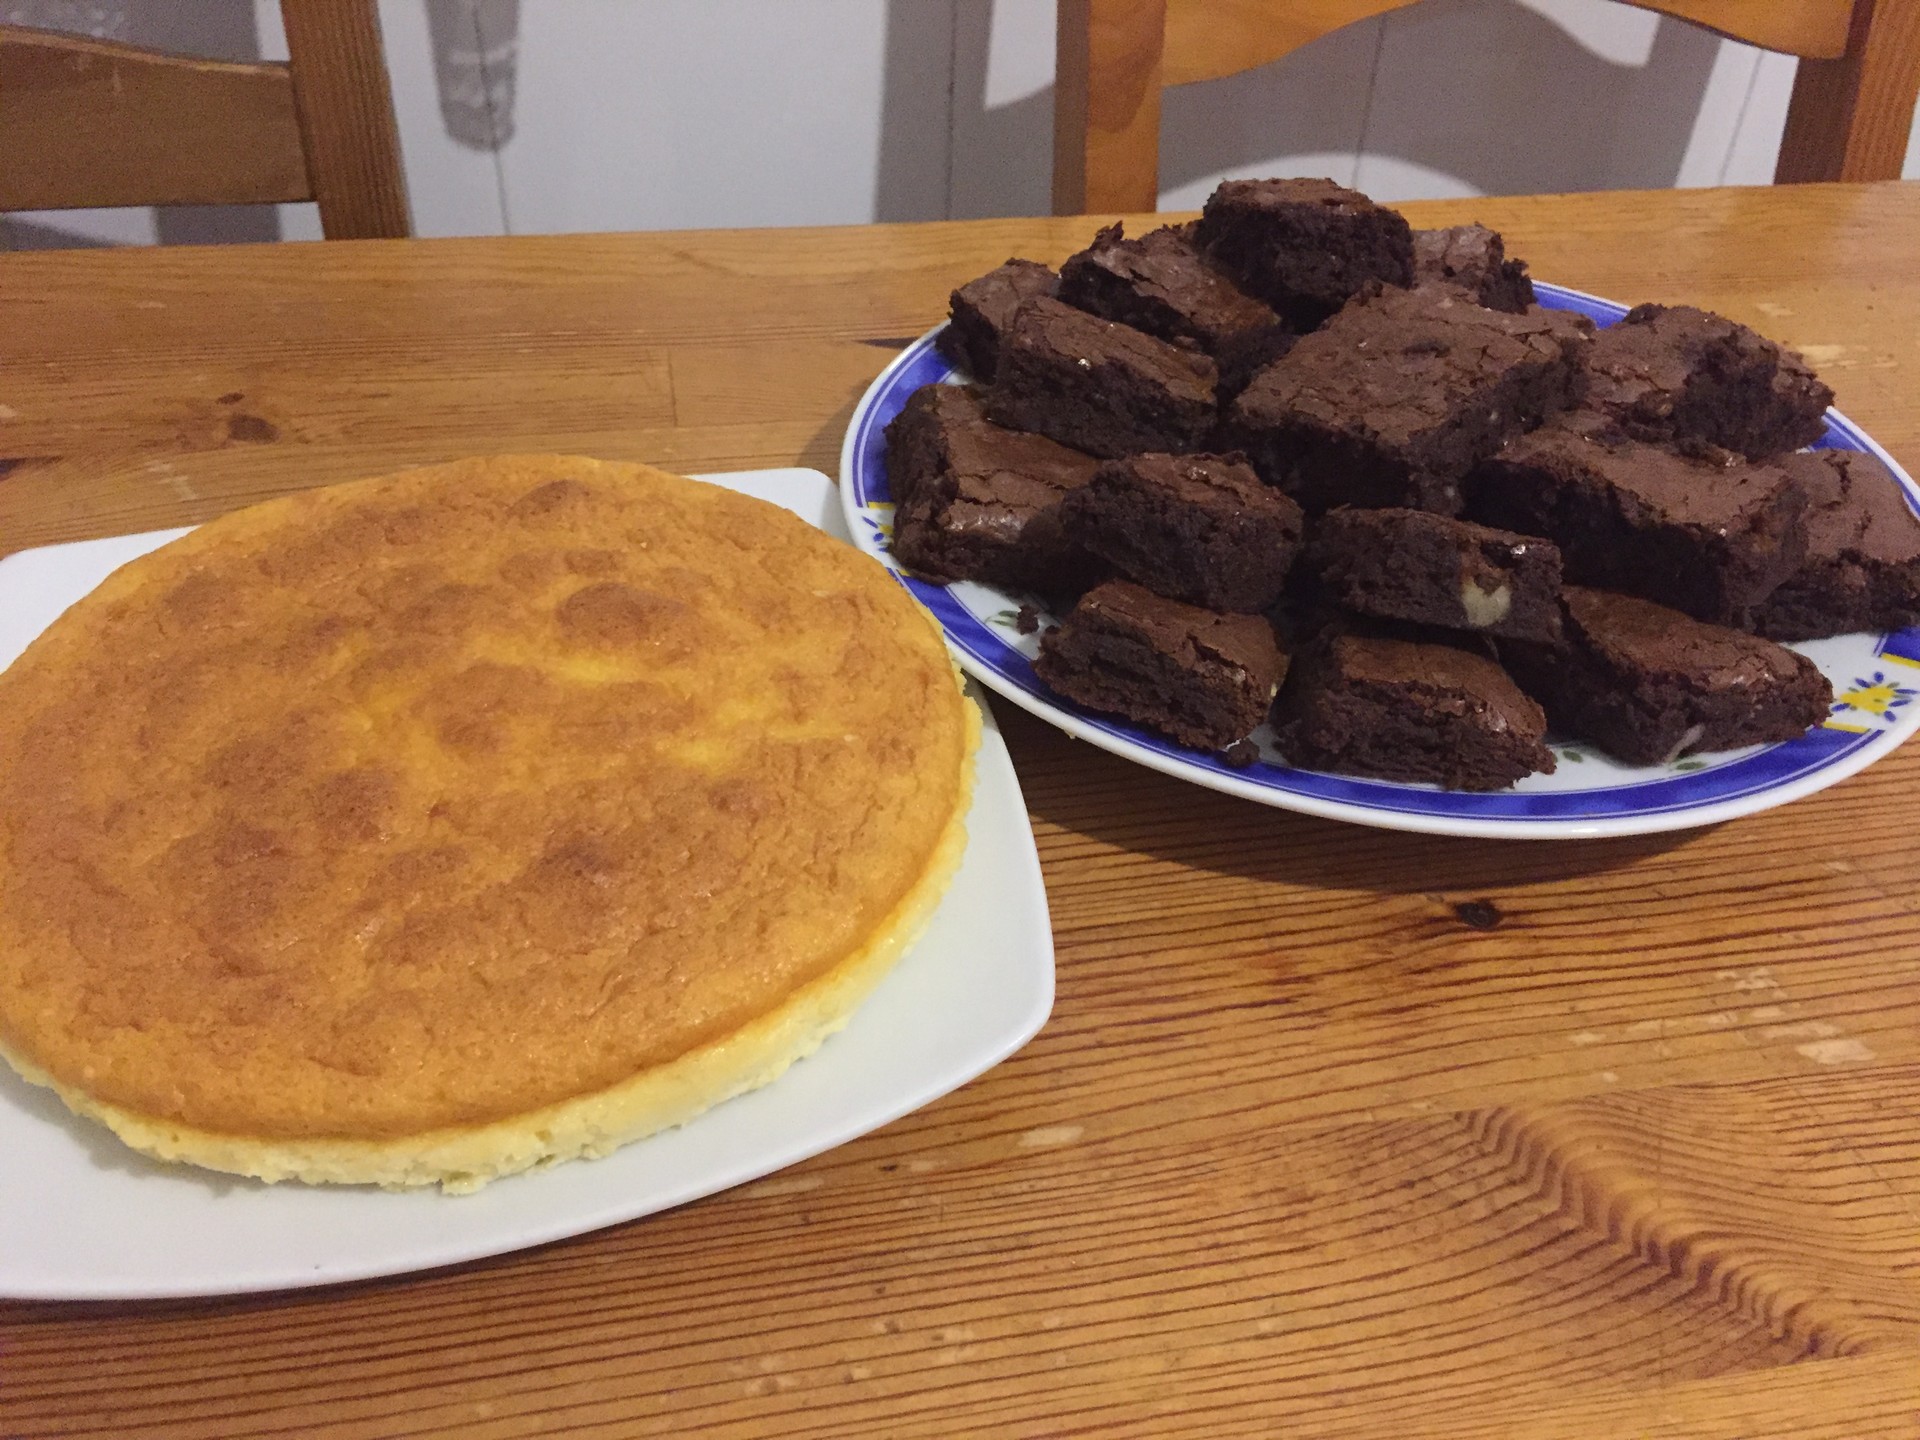
Photo gallery


Content available in other languages
- Español: Brownies, la receta definitiva
- Italiano: Brownies, la ricetta definitiva
- Français: Brownies, recette définitive
Want to have your own Erasmus blog?
If you are experiencing living abroad, you're an avid traveller or want to promote the city where you live... create your own blog and share your adventures!
I want to create my Erasmus blog! →


Comments (0 comments)