3 ingredient Japanese cheesecake
Translated by  Anonymous User
— 8 years ago
Anonymous User
— 8 years ago
Blog: Translations blog of Lauren in EnglishTags: Erasmus recipes
Hello and welcome everyone!
Today I’m here with a recipe that I’ve just recently tried and it turned out a little differently to what I was expecting.
I’m going to show you how to make a Japanese cheesecake using just three ingredients. Super quick and easy to make and delicious to eat; perfect to go with a tea or a fruit juice.
One very important thing: follow the steps exactly, without skipping any and in the order that they’re written and don’t add any other ingredients. Believe me, if you don’t do it like this the tart will be a disaster.
Before we start, I have to say that this cake can be made in different ways with more ingredients, but I opted for the easiest way because the result is almost exactly the same. Maybe adding other ingredients will result in a spongier texture, but it’s equally as good with three ingredients, I promise you.
An interesting piece of information, this Japanese cake appears in one of Hayao Miyazaki’s films: Chihiro’s Journey.
This will surely ring a bell for Miyazaki fans. When Sin Cara and Chihiro go to Zeniba’s house (Yubaba’s twin sister) and they drink tea with some sweets. That’s this cake!

For those who don’t know this fantastic film, I strongly recommend it. It’s really really good and it’ll give you a strong desire to eat all of the dishes that appear in the film.
I decided to cook all of the dishes that appear in this film, although I found this cake at random and didn’t realise that it was the same as the one from the film until a friend told me.
The best thing is that it only needs 3 ingredients.
Right, let’s begin!
Ingredients:
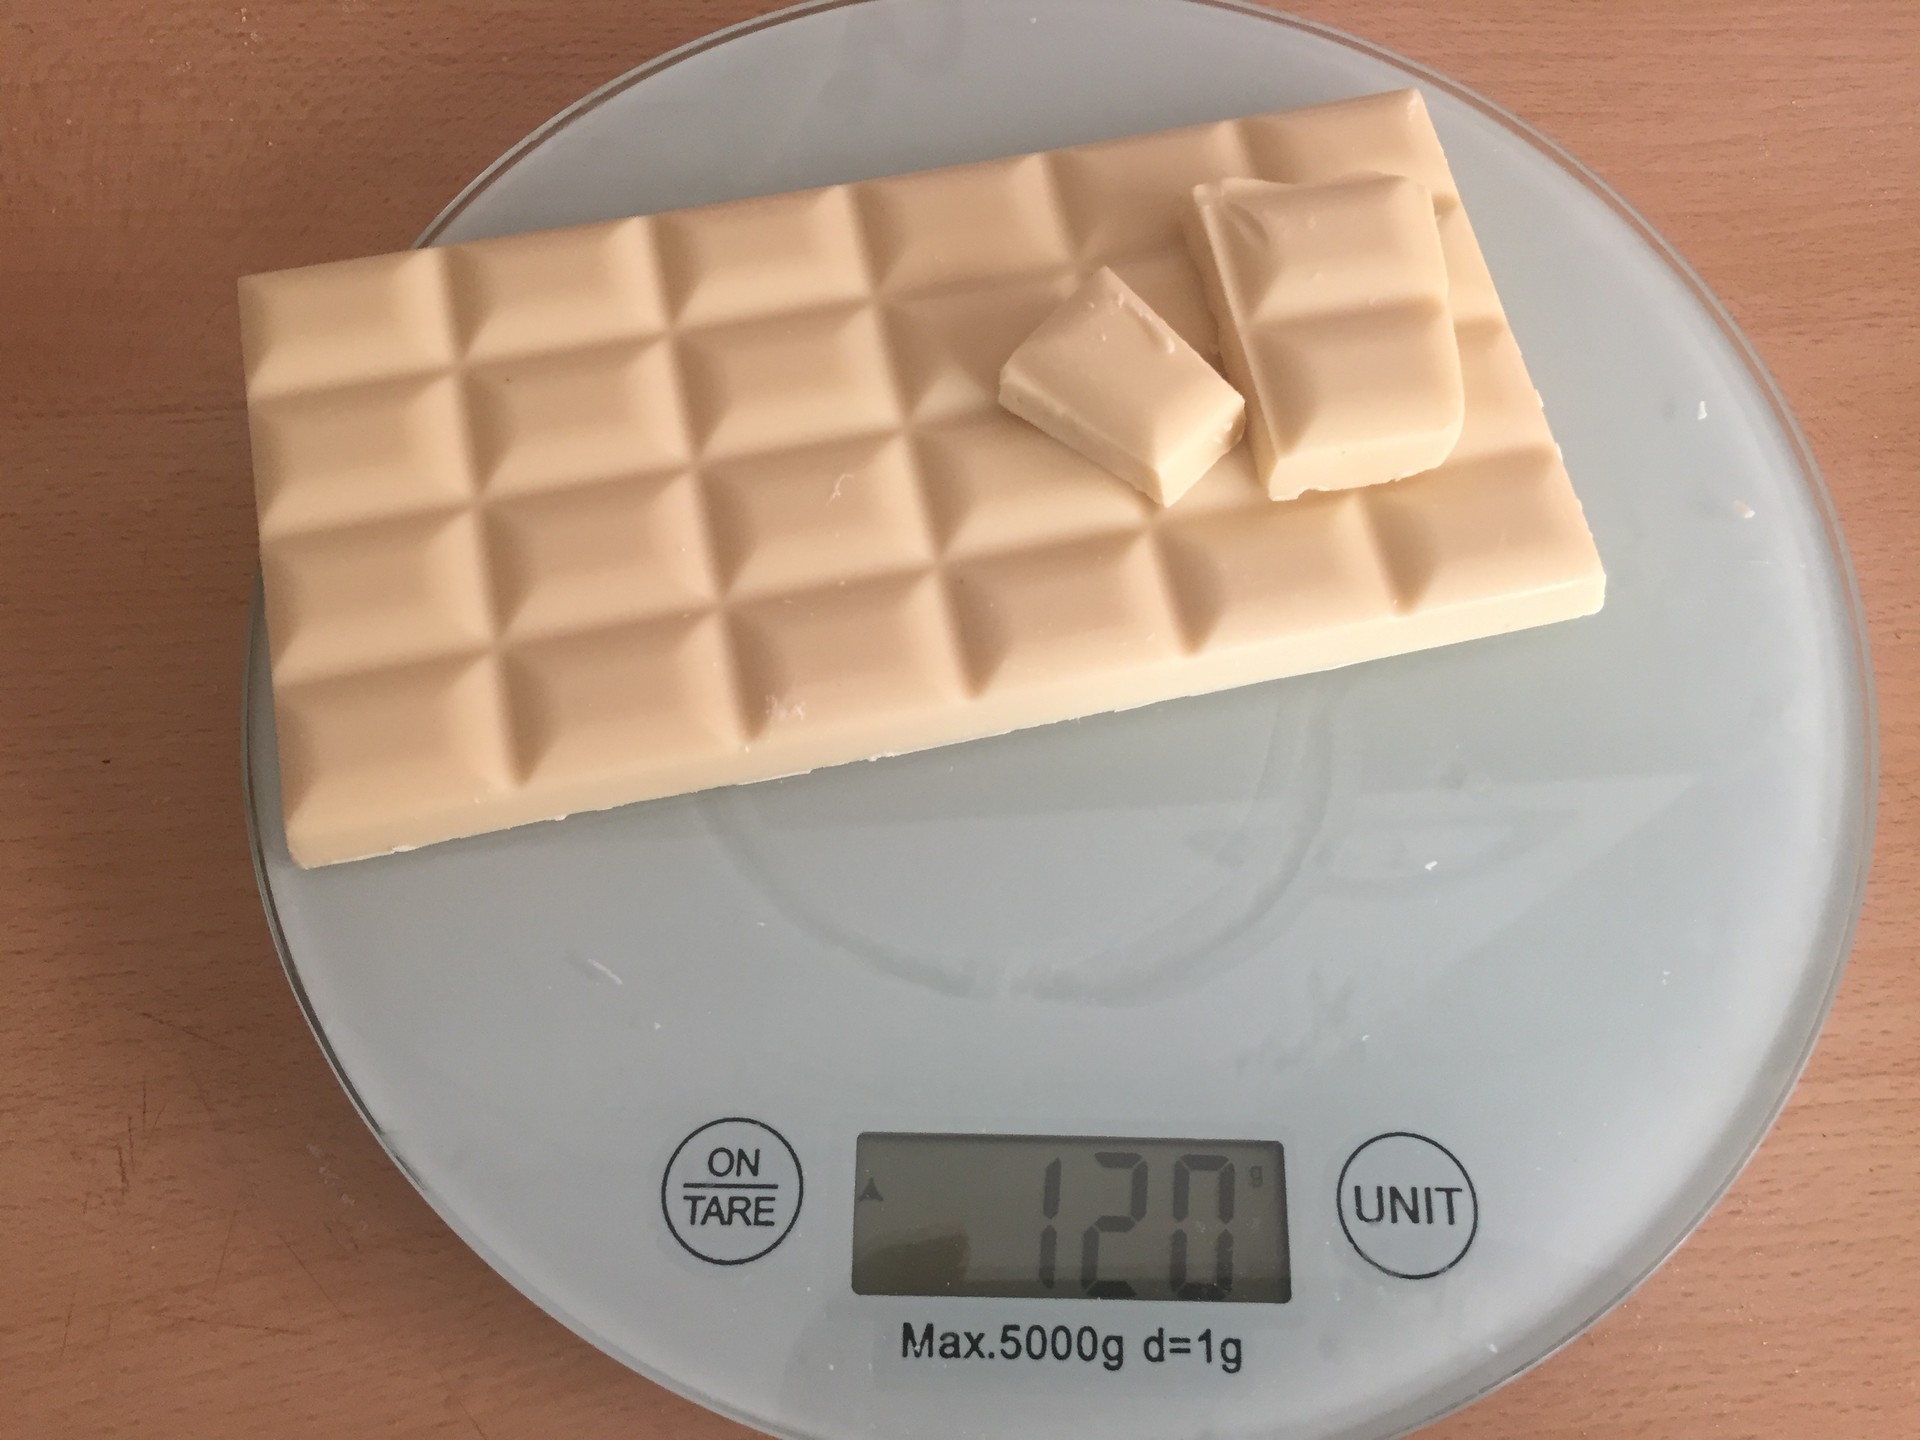
- 120 grams of white chocolate
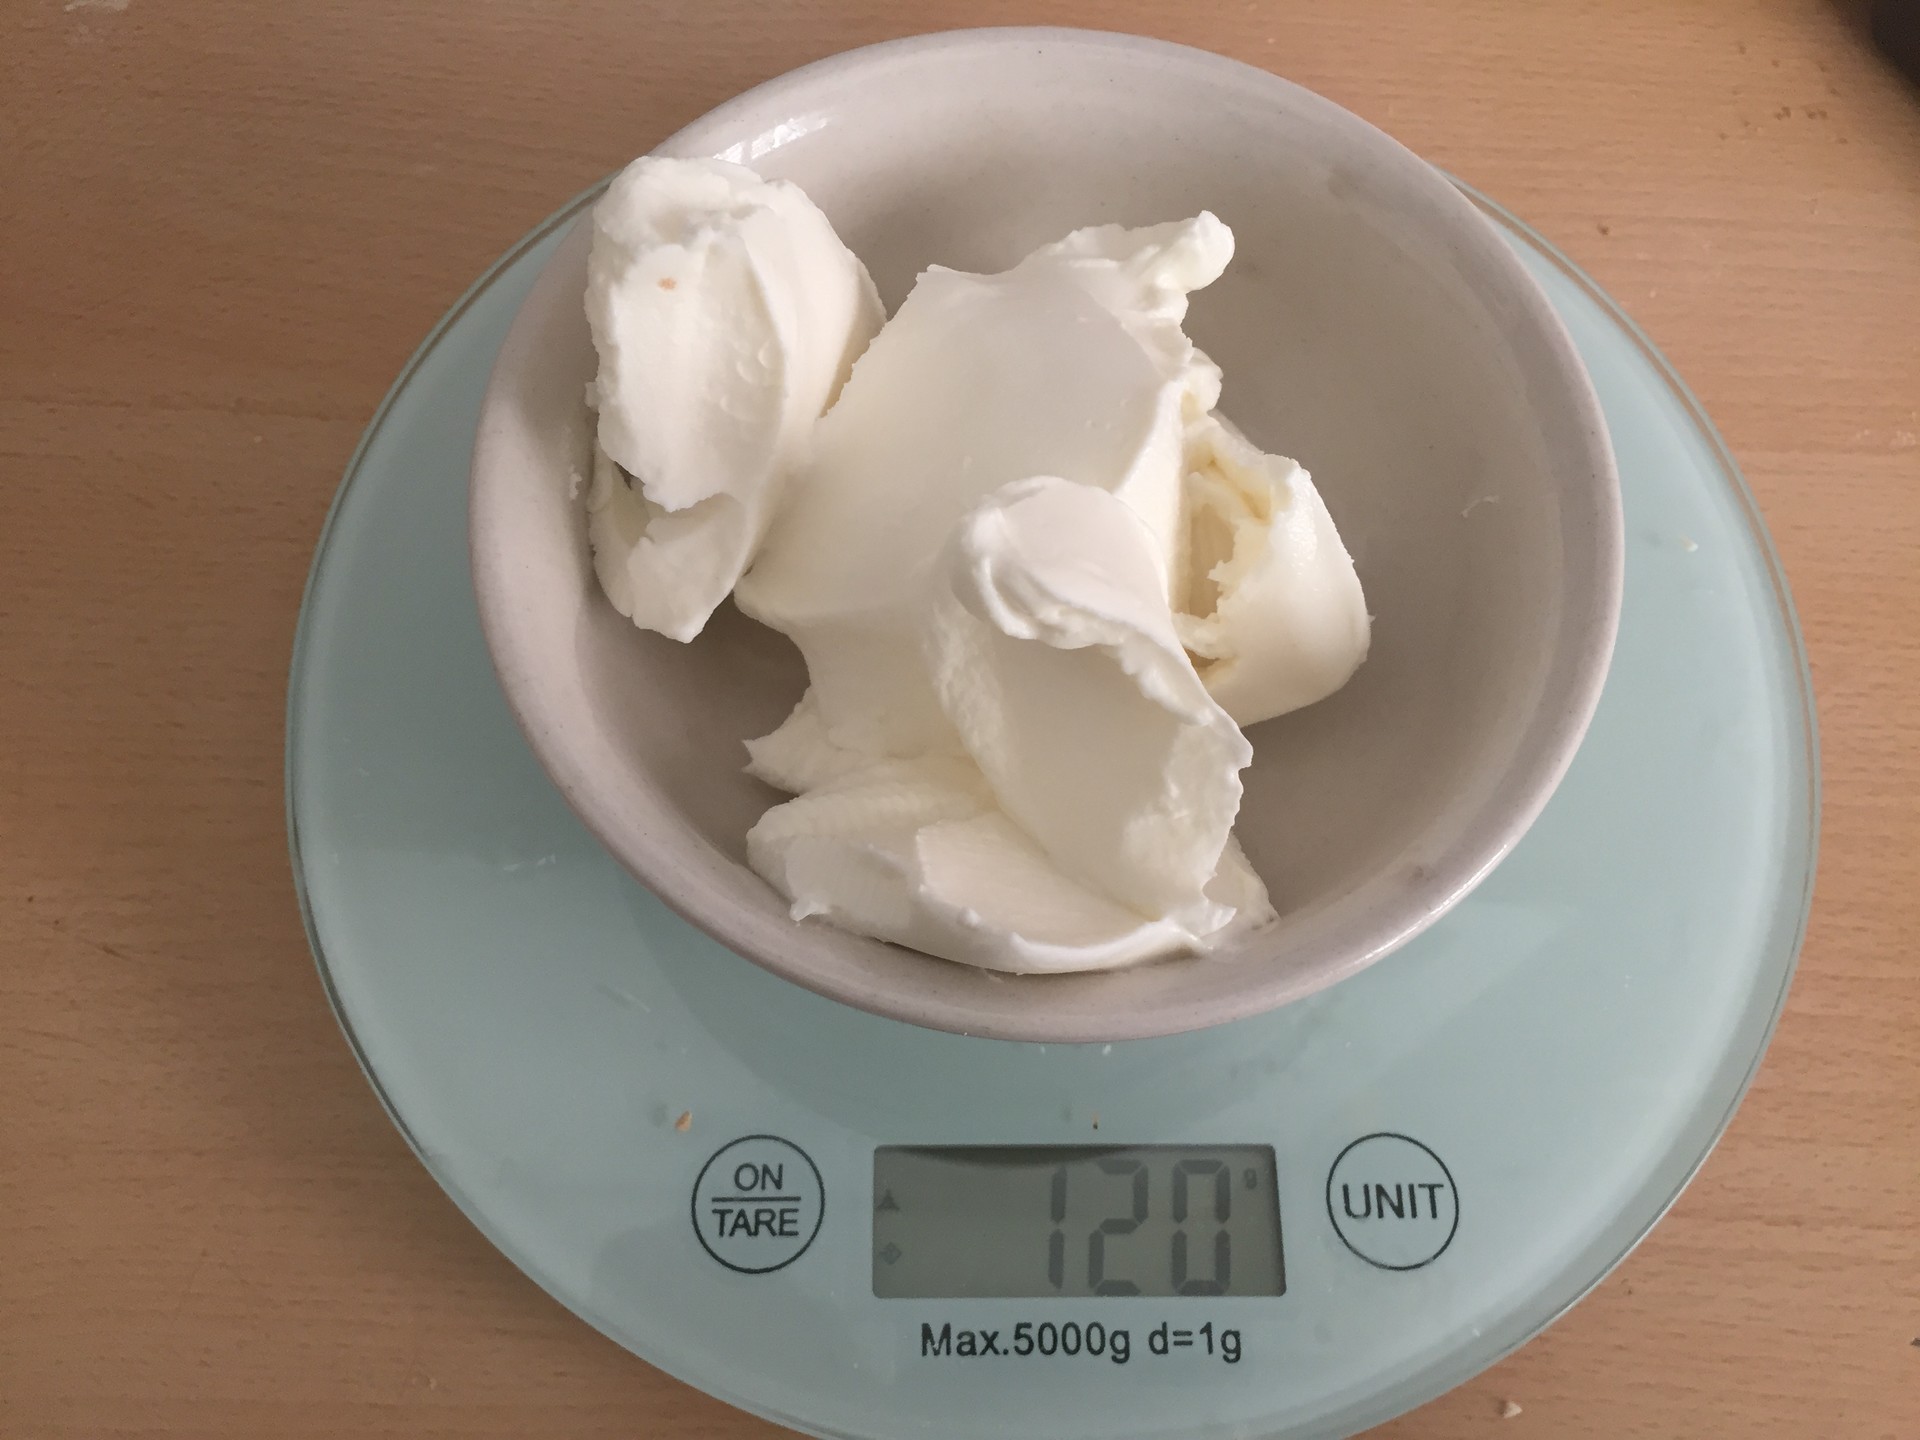
- 120 grams of spreadable cheese such as Philadelphia.
- 3 eggs.

Method:
Take the 120 grams of White chocolate and put them into a bain-marie to melt it.
For those who don’t know how to heat up a bain-marie, it consists of putting a pan full of water over the heat and inside this pan with water, another smaller pan in which you place the ingredients you want to melt.
Watch out! Water is chocolate’s worst enemy, so be very careful and ensure that no water gets into the pan full of chocolate, or it will curdle and end up as chocolate and water which will be a disaster.
When you fill the first pan with water, don’t fill it to the top, fill it to just over half or ¾ of its capacity, and when you put the second pan in, the water should cover the outsides without overflowing and allowing water inside.
Take into account that when the water starts to boil water could end up in the second pan, so pay attention and when you start to see bubbles, pour away some of the water so that it doesn’t mix with the chocolate.
Break the chocolate up and put it into the second pan, and once it’s melted, stir it with a spatula or a spoon so that it comes together.
If creating a bain-marie is too complicated or if you don’t have enough pans or different-sized pans to do it; another option to melt the chocolate would be in the microwave.
Break the chocolate into pieces, don’t leave it whole, and put it in the microwave for 15 to 20 second intervals. Each 15-20 seconds open the microwave to see if it’s melted. You need to check it using the spoon, because what happened to me was that after 3 intervals, I saw that the chocolate was still in the same shape, which didn’t appear to be melted, and then when I took it out to check if it had melted it was squashed by the spoon and turned into water. So yes, check it every now and again.
Once the chocolate is melted, add the spreadable cheese (Philadelphia) and stir it well until it becomes a mixture of all the same colour.
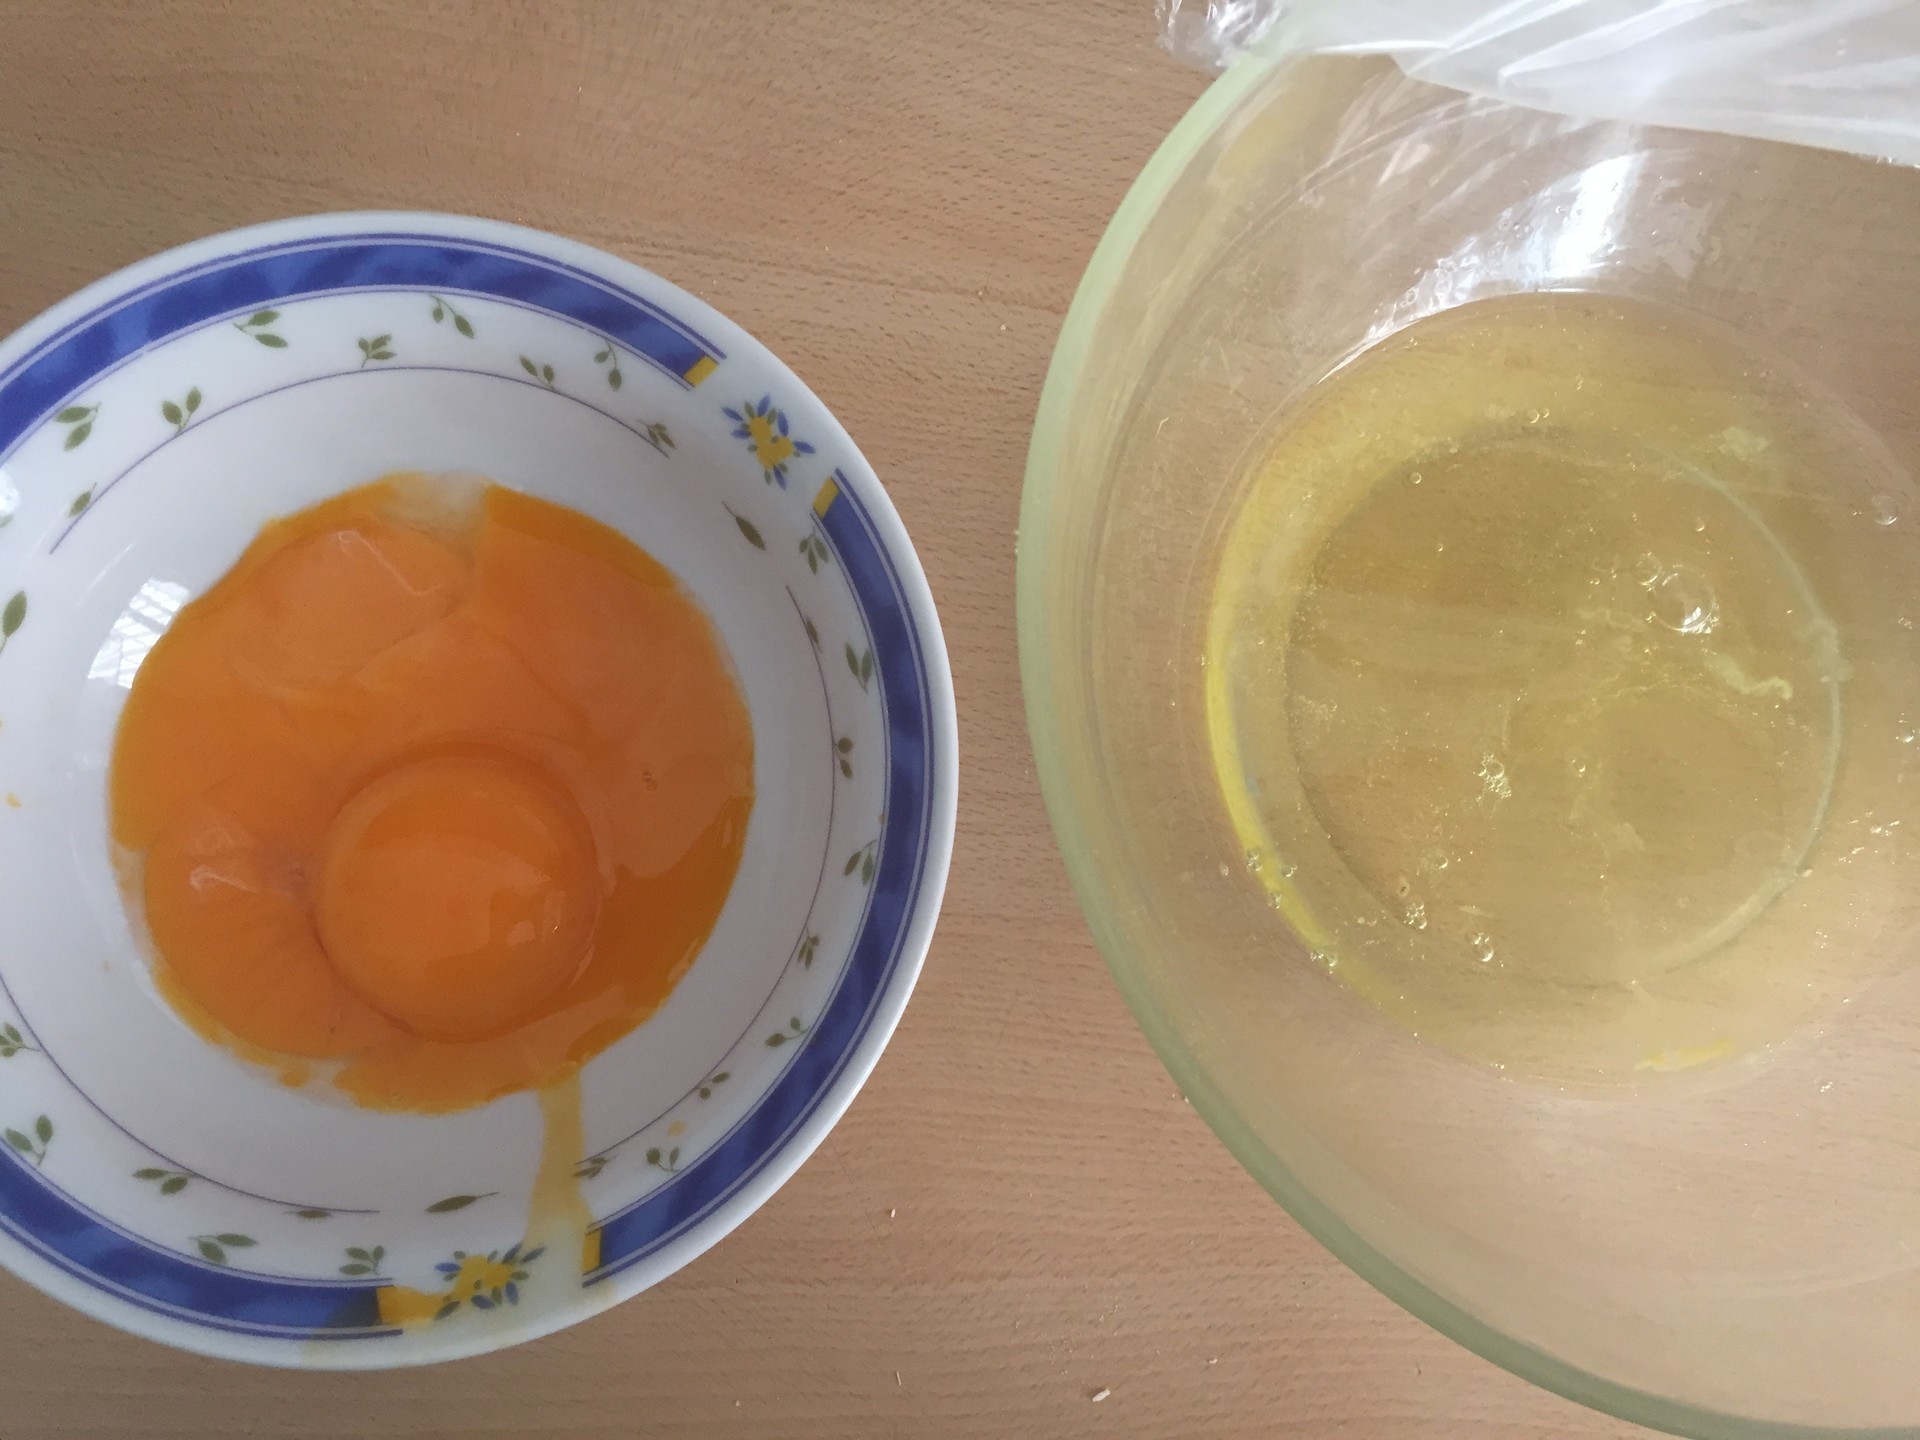
Then, put it aside to chill a little and take 3 eggs. Separate the yolks from the whites in two separate bowls; and putt he whites into the fridge so that they don’t get warm.

A tip for seperating the yolks from the whites without breaking the yolk is, when you break the shell, put the egg into one of your hands, and leave the white to run between your fingers. Hold your hand like a spoon, with your fingers slightly apart and then pass the egg from one hand to another; without harsh movements so that the yolk doesn’t break (as it did for me) until the white has completely gone. Then you’ll be left with a super soft and perfectly round yolk between your fingers.
Continue this method with the other eggs and don’t forget to put the white in the fridge.
Then, mix the yolks into the mixture of chocolate and cheese spread that you prepared earlier. Stir it well so that all of the ingredients come together, but without beating it too strongly otherwise you’ll create a foam and this isn’t what we want.
After mixing everything well, heat the oven to 170ºC.
Now leave the mixture to one side and take a mould. Grease the mould with butter or sunflower oil or put in some baking paper.
My advice is to do it with butter (careful, not with margarine). Then you don’t put in flour or anything, the butter is enough.
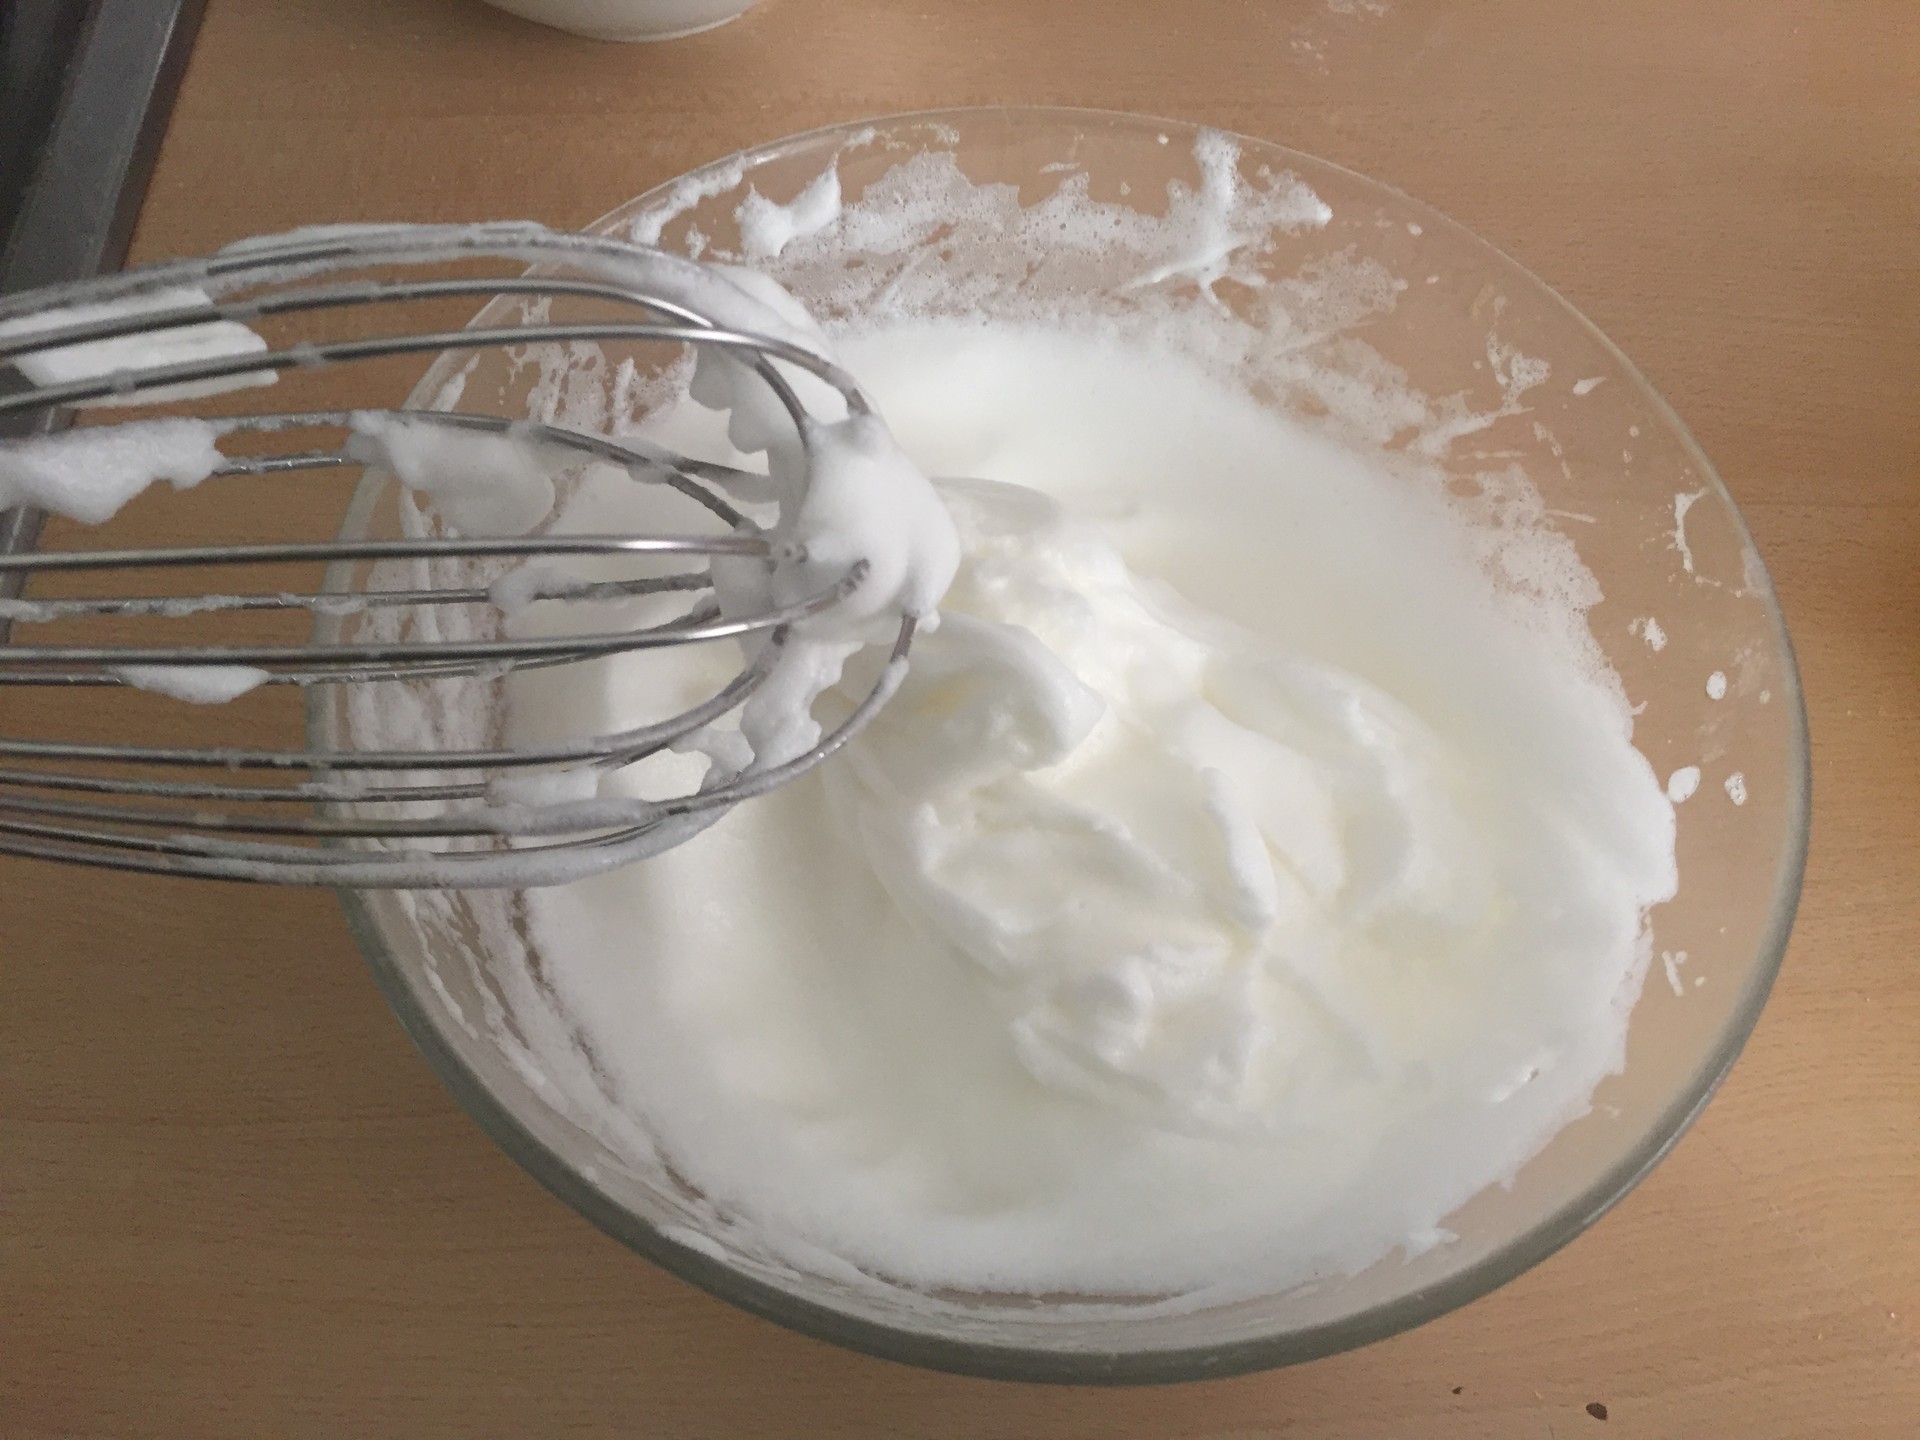
Then, take the yolks from the fridge and whip them to stiff peaks.
To do this, you’ll need to whisk them with an electric or handheld whist. This time I used a handheld whisk because my electric one was broken; so if you’re going to do it manually be prepared for your arm to ache.
You need to whisk it well, quickly and constantly. You can stop to regain a bit of strength and take a little break, but afterwards try to keep whisking at the same rhythm so that they form peaks.
You’ll know that the whites are in stiff peaks when you can tip the bowl upside down without them falling out.
Once the whites are whisked into stiff peaks, add 1/4 of it onto the mixture of yolks, chocolate and cheese and stir carefully, with figure of eight movements so that the whites don’t fall. Then, add the other ¾ and mix, always with slow and steady movements.
And now, for the most important: put warm water onto the tray on which you put the mould into the oven, more or less 2 fingers high, so that it cooks in a bain-marie.
This is really important, because when I made the cake, I didn’t understand the instructions very well and I thought that I had to pour the water into the mixture, but it seemed strange so I didn’t do it; and I didn’t put it onto the tray either.
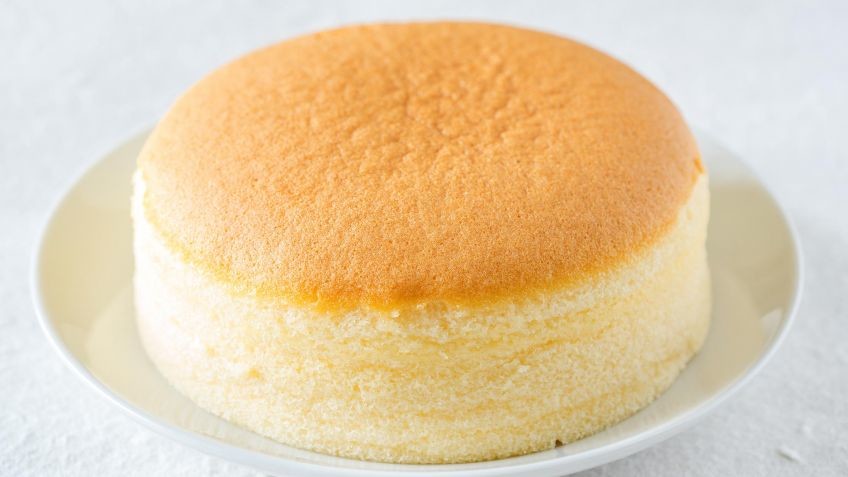
Here is a photo of how it should turn out if you put the water on the tray, and in the other photo you can see the result of not doing this.

(fotografía: https://www.hogarmania.com/cocina/recetas/postres/201702/pastel-queso-japones-35087.html)

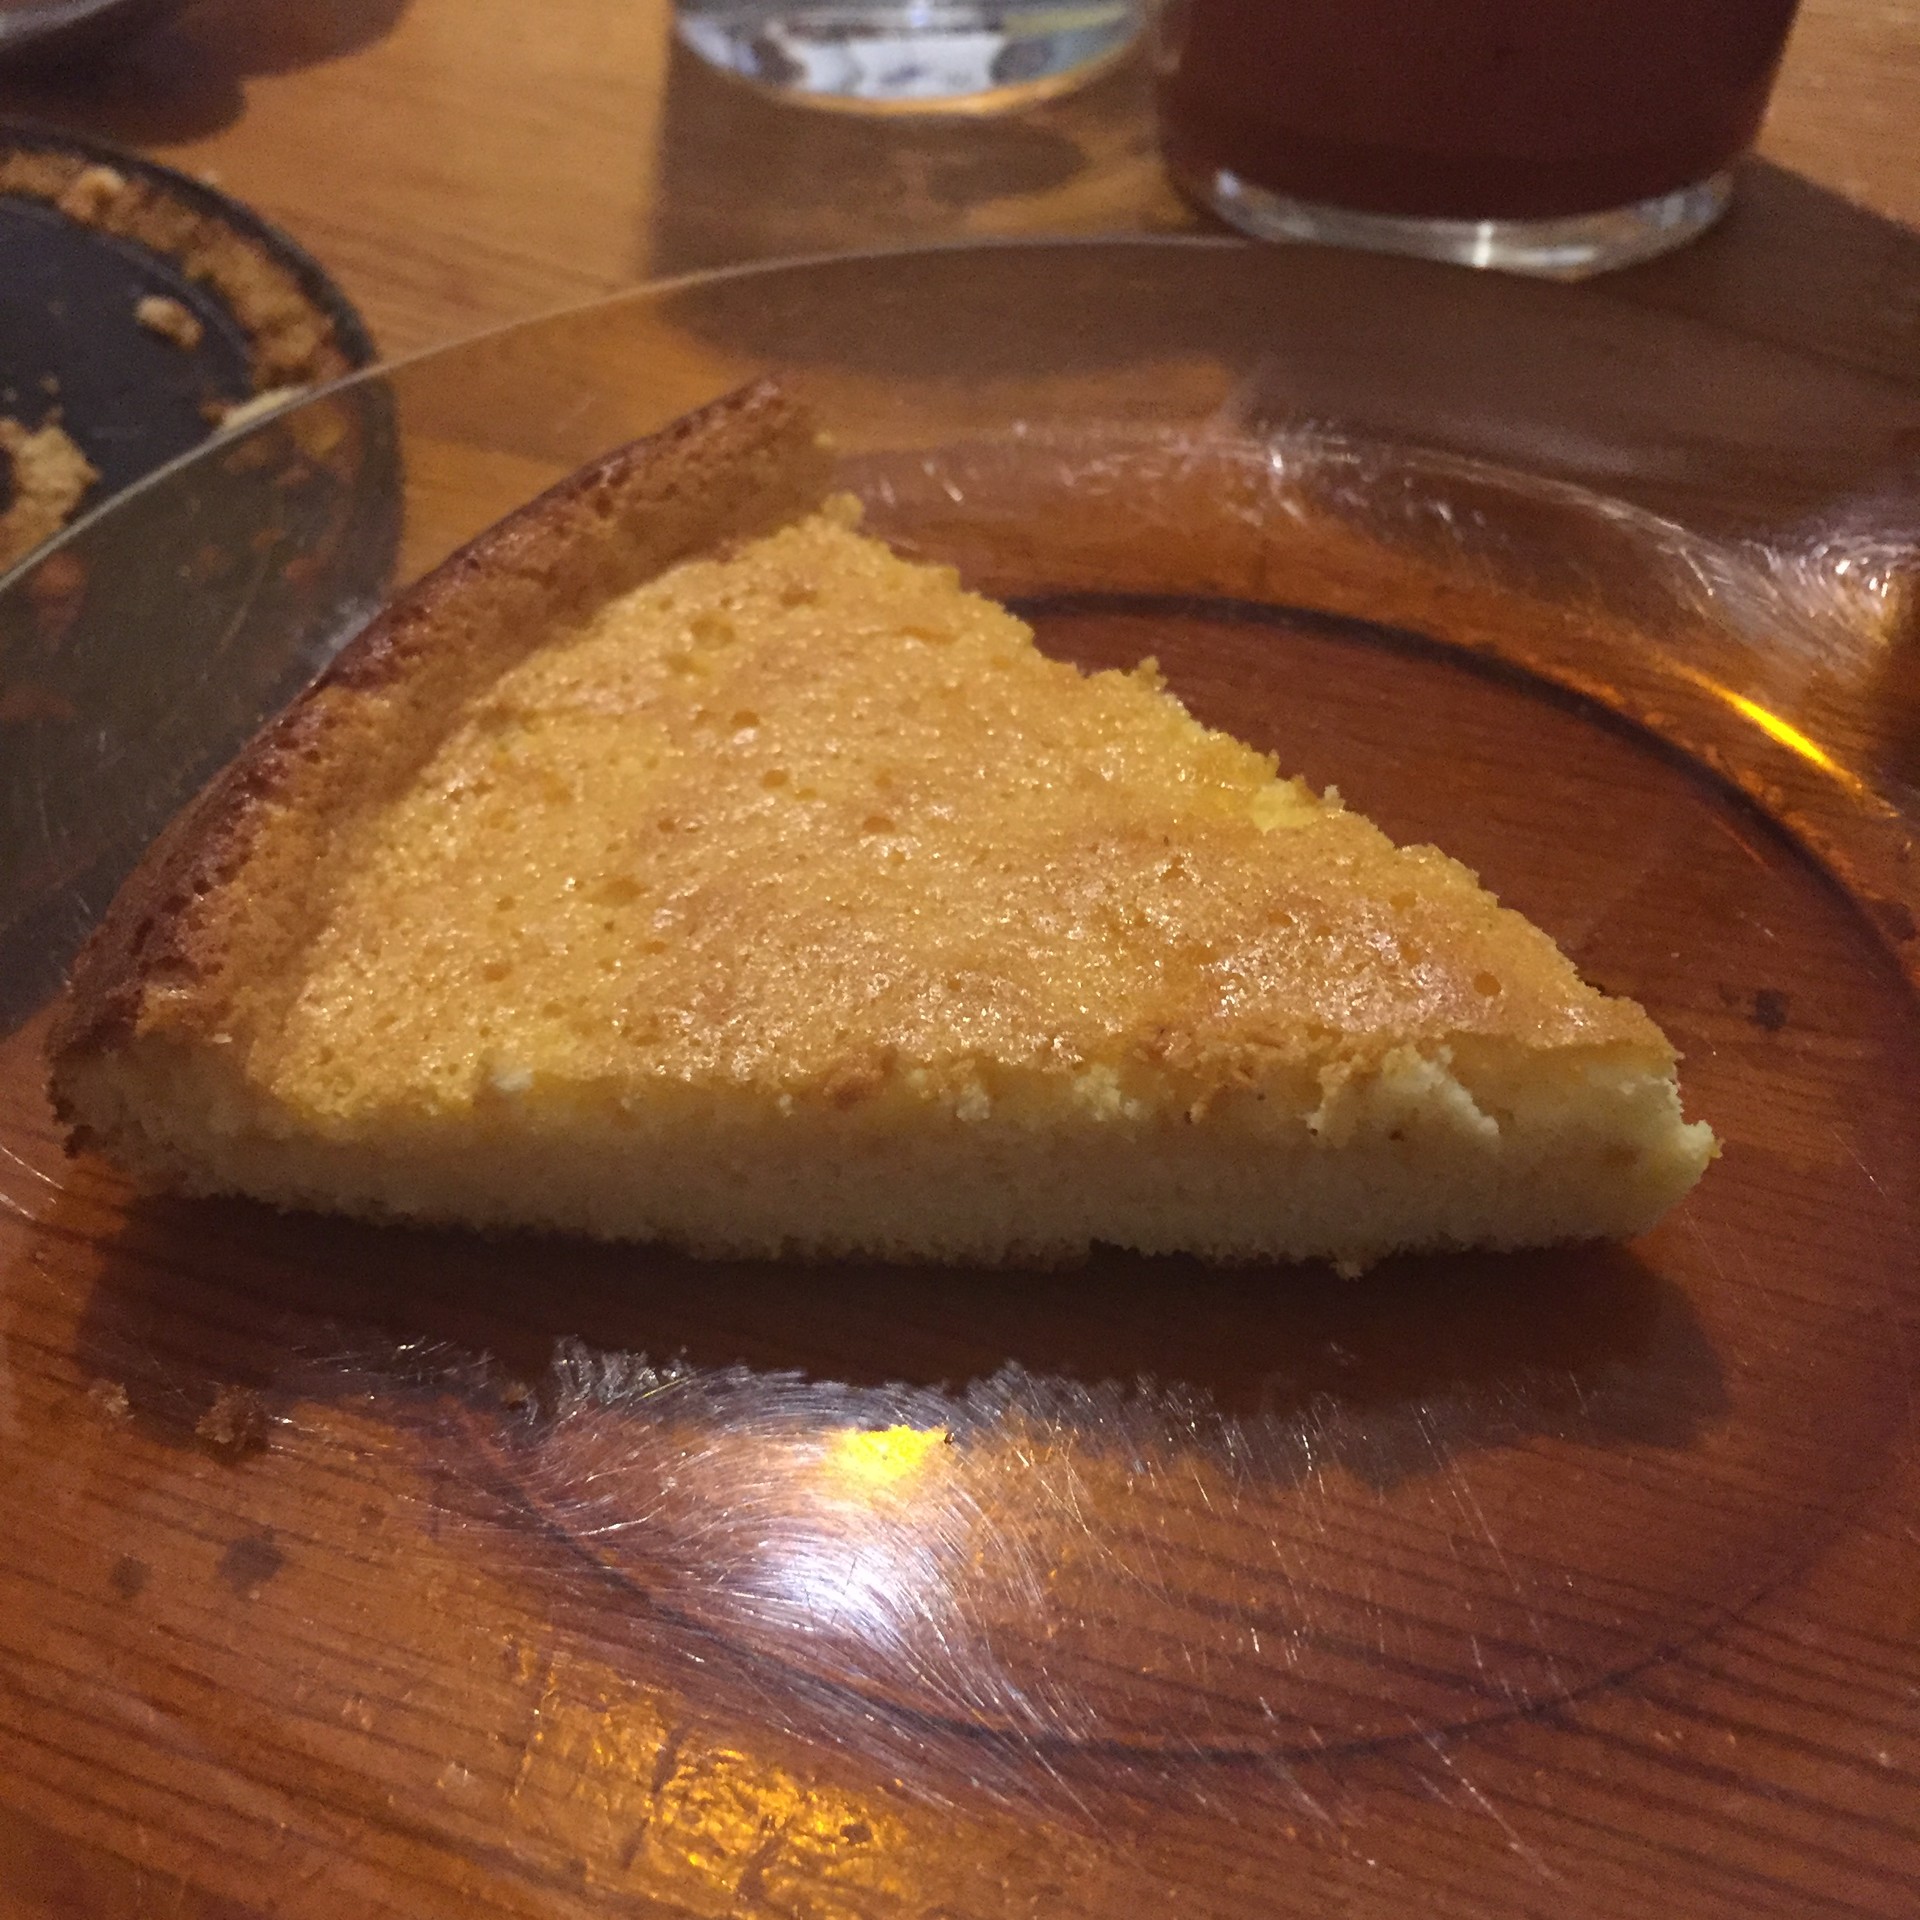
As you can see, if you don’t use the water, the mixture won’t rise and the cake will be very flat (but yes, just as good eh).
So there, don’t forget to add the water to the tray.
Once you’ve done this, put the mould onto the tray and put it into the oven.
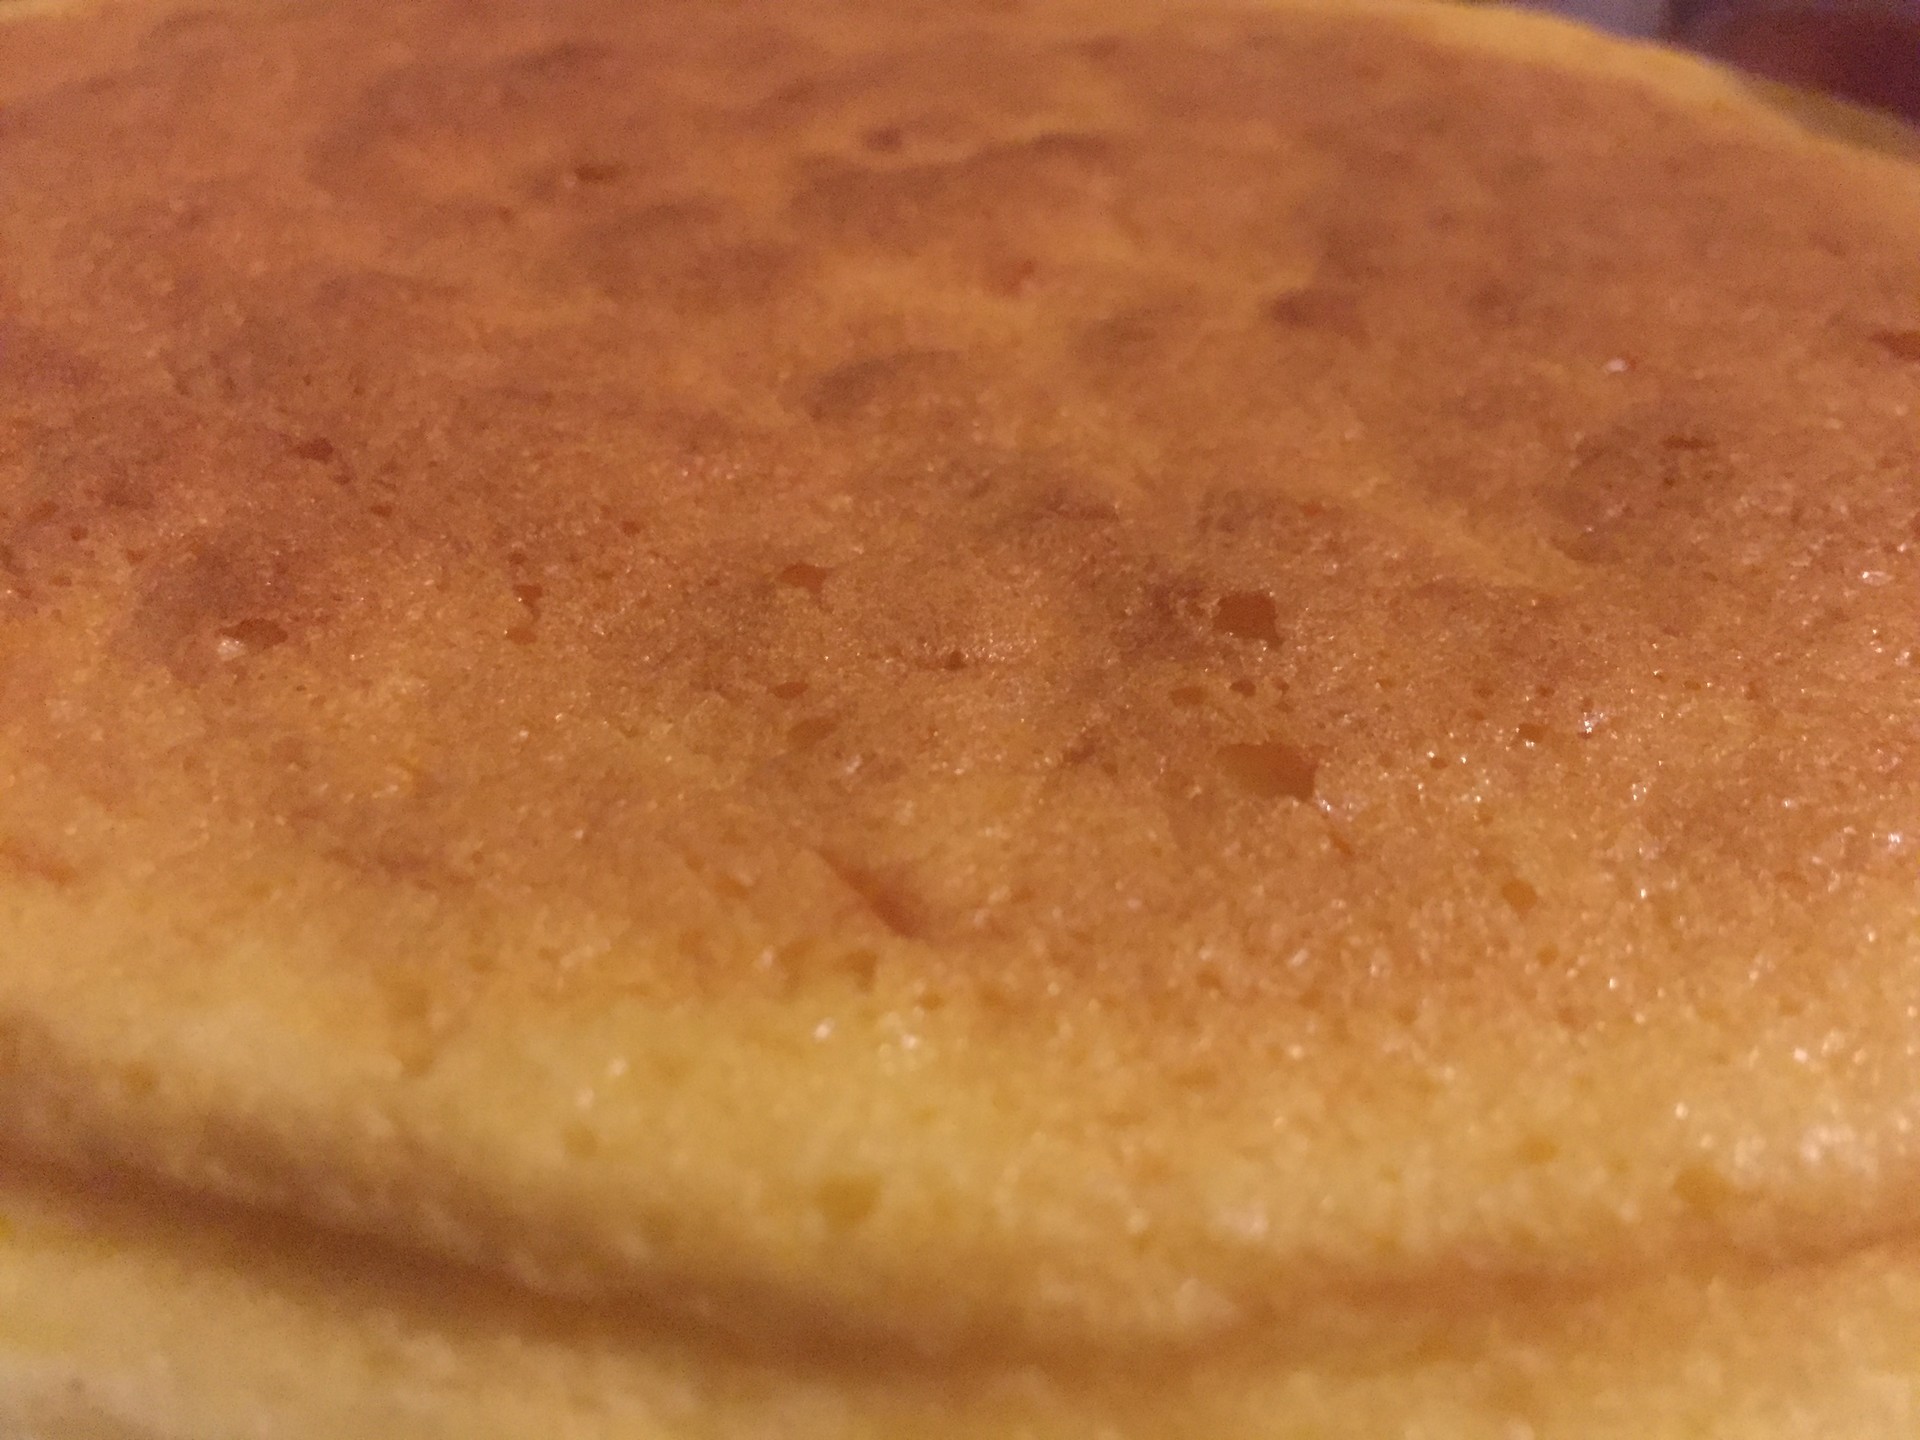
This i show it turned out the next time I made it, this time putting water into the tray in the oven.

Cooking time:
This part is really important. I say important because if you don’t get it right it’ll turn out as hard as a rock or it won’t cook. So pay lots of attention and take note.
- First, cook the cake at 170ºC for 15 minutes.
- Then, lower the heat to 160ºC and leave it for another 15 minutes.
- Then, turn the oven off and leave the cake inside the oven for another 15 minutes.
- Finally, when the 15 minutes with the oven turned off have passed, take the cake out and leave it to cool.
Don’t try to remove the cake from the mould before it’s cooled or it will break and you’ll be left with pieces stuck to the base and the edges. I’m telling you because I messed up and after more or less 10 minutes after taking it out of the oven I tried to remove it from the mould and part of it stayed stuck.
That’s why I’m saying it’s very important to follow the instructions.
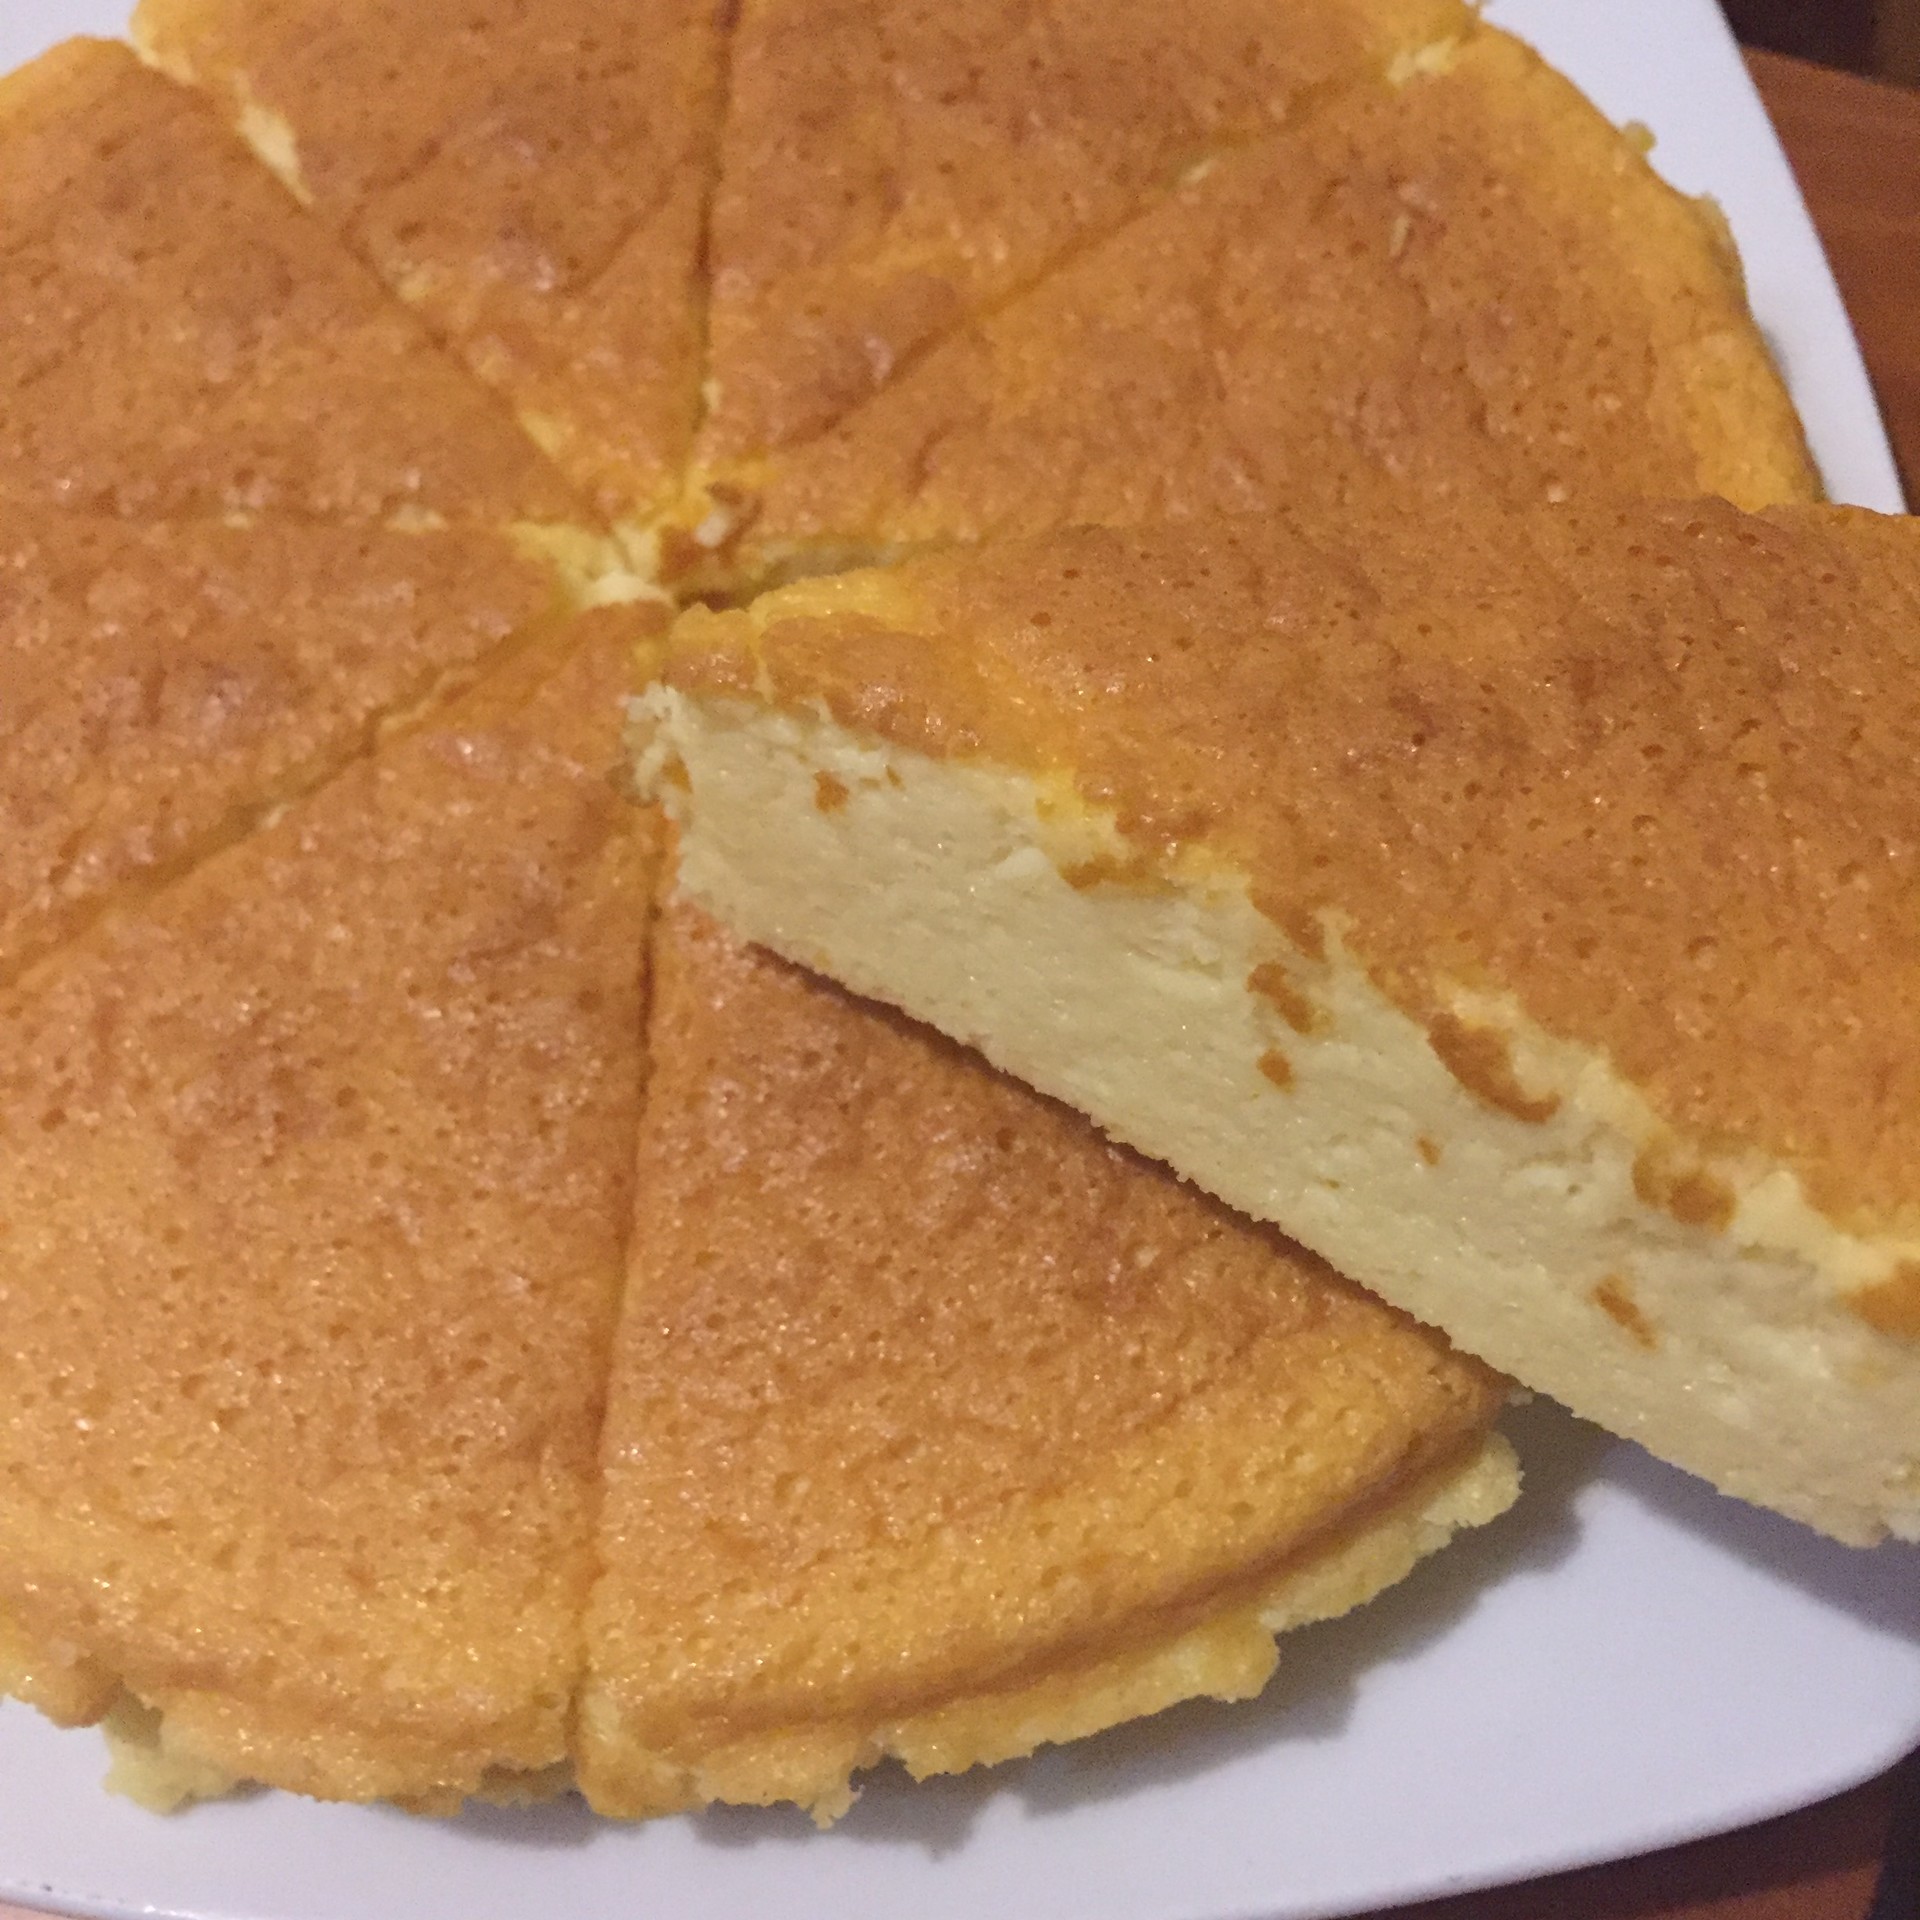
When it’s properly cooled (about 40 minutes after removing it from the oven) then you can take it out of the mould carefully and that’s it!
Now cut the cake into the portions that you want and eat it!
*Tips:
Try to use medium sized eggs, not small nor large because if you use small ones the mixture will turn out very thick and if you use large ones it’ll turn out very runny and the cake won’t set.
For the spreadable cheese I recommend that you use the brand Philadelphia and nothing else, because it has a different flavour to the others and the cake will taste much better with Philadelphia. But if you don’t want to buy this one in particular (normally it’s more expensive than a supermarket brand) it doesn’t matter, you’ll still get the same result and it’ll still be super tasty; )
Please, don’t forget the water on the tray on the oven. It’s the most important thing in order for the cake to turn out spongy.
As for the mould, try not to use one which can be taken apart otherwise the water will get inside when you put it onto the tray of water.
I’ve tried to make this Japanese cheesecake twice. The first time, as I said before, I didn’t put the water on the tray for it to cook in a bain-marie and it turned out very flat, a total fail.
The second time I put water on the tray but I used a mould that comes apart and so water got inside the mixture and, once again, total fail.
However, this time it turned out spongier and with more of a cheesecake texture (as it should be) but it didn’t rise much, the cake was once again a little flat.
But I assure you that in terms of flavour it was delicious (the second cake better than the first, honestly).
My whole family loved it and I’m going to make it again, but this time with a closed mould.
Another little tip is that, if you want to, you can add icing sugar on top of the cake using a sieve. I put it on my first cake because it looked a little ugly on top, but the cake is delicious without the need to add icing sugar, and also that’s how the original one is made and the one that appears in the Miyazaki film; )
That’s all! I hope it turned out as well for you as for me, and if not, don’t be discouraged and try again. I had to do it twice before it turned out perfectly.
So come on, enjoy it!
Photo gallery


Content available in other languages
Want to have your own Erasmus blog?
If you are experiencing living abroad, you're an avid traveller or want to promote the city where you live... create your own blog and share your adventures!
I want to create my Erasmus blog! →


Comments (0 comments)