A simple baked cheesecake
Translated by  Holly Probyn
— 6 years ago
Holly Probyn
— 6 years ago
Original text by
Alba H. Pérez
Blog: Translation blog by Holly in EnglishTags: Erasmus recipes
I think this is the third cheesecake recipe I've posted. At this point, no one can deny that I'm a "cheese lover". When I was only two years old, I loved eating cured cheese... and even my mother was always offering me cheese from the laughing cow!
I like to try all the recipes I find for this type of cake. The truth is that I like almost all of them. When it comes to choosing which one to do, the number of ingredients necessary and the time it takes to make play a big role.
This cake I made today, is so delicious yet you don't need many ingredients. In addition, all the ingredients are easy to find. That is, perhaps, the best thing about the recipe. Well, that and the time you spend making it which will be no longer than five minutes plus the time it needs to bake in the oven.
If you like baking, I recommend you do it using a good baking tray which comes apart. Mine is non-stick and it has a diameter of 28cm and a height of 3cm. It's important that it's a good one, because if you need to put a liquid mixture in it, without a solid base at the bottom, the tin has to be shut tight if it's one you can take apart. If it has any gaps or it doesn't have a good base, the liquid could run out and we'd be left with no dessert. The silicon ones are usually very good too.
Also, it's recommendable to have a spatula to hand in the kitchen (the things which look like flat silicon spoons and you can scoop out everything from the bowl without leaving even just a trace), that way we can make the most of the creams we make without wasting anything.
To start with, check in the fridge to see if you have all the ingredients and you can try making this cake tonight.
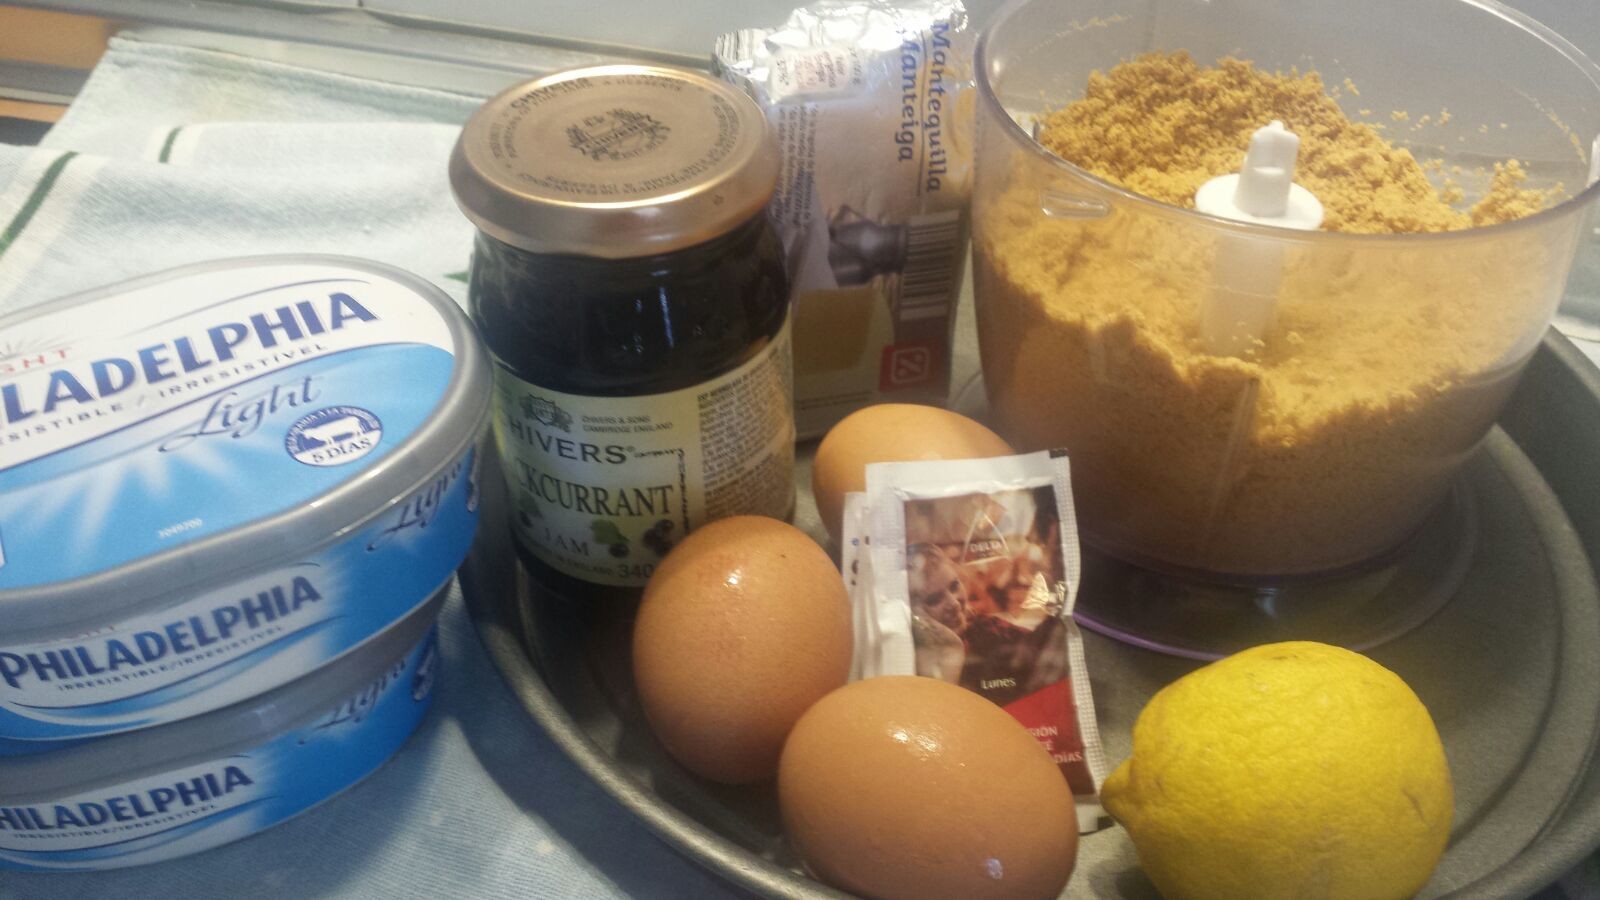
 Necessary ingredients for the cheesecake
Baked cheesecake with a biscuit base
Rough cost
The ingredients for this cake add up to around 6 euros but you can get them for cheaper depending on the brand of cheese you use.
Ingredients
- 2 tablespoons of butter
- 14 biscuits, like Digestives (or your favourites)
- 1 egg (optional)
Ingredients for the filling
- 2 large tins of cream cheese (or 600 grams, it can be "light")
- around 200 grams of sugar
- 3 eggs
- 1 squeezed lemon (no pips, of course)
Decoration
- Red berry jam (the tastiest you can find)
Cooking instructions
1. Starting with preparing the base of the cake. For that, we must crush the biscuits. If you don't have a food processor to do it, you can use a pestle and mortar, or you can put the biscuits in a bag and crush them with a drinks can or roll a bottle over them as if it were a rolling pin. Also, we must melt the butter in the microwave, a few seconds should do it, and mix it thoroughly with the crushed biscuits. At this stage, you can add a beaten egg and mix it round together. It's not essential, it will just give the base some more consistency.
 The biscuit buttery base laid in the tray
For the biscuit and butter mixture, you have to mix it very well. At first it may seem like most of the biscuits are dry but as you mix it more, they get moister. Once the mixture is more of a paste, put it in the base of the tin, spreading it out and making sure it covers the whole tray. At the same time, while putting pressure on it with a spoon, or a spatula, to make the base compact so it can take the weight of the cream used as the filling, which we're going to prepare later. When the tray is fully covered, leave it to rest so it can harden while we prepare the filling of the cake.
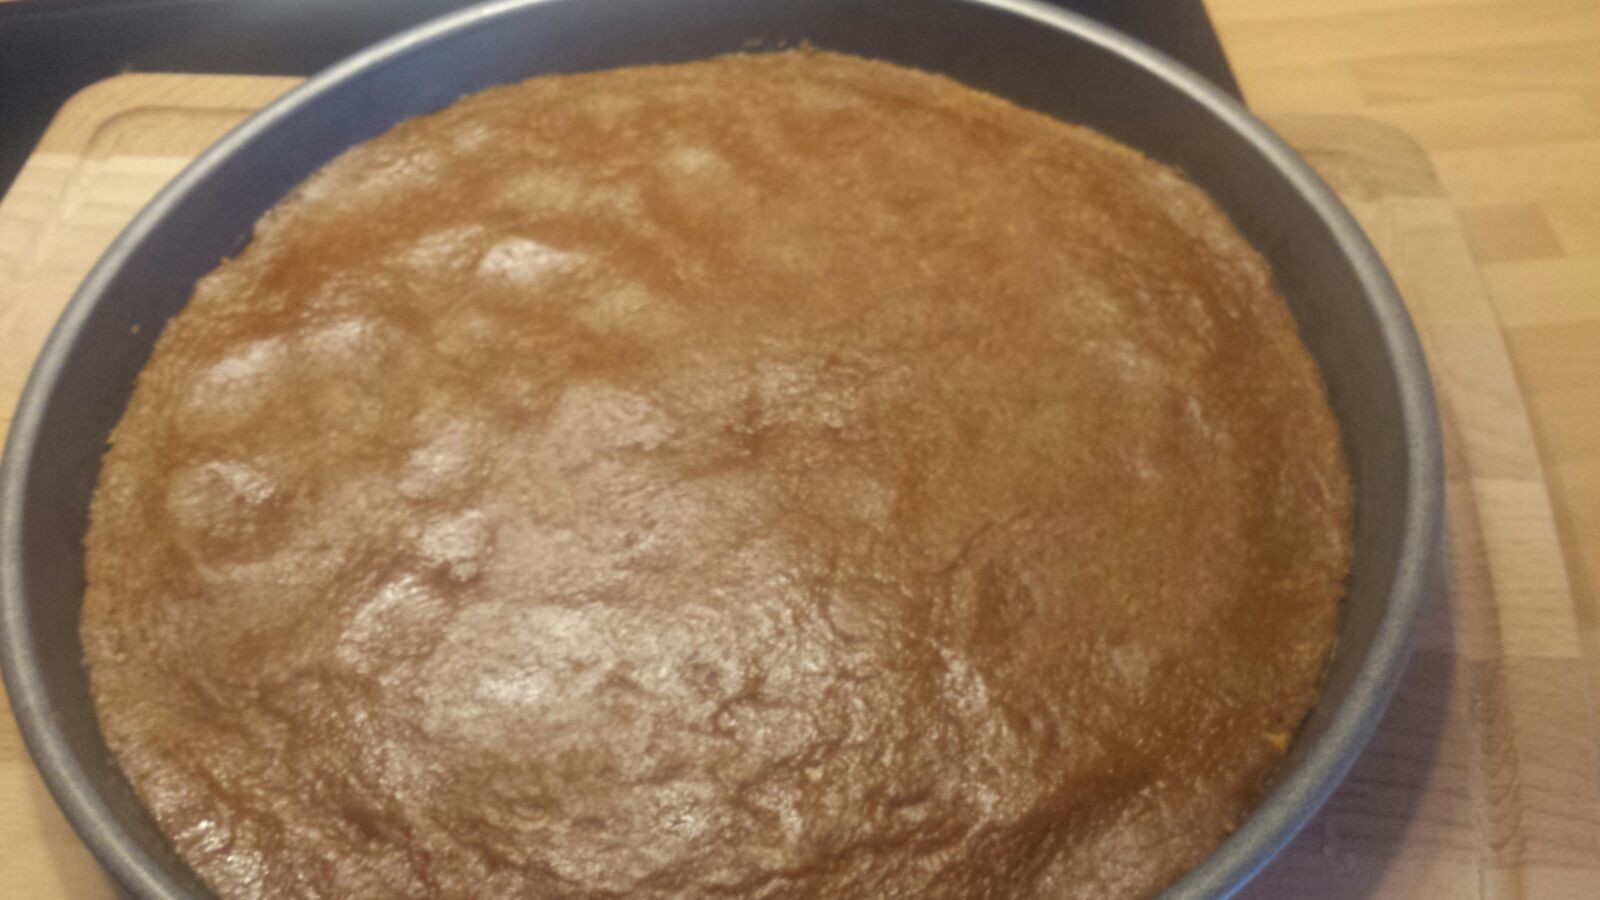
2. In a bowl, add all the ingredients needed to make the cream for the filling (the cream cheese, the sugar, the eggs, and the lemon juice) and whisk it all together for a few seconds. Pour the cream over the biscuit base that we've already put in the tin and put it in the oven, which will be preheated to 180º for about 20 minutes (with the top and bottom oven on). The top of the cake usually gets a little brown, but don't worry, that's normal (but it doesn't burn!). If you see that it's getting too hot, cover the cake with aluminium foil when it's still in the oven and that should prevent the top of it from looking like it's burnt.
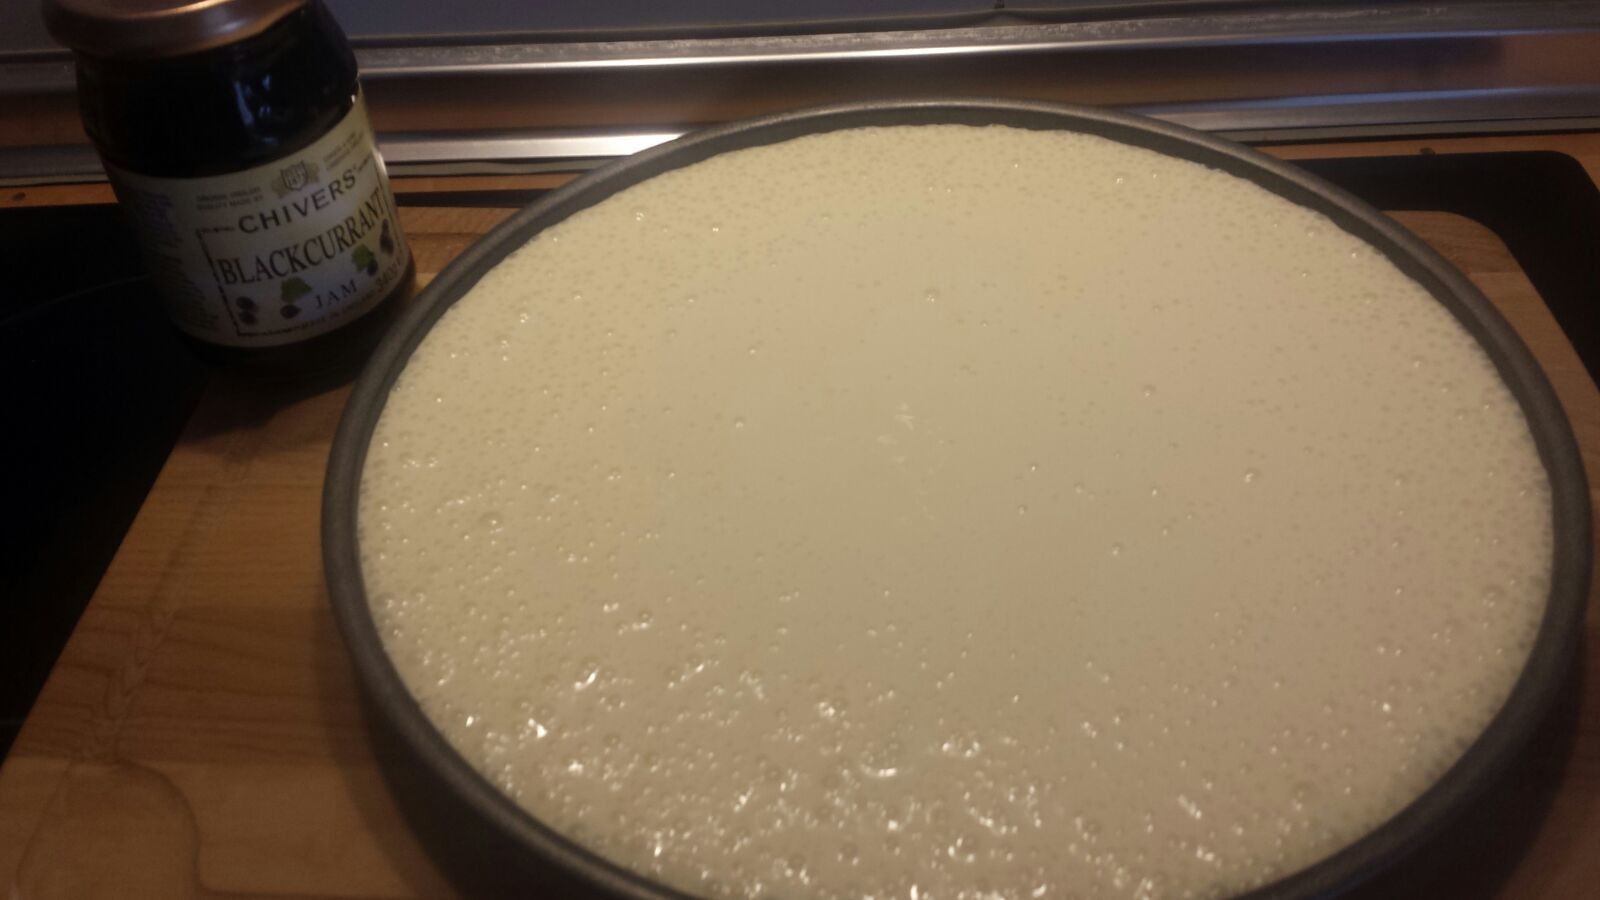
 The filling in the tin before going into the oven
3. When the cake has cooled down, decorate it with a few tablespoons of jam.
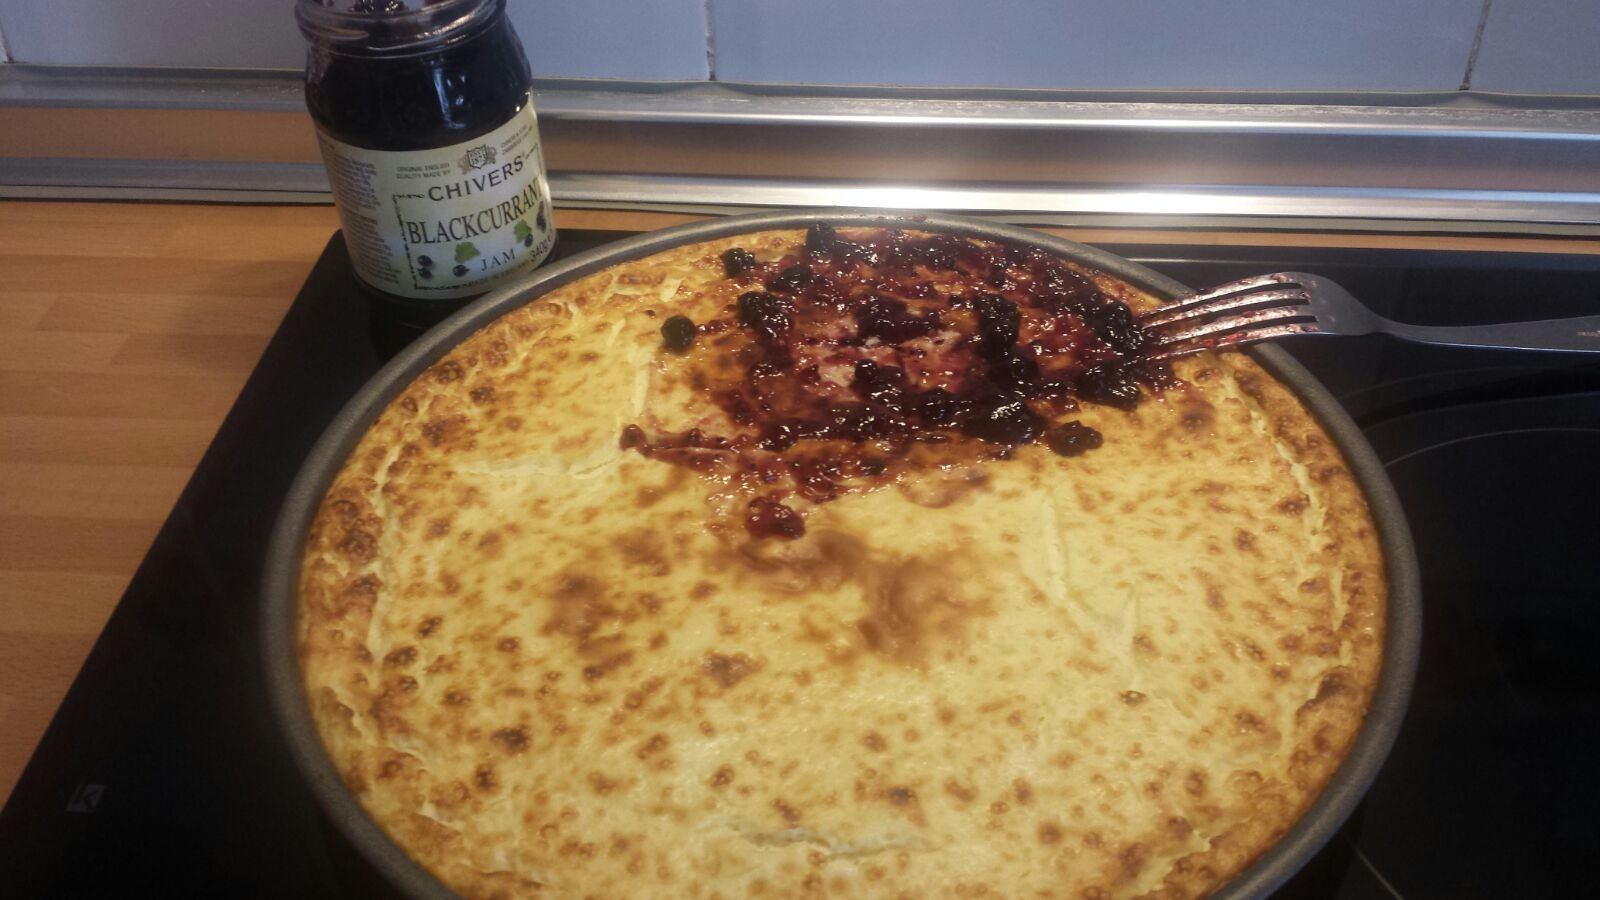 Covering the top of the cake with blackcurrant jam
For this post, I have also prepared a small selection of my cheesecake recipes: with or without a biscuit base, cold or baked.
Lemon yoghurt cheesecake
(Without a biscuit base, but baked in the oven)
Ingredients:
- 2 large tins of cream cheese (or 600 grams, it can be "light")
- about 200 grams of sugar
- 4 eggs
- 3 lemon flavoured yoghurts
- 1 tablespoon of cornflour
Cooking Instructions
The only thing you have to do it mix and thoroughly whisk all the ingredients together. Once that's done, pour the cream into the tin. Preheat the oven five minutes before and put the tin into the over for fifteen minutes at 180º with the top and bottom oven on.
Greek yoghurt cheesecake
(Without a biscuit base and without baking it in the oven)
This dessert doesn't require the oven therefore, the steps to this recipe are much more simplified. In addition, it only uses five ingredients and it comes out really creamy.
Ingredients
1. You have to let the gelatine sheets soak in a bowl of water at room temperature.
2. Meanwhile, heat half the glass of milk in a saucepan. When the milk boils, turn off the hob, and add the drained gelatine sheets and mix well.
3. Once the milk has cooled down a bit, add it to the mixture which we will have already prepared using the rest of the ingredients (you only have to blend them together) and leave it in the tin in the fridge to set for a few hours (or if possible, until the following day).
Mascarpone and chocolate cake
(With a biscuit base but without baking it in the oven)
This cheesecake is made with mascarpone (the same type of cheese they use in the original and very popular tiramisu) and cacao powder, which gives it a special touch, especially if you use pure cacao powder.
Ingredients for the base:
- 15 or 16 biscuits
- Butter
- 3 or 4 tablespoons of cacao powder
Ingredients for the filling
- 500 grams of mascarpone cheese
- 500ml of whipping cream
- about 200 grams of sugar
- a glass of milk (approximately 250ml)
- 8 sheets of unflavoured gelatin
- half a squeezed lemon
Cooking Instructions
1. All you have to do it whisk all the ingredients together, except the half a glass of milk and the gelatine sheets.
2. Put the gelatine sheets in water at room temperature to then mix them with the half a glass of boiling milk. Once the gelatine has dissolved and the mix has cooled down, pour it over the blended ingredients and mix together.
3. We then add this to the base, which is already prepared and spread out into the tin. The base consists of the crushed biscuits, 2 or 3 tablespoons of butter and the cacao powder. Then leave it to set for a few hours (the longer the better).
Just a suggestion, you can also alternate the layers between the cream mixture and a red berry fruit syrup (blackberries, strawberries, cherries) mixed with a liquor. You can decorate the cake with the fruit.
Until I wrote this entry, I didn't have a favourite amongst the cheesecakes I've tried, but from today I can officially say that the best cheesecake I have eaten is made with a very special recipe which comes from a restaurant in San Sebastian called "La Viña". All I'll say is that it's considered one of the best cheesecakes in the country. It's worth turning on the oven to try this cake. I'll leave you the link to the recipe here. Don't stop baking.
Photo gallery


Content available in other languages
- Español: Tarta de queso sencilla en el horno
- Italiano: Cheesecake semplice al forno
Want to have your own Erasmus blog?
If you are experiencing living abroad, you're an avid traveller or want to promote the city where you live... create your own blog and share your adventures!
I want to create my Erasmus blog! →


Comments (0 comments)