Peanut chocolate chip cookies
I have always associated fall with the baking season. And since I love American cookies (they are much better than European style cookies, sorry), I decided to bake them the other day, and since they turned out to be pretty good, I decided to share this recipe with you. But what type of cookies did I make? I named them peanut chocolate chip cookies.
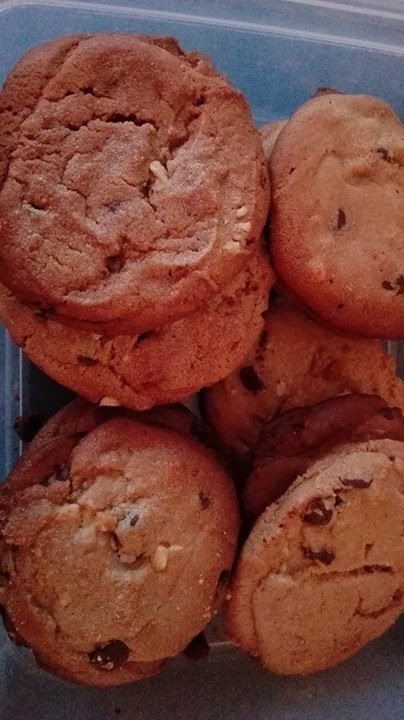
My mother is a chef and she always told me to always improvise a little when making food, because that makes the food you are making more personal - you can use more of the ingredients you like and less of the ingredients you do not like as much. And that is what I do - this recipe was a basic recipe for the American style cookies, and I decided to add some ingredients to it to make them taste better. Feel free to add or take away some of the ingredients.
Ingredients
Since I live in the United States of America now, I will use American measure units. You can easily convert them to European units, simply type them into Google.
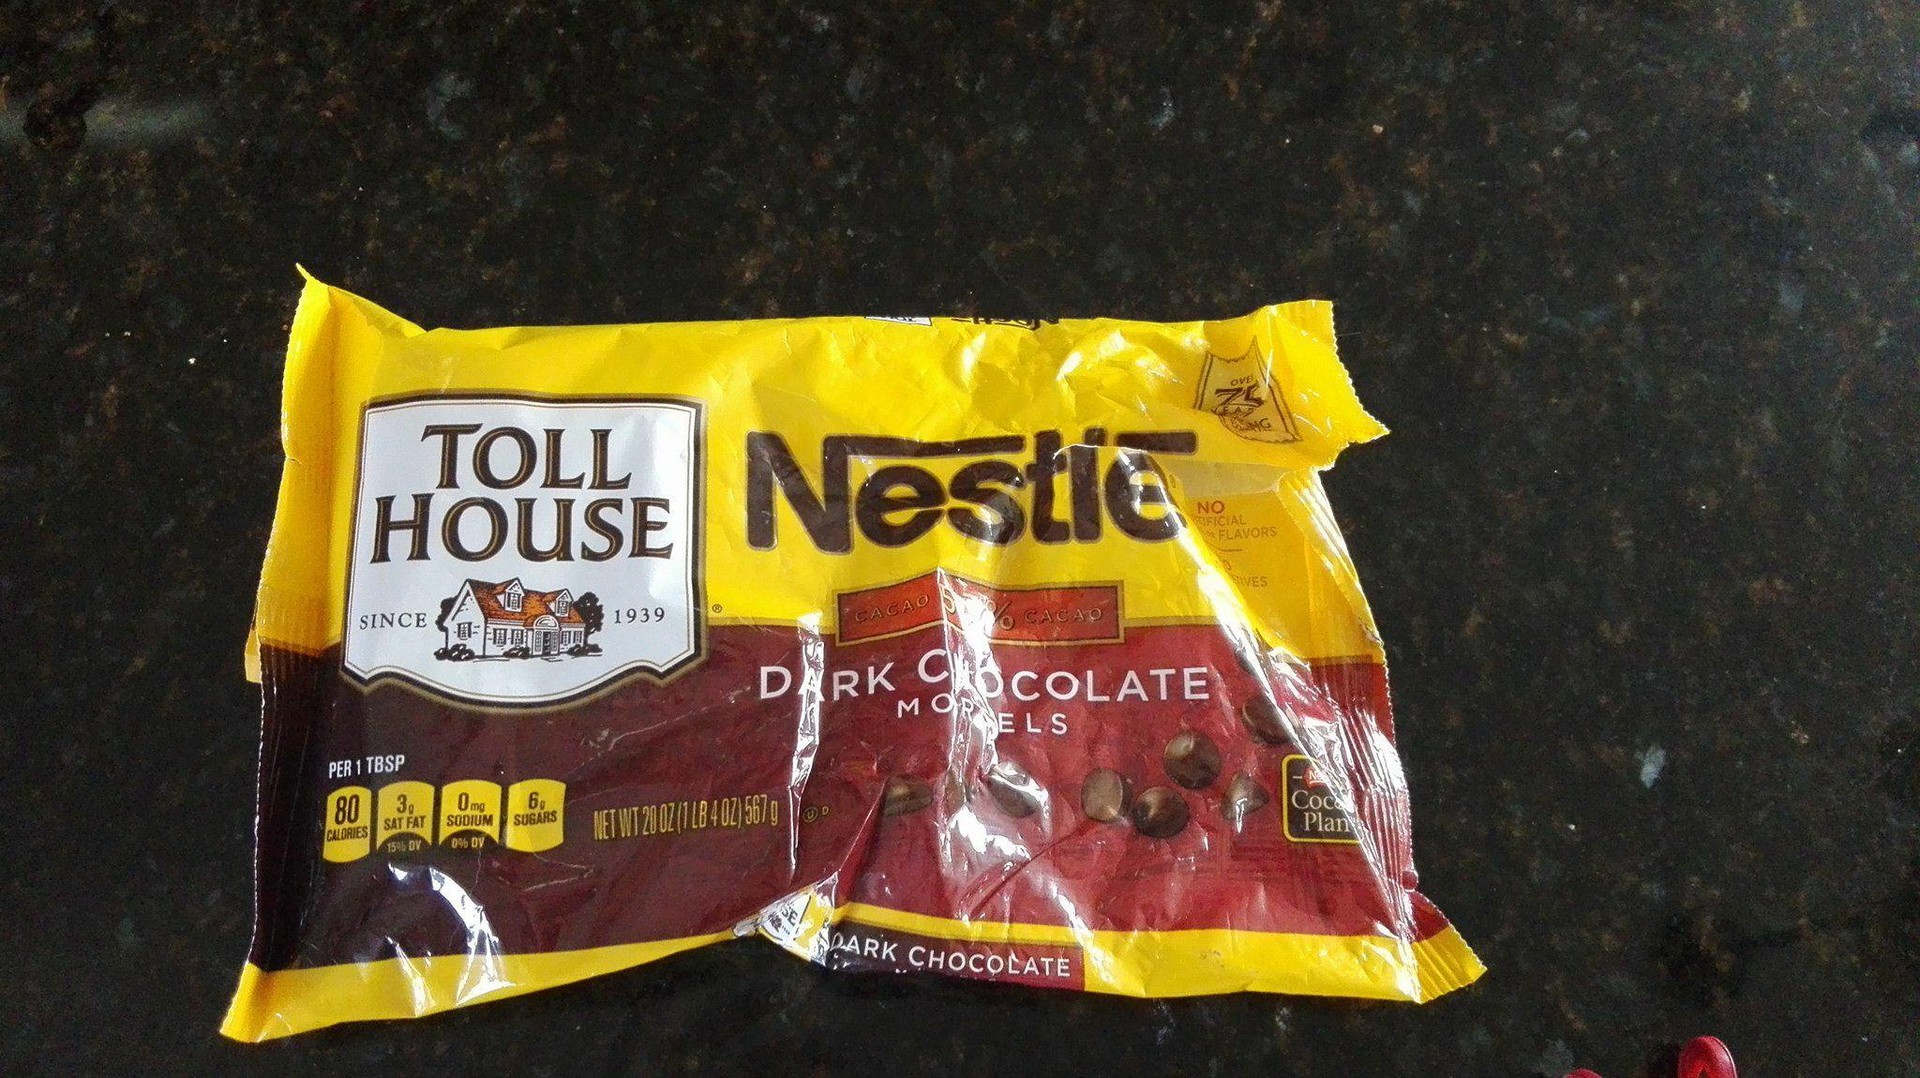
- A bag of chocolate chips (the most important ingredient! ) - I used two and a half cups
- One cup of regular sugar
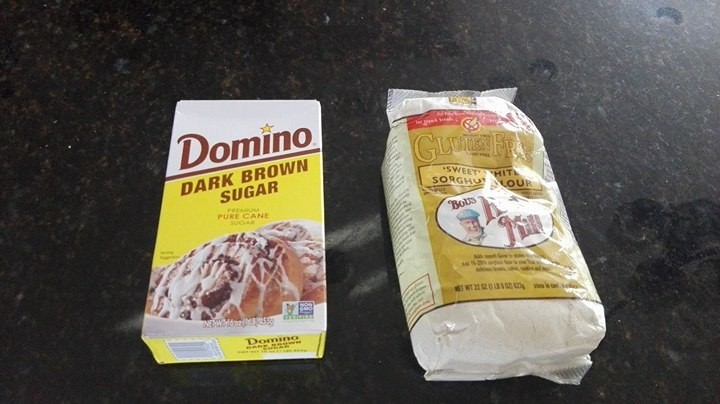
- One cup of brown sugar
- One teaspoon of baking soda
- Two cups of flour - I used the all - purpose flour
- Peanut butter - I used one cup
- Peanuts (unsalted)
- Two eggs
- One cup of butter or canola oil
Preparation
Making these cookies is really simple and fast. First thing you have to do is preheat the oven to 330 degrees Fahrenheit. Then prepare the baking tray - put parchment paper on it. I needed two trays with that amount of ingredients.
Take a medium sized bowl and pour canola oil in it. If you are using butter, you have to liquefy it first - just put it in a microwave for thirty seconds. Then, add both white and brown sugar, stir and add peanut butter. Then mix until the texture is smooth. Add peanuts and stir again.
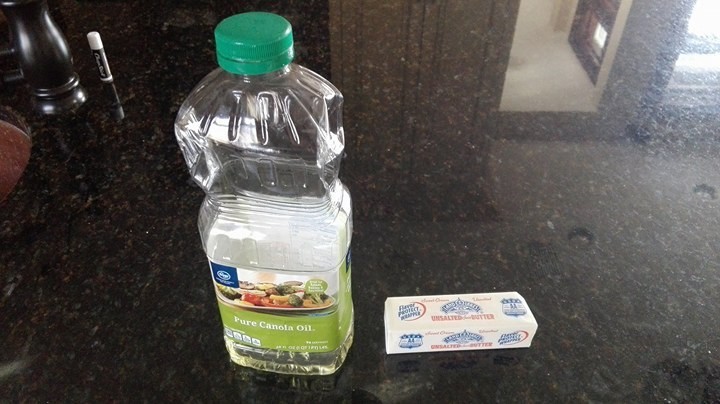
Then, add both eggs and mix well, until the texture is smooth again. After that, it is time to add baking soda and flour. And here comes the most important part - adding chocolate chips. Add as many as you want. Hint: the more, the better.
Let the cookie batter rest for a few minutes, and then use a spoon to scoop the mixture onto the baking tray. It is completely up to you how big you want the cookies to be. Just make sure you leave some space in between all the cookies, otherwise they will stick together and your baking tray will turn into one giant cookie.
Put the baking tray in the oven and bake for approximately twenty minutes. The cookies are ready when they turn golden brown. Once the cookies are baked, take them off the baking tray and put them on the wire racks to cool down.
Suggestions
For mixing the ingredients, you can either use the electric mixer or a hand mixer. The electric mixer requires no effort, but I figured out that mixing the cookie batter with a hand mixer gives them a much better, smoother texture.
I love to eat cookies when they are freshly out of the oven, because they are very moist and they will therefore melt in your mouth. Once they harden, they are not as good. But since it is impossible (even for me, and I love sweet things) to eat all of the cookies right after I make them, I have to store them for later somehow. After some trial and error, I found out that the best way to store those cookies is in a plastic Tupperware container. They will harden after a few hours, and if you would like to add some moisture to them, put them in the microwave for twenty seconds, along with a cup of water. That will add the moisture to the cookies and make them delicious again.
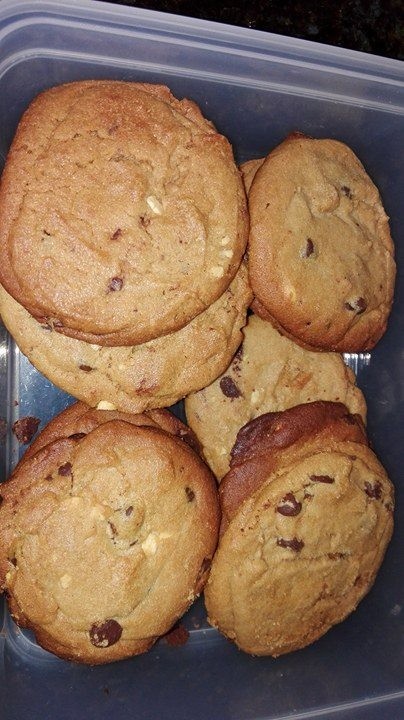
I am sure the cookies will disappear after a few days, but just in case: they will be good to eat for up to a week after baking.
And just a friendly warning - that cookie batter is delicious. I ate quite a few spoonfuls of it because I simply could not resist, and I was feeling really sick after since it was raw. But it was totally worth it!
Photo gallery
Content available in other languages
Want to have your own Erasmus blog?
If you are experiencing living abroad, you're an avid traveller or want to promote the city where you live... create your own blog and share your adventures!
I want to create my Erasmus blog! →


Comments (0 comments)