Hummus: the superfood vegan dip
Published by  E M
— 6 years ago
E M
— 6 years ago
Blog: Lebanese recipes for your health and happiness.Tags: Erasmus recipes
Hi again. Get ready for another easy yet nutricious recipe! I'm sure all of you have tried, or at least have heard of, the hummus dip. Yes, there are many discrepancies about its origins; the Lebanese say it's theirs, the Israelis say it's theirs, and there's the Greeks, the Turks, the Syrians, the Palestinians, the Egyptians, (am I missing someone? ) also all claiming that it's their own authentic recipe.
Well, sorry to say that we can't take a DNA test of hummus and send it in to a lab to check its ancestry, but if you really want to be technical, I could argue that all the human species most likely originated from one source, so we're all related and hummus belongs to all of us. End of story.
In any case, I'll provide you with a bit of history and you can take it, leave it, or just skip this part altogeher and get straight to the recipe.
First of all, the word "hummus" means chickpea in Arabic. That's a pretty good clue. Also, I read somewhere that the oldest known written recordings of hummus was in ancient Egyptian scriptures. On the other hand, we have to keep in mind that the people inhabitating that area of the planet were strong trade partners thousands of years ago, so that's another reason why all the food got mixed up. Don't get me started now with the grapeleaves, that's for the next post.
In any case, let's just say that we all love hummus, and it can be shared between all cultures (of course there will always be that deep-seated rivalry. Did you know that the proud Lebanese made the world's biggest hummus dip just to prove to the world that it is theirs? ).
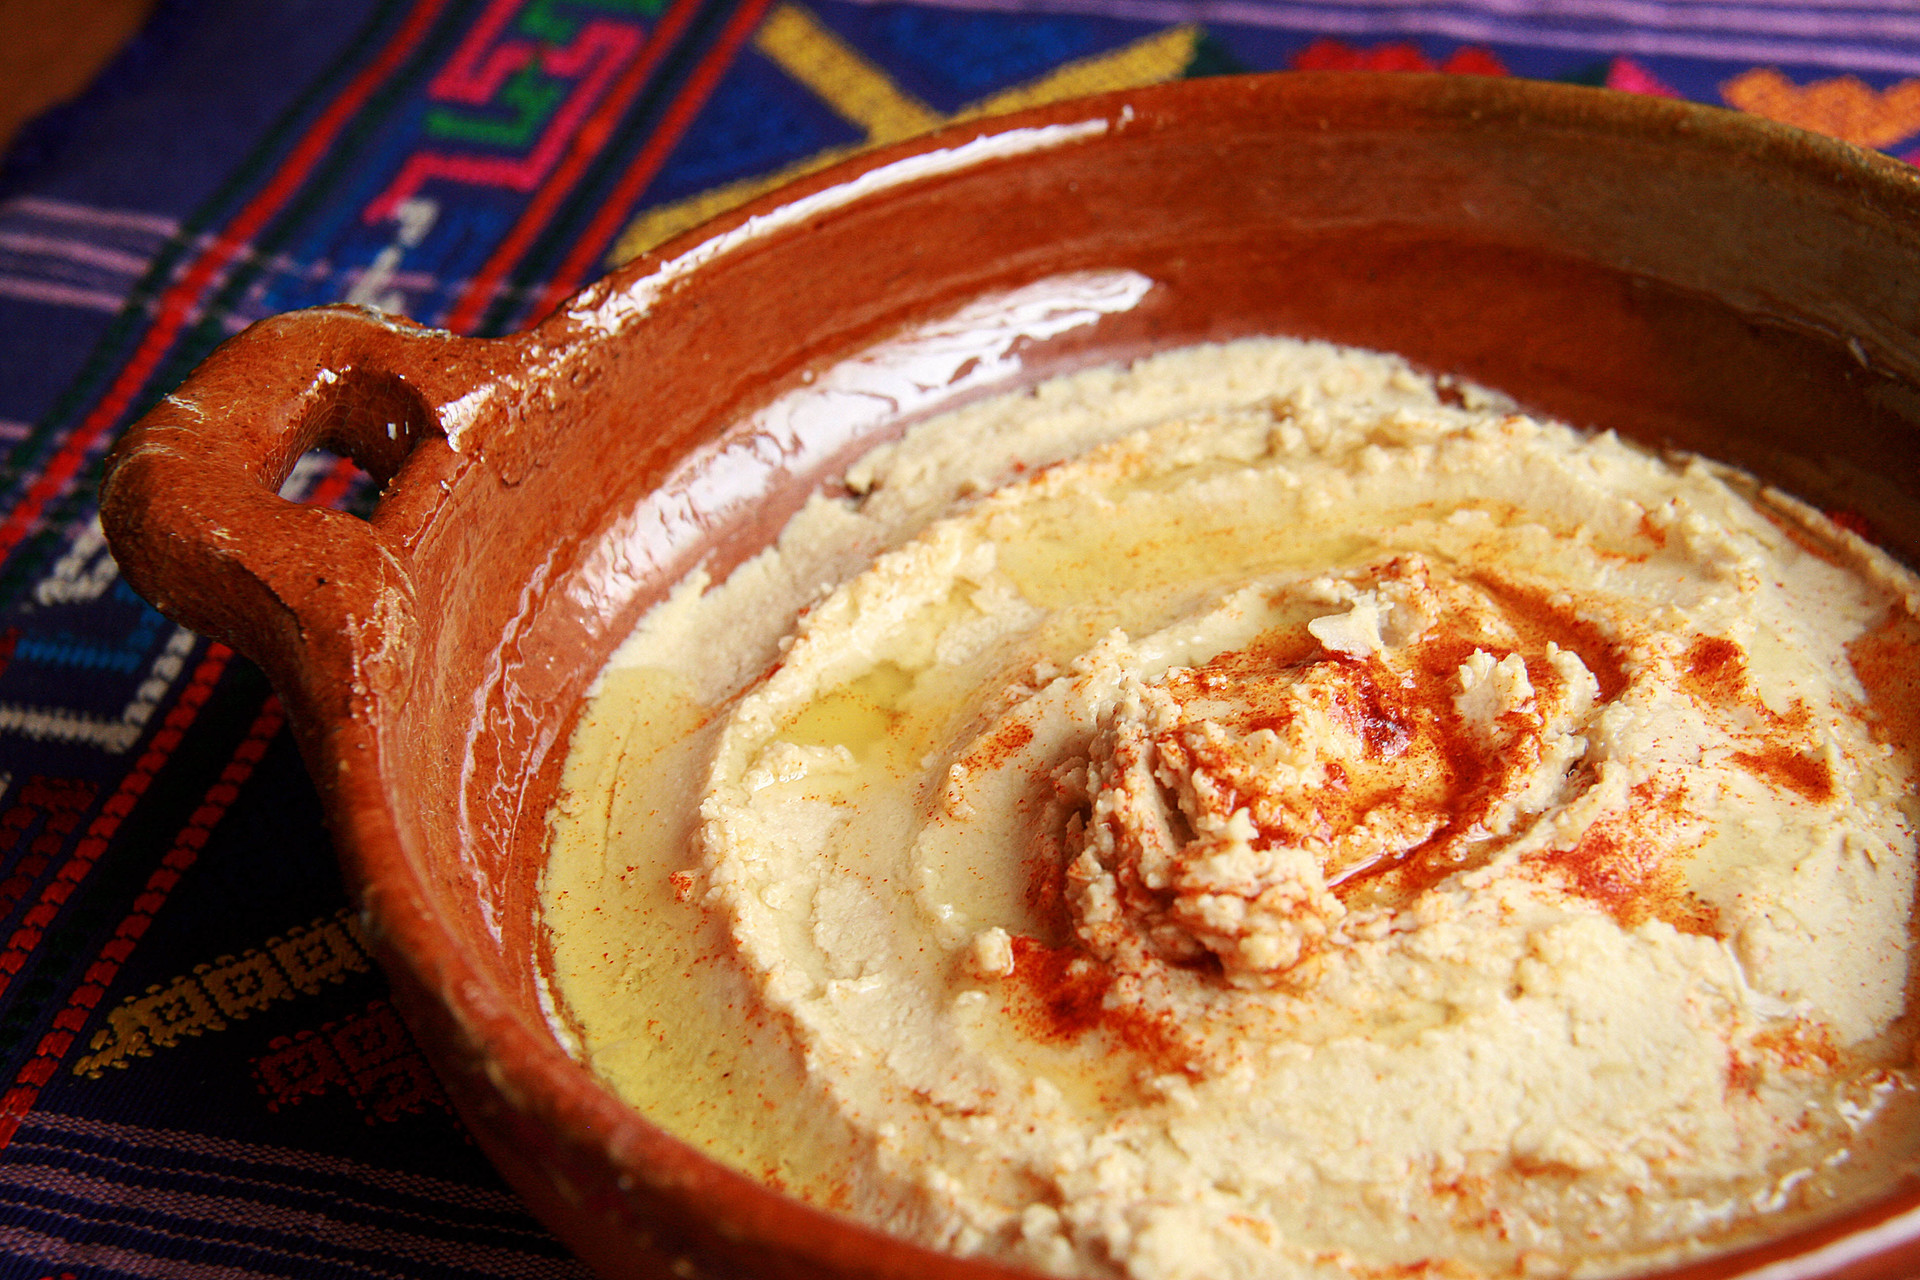
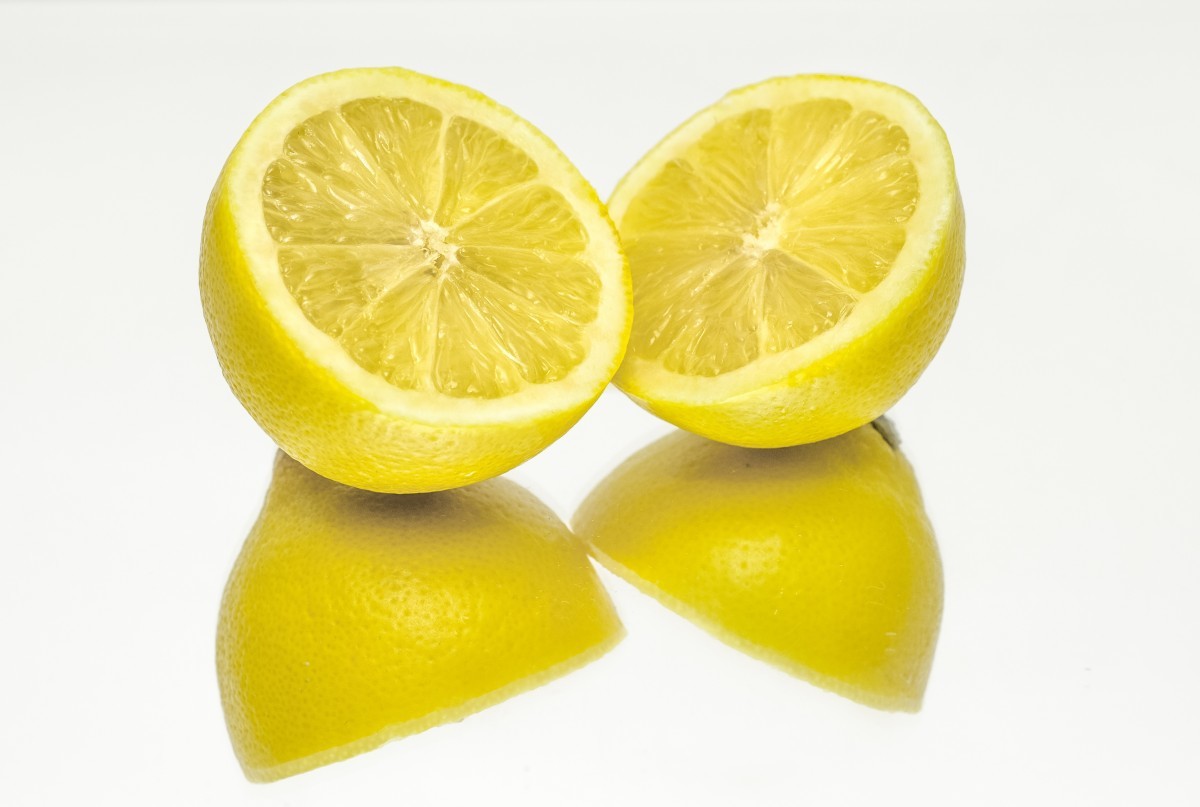
I'll just get to the point now and teach you how to make your own hummus. Just like the tabouli recipe, hummus requires very few ingredients: chickpeas (also known as garbanzo beans), tahini, olive oil, garlic, lemon juice, salt and a little bit of paprika.
List of ingredients with their respective quantities
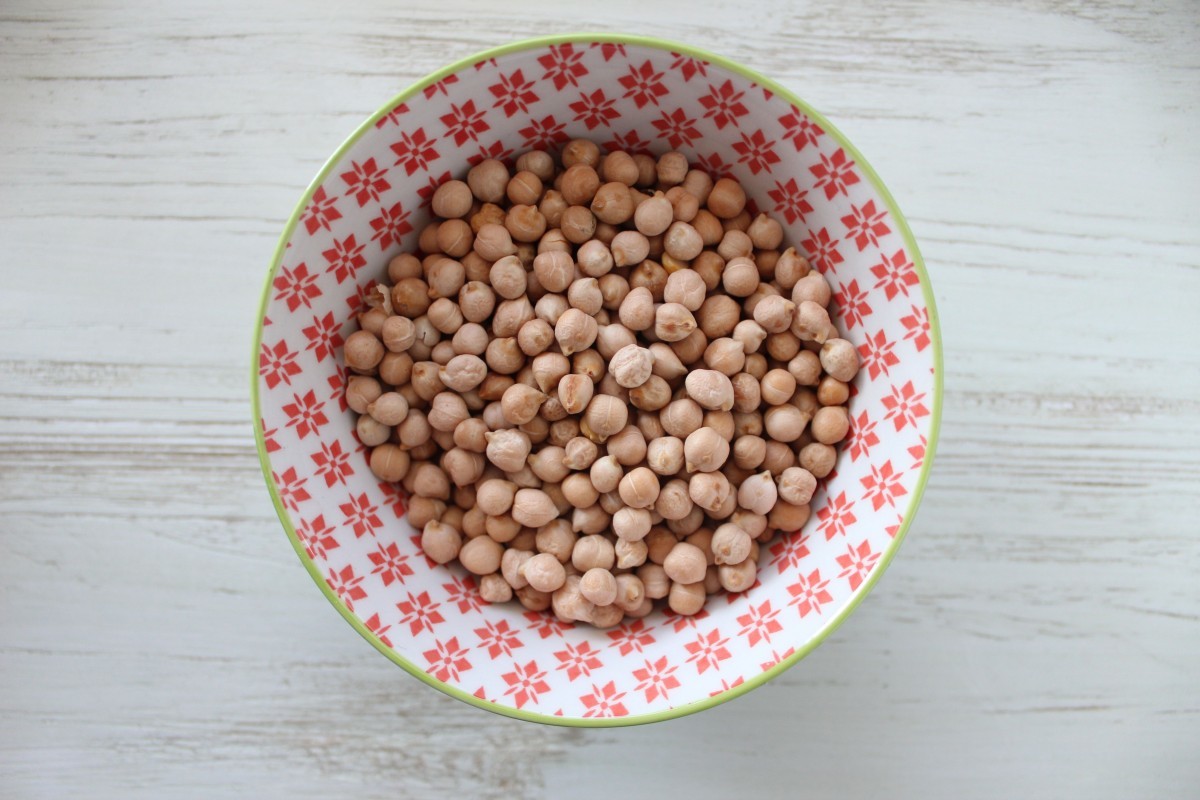
- 1 can of chickpeas (15 ounces) or 1. 5 cups of cooked chickpeas.
- 1 or 2 garlic cloves (depending on your preference).
- 1/4 cup of tahini.
- 1 lemon (or 1/4 cup of lemon juice).
- 2 tablespoons of extra-virgin olive oil.
- Salt to taste.
- 2 tablespoons of water.
- A pinch or two of paprika (for decoration and a little flavour at the end).
Note: This can serve up to 6 people (provides one and a half cups of hummus). You can double or divide the proportions by two, depending on what you need.
If you don't know what tahini is, it's a sauce or paste made from ground sesame seeds, and it is a staple in both the Middle Eastern and Mediterranean cuisines. It can be used as a dip by itself, and it is used to make other dishes such as hummus and baba ghanoush. Although it does add to hummus' distinctive and zesty taste, tahini is not a necessary component of hummus. So if you do not like it or have allergies to sesame seeds, then you can leave it out. Hummus with only the chickpeas is still really good and you can just add more olive oil.
On the other hand, if you do want to use tahini, you can either find it in your local oriental market, or in the international food aisle of your supermaket. Sometimes the store-bought kinds can be a little expensive, so you can save some money by making it homemade. It's quite easy to make.
Also, if you aren't familiar with paprika, it is a spice which is obtained by grinding capsicum peppers to get a fine powder. This spice adds an intense red color and a rich spicy flavor to your food.
How to make your own tahini (optional)
You'll need:
- 1 cup of sesame seeds.
- 3-4 tablespoons of a light oil, such as canola or light olive oil.
- A little bit of salt to taste.
There are two types of sesame seeds that you can use: either hulled or unhulled ones. The hulled ones are most commonly used to make tahini because these sesame seeds have had their outer shells peeled, so they taste a little better and less bitter than the unhulled ones.
Another option that you can do is toast the sesame seeds before puttin them in the blender. If you want to do this, then all you have to do is put them in a pan on medium heat and stir them around for a few minutes until they darken a little bit, but be careful not to burn them.
Put the sesame seeds in a blender and blend them until they're a soft, dry and crumby paste. To make it more liquidy, you have to add the oil, little by little and keep blending a few times in between to get a good consistency. You can decide how much oil you want to add, depending on how liquidy you want your tahini to be. Usually no more than 4 should be used so that it can still be viscous.
Canned or dried chickpeas?
Now about the chickpeas: should you used canned or dried chickpeas, and should you peel them or not? All of that is up to you. I think that whether you peel them or not does not make a difference in taste, but it can affect the smoothness of the dip. If you peel the chickpea skins, the hummus will be smoother. However, if you're lazy like me, you can be comforted to know that skipping the skinning will not result in a huge difference in your hummus, and you can save like 10-20 minutes of your precious time.
I also personally prefer to use canned chickpeas because they don't require any preparation time, but, the home-cooked chickpeas make the hummus more special. I do think that the home-cooked chickpeas taste a little better than the canned ones, so in the end it all comes down to how much time you are willing to dedicate to make your hummus.
If you do decide to homecook the dried chickpeas, here's how to do it:
Cooking dried chickpeas (optional)
You can either cook chickpeas in a pressure cooker, which is the faster way, or on the stovetop. I don't have a pressure cooker so I have no choice here. In any case, I'll explain both ways.
Pressure cooker
The reason why cooking in the pressure cooker saves a lot of time is because you don't need to soak the dried chickpeas first. All you have to do is put the chickpeas and water in the cooker, turn it on high for three to four hours, or on low for six to eight hours. I think that for the case of making hummus, it's better to cook the chickpeas for a longer time (ie: four hours instead of three, eight hours instead of six, respectively) so that they are softer when you want to blend them later. But maybe it doesn't really matter (I'm not an expert).
Stovetop
There are two methods for cooking the chickpeas on the stovetop. Either you can pre-soak them for eight hours (overnight) and then cook them for two hours, or you can soak them quickly by first boiling them in water for five minutes an then letting them soak in the water for an hour (without heat). After that you cook them for two hours.
Either way that you decide to soak them, you must make sure that you add several more cups of water to however many cups of chickpeas that you decide to cook. The chickpeas will triple in size after absorbing the water, so they will need plenty of it.
The amount that you want to cook depends on you. I would use about a cup of dried chickpeas which will yield around 3 cups of cooked chickpeas, and you can store the rest that you don't use for the hummus in the fridge for up to a week, or you can also freeze them to keep them for longer periods of time (they can last for months in the freezer).
Order of ingredients matters
The secret to a good hummus is not just the quality of the ingredients, but it's the order in which you mix them. This is where my biology and science skills come in handy, because in the laboratory we must always make sure that we perform the experiments' methods precisely in the same order indicated by the procedure. If we do a step out of order, the results could be different than expected.
- So, the first thing to do when making hummus is to blend the tahini and lemon juice together in a blender. You can leave them blending together for a good minute. It's a good idea to stir it around a little bit with a scraper after blending to make sure you haven't missed any unblended parts that may be sticking to the sides of the blender. Blend again for a few seconds or more, if necessary. The idea is for the tahini and lemon juice combination to look whipped and creamy.
- Then, add the garlic, olive oil and a pinch of salt (or a little bit more if you prefer--up to half a teaspoon is ok). You should blend this for about thirty seconds or so. Remember to stop again and stir the mixture with the scraper to make sure all parts are being blended correctly. Blend again if necessary.
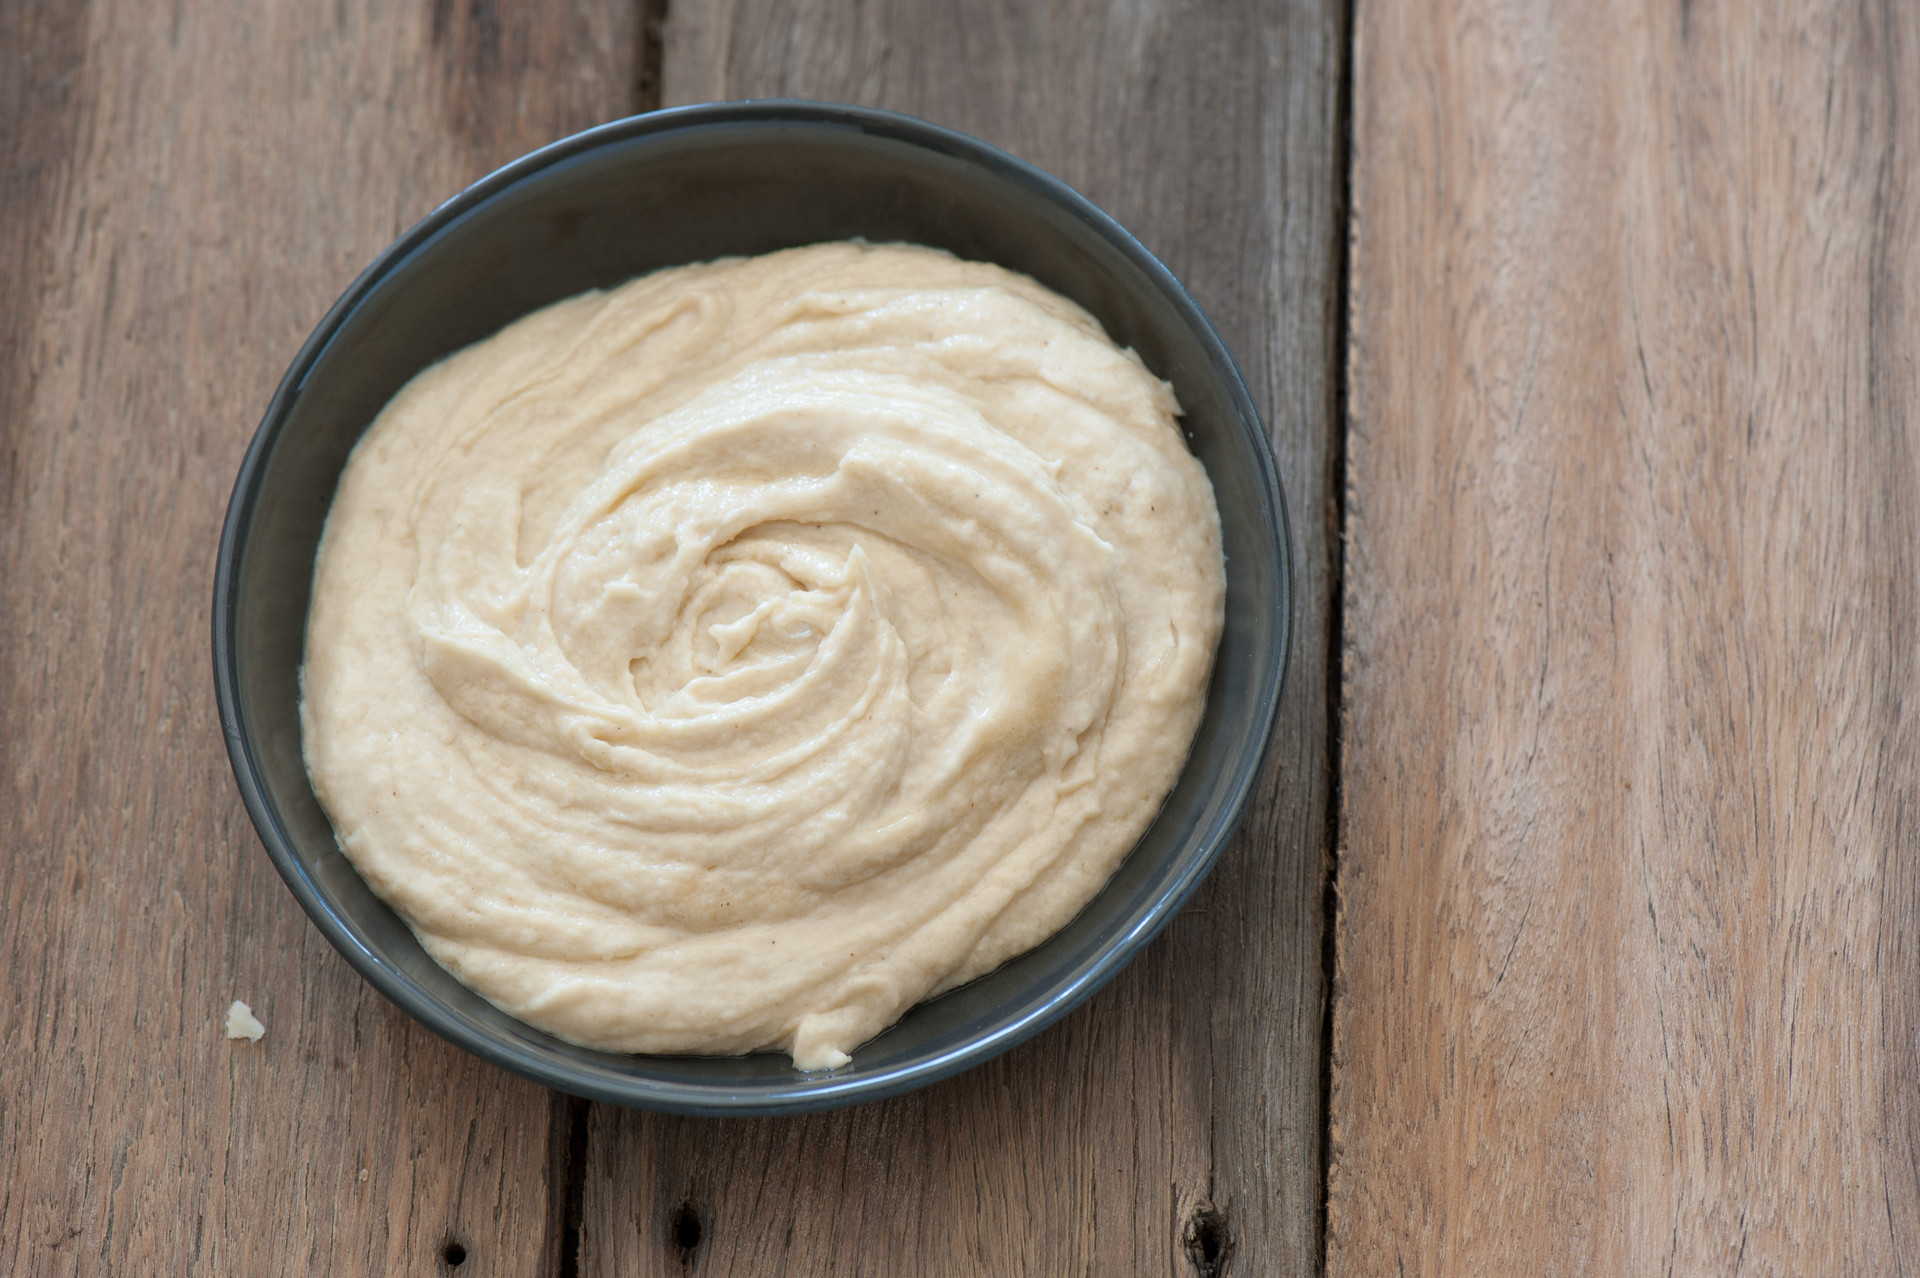
- Now is the time to add the chickpeas. Whether you have the canned ones or you cooked them yourself, make sure you drain all the water out, rinse the chickpeas well, and start by adding only half of them into the blender. Whip the mixture until it is smooth and then add the other half of the chickpeas and blend it again. This step should take about two minutes.
- Once all of the ingredients are well blended together, you must adjust your hummus to the consistency that you want it at. Most likely at this stage it will be too thick, so you can add a tablespoon of water to it, blend it again, and then check the consistency. If it is still too thick, repeat two or three times until it's the way you want it.
- Taste a little bit and add some more salt if needed.
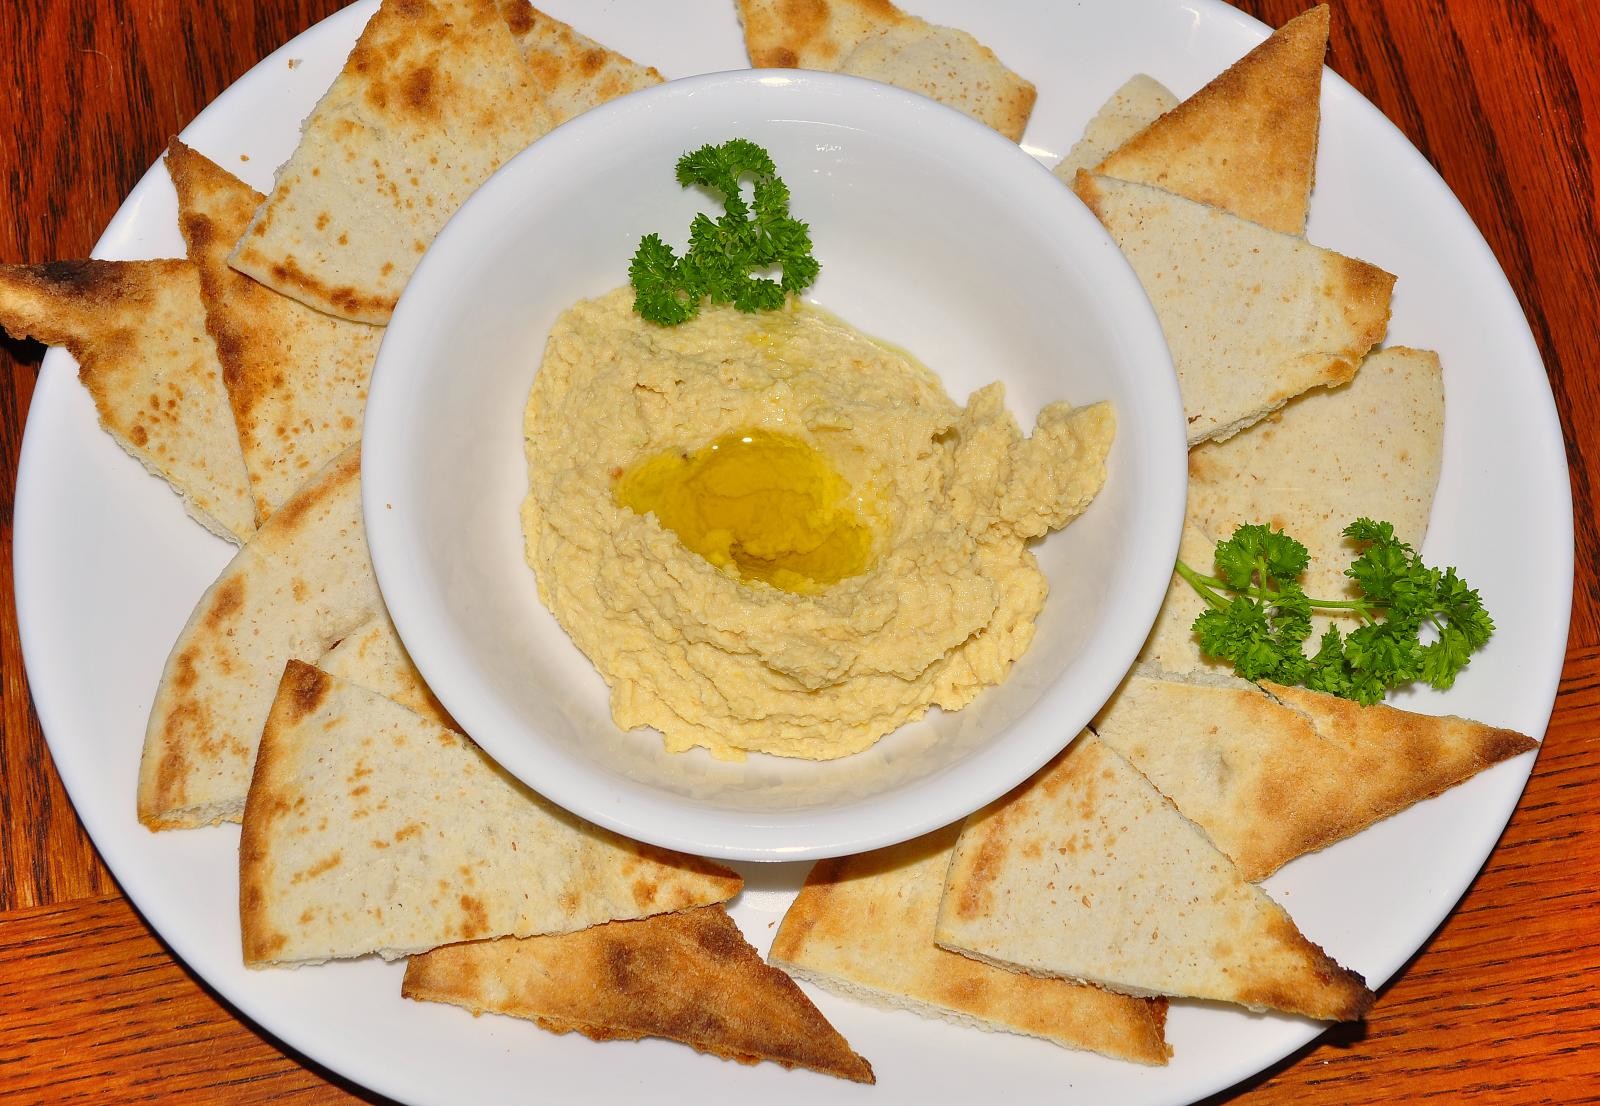
- Once you have finished and it tastes great, you can scoop your hummus out into a bowl, drizzle olive oil on top of it and sprinkle a dash of paprika around the center. Now you have your own, perfect bowl of hummus.
You can eat hummus by itself with pita bread, as a vegetable dip (I prefer dipping carrots in it), as a condiment sauce in a sandwich, and so much more.
Since I am a person with a naturally high cholesterol level, I have to try to make good food choices and reduce high saturated fat and cholesterol intake. I tend to like eating things with lots of flavour like sandwiches with mayonnaise, for example, and this is not the best choice for my health (although sometimes it is ok). A much better substitute for the mayonnaise could be hummus, for example. It is also a common thing for people to use ranch dressing as a vegetable dip, but the ranch can be easily substituted for hummus (I am pretty sure nobody will complain about that! ).
Hummus is not just "substitute" for unhealthy condiments, but it also has so many benefits for your health. Keep reading to know why hummus is so good for you.
Health benefits of hummus
Chickpeas
The high protein content of chickpeas makes them great for people who are vegetarian and want to make sure they have the necessary nutrients for their body from a vegetable source. Although chickpeas should not be the only protein source in your diet, they are still an optimal source for growth and development.
Another benefit of chickpeas derives from its antioxidant content. These include beta-carotene, vitamins (A, B complex, C, D, E and K), among others. All these help reduce the oxidative stress of your body caused by free radicals, which make your healthy cells begin to mutate (and could eventually lead to cancer). As I had mentioned in my post about the tabuli, these antioxidants will help protect your body against chronic diseases such as caner, coronary heart disease, macular degeneration, Alzheimer's, and Parkinson's.
Thanks to their high fiber levels, chickpeas are very good for your digestion because they reduce inflammation, cramps, bloating, constipation, and they help to keep regular bowel movements. Also thanks to the high nutrient density of chickpeas, combined with their dietary fiber content and low calorie intake, they can help you lose weight. Fiber helps your body feel satisfied for longer, while the mixture of nutrients and minerals keeps your body energized and prevents fatigue.
Chickpeas are good for heart health because they contain soluble fiber as well as omega-3 fatty acids. The high level of the fiber helps to reduce cholesterol, which in turn helps to prevent atherosclerosis, heart attacks and strokes, and the omega-3s further help protect the heart and reduce inflammation.
Chickpeas are also able to regulate blood sugar and control insulin levels in the blood, which is important for everyone, not just people with diabetes.
Some examples of minerals in chickpeas are iron, copper, zinc, and magnesium, which are all good for healthy bones. They can help by improving the density of your bones and preventing osteoporosis.
Garlic
Since garlic is a natural antibiotic, taking a clove of garlic regularly can help to strengthen the immune system, heal mild infections, promote the healing of wounds, and treat the common cold and the flu. Similarly, if you have lung problems and you tend to have a lot of phlegm and mucus in your bronchi (especially after getting over a cold), garlic can help decongest the lungs.
Whenever I start to feel a sore throat or extra mucus in my nose, which are signs of the coming of a cold, I always take a clove or two of garlic for a day or two, and then by the following day my symptoms will have disappeared. Garlic really works miracles for me in that sense, although I am super self conscious when I eat it, and I try to consume it only when I know I don't have to leave the house the following day and not make any kind of human interaction.
Thanks to its richness in vitamin B, garlic improves blood circulation by preventing the hardening of blood vessels, which in turn prevents coronary artery disease. In addition, garlic can reduce bad cholesterol, which would further improve the cardiovascular system.
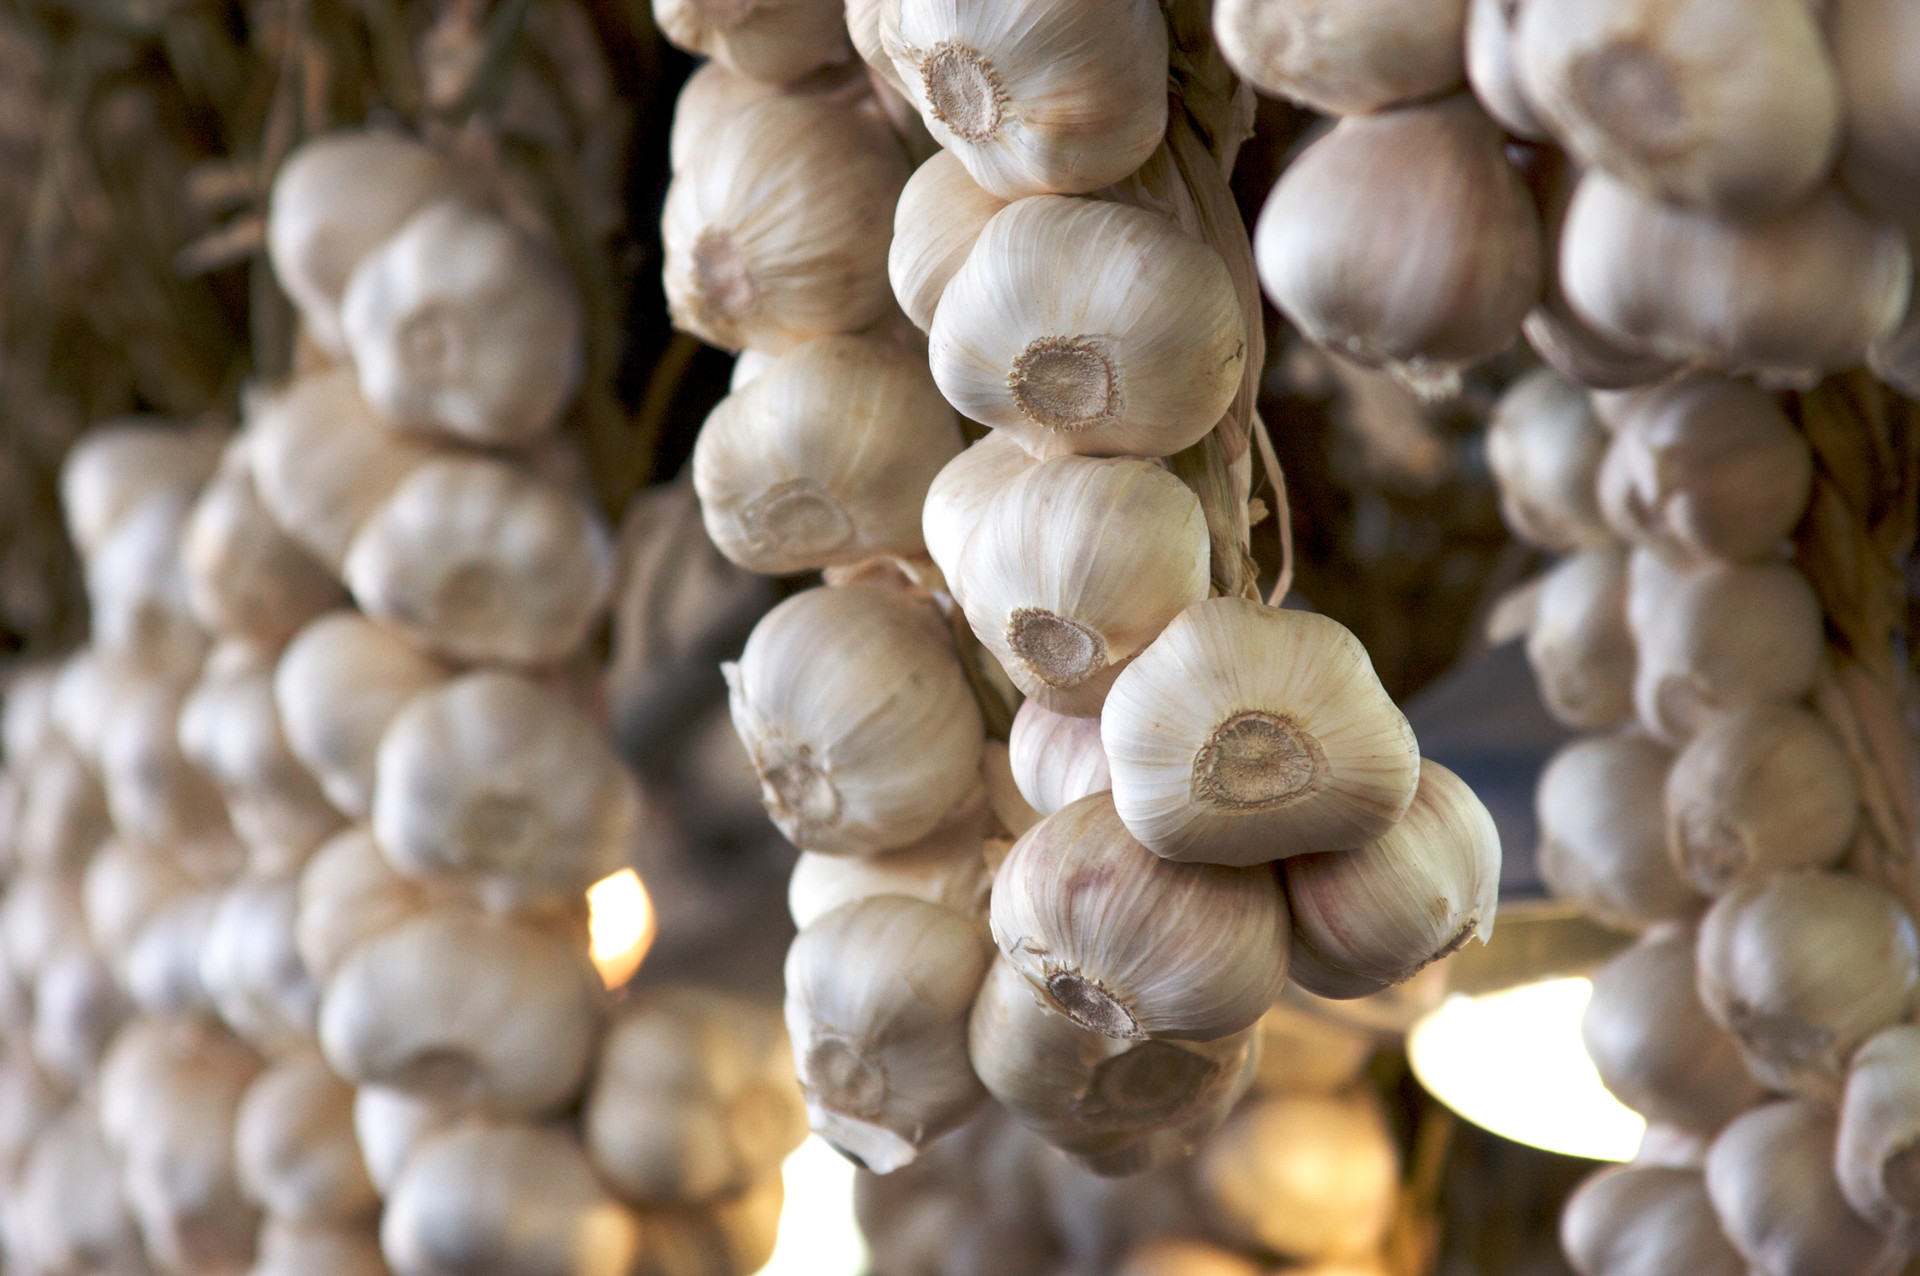
Garlic is, above all, a good detoxifier of the body. It helps to purify toxins, eliminate parasites and release from the body heavy metals like mercury or leftover drugs that the liver can not process. Garlic is also rich in vitamins A, B and C, which stimulate liver functions. Thanks to garlic, the digestive system also works better as it stimulates gastric acids which allows for food to be well digested and absorbed into the body.
Last but not least, garlic is good for your skin because its high antioxidant content helps to regenerate skin cells and improve your complexion. Eat hummus to reduce your acne!
Tahini
Thanks to tahini's high fiber content (from the sesame seeds), it favors the digestion of fat. It is also an important factor against arteriosclerosis and the accumulation of fatty substances in the body. It also contains unsaturated fats (these are the good fats), which reduce levels of bad cholesterol. Sesame seeds also contain the same proportion of oleic (monounsaturated) and linoleic (polyunsaturated) acids, which are beneficial for cardiovascular health.
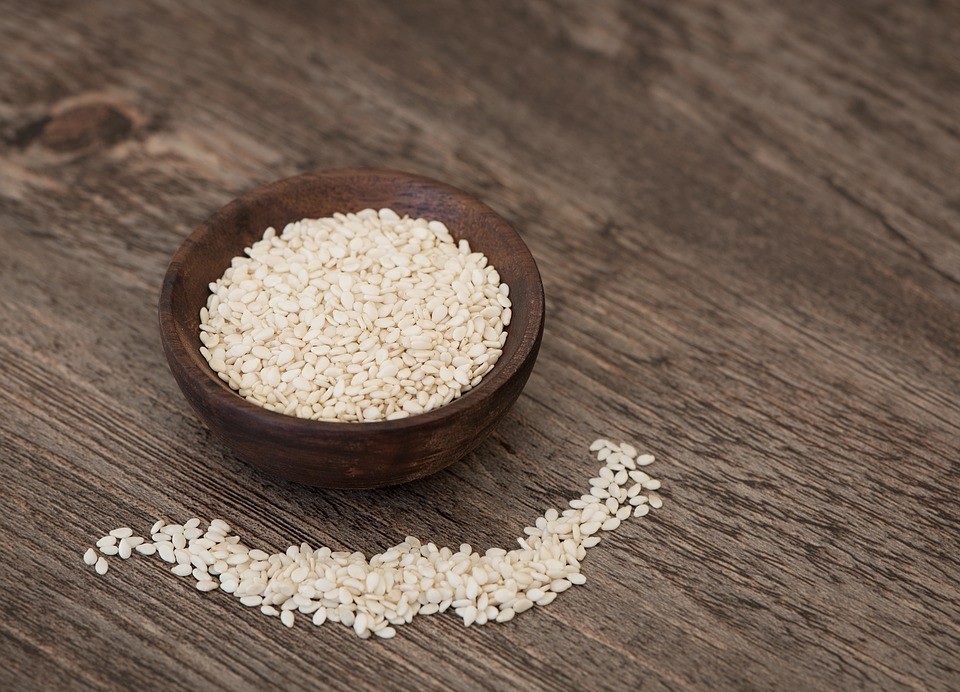
Sesame seeds contains calcium, phosphorus, iron and magnesium, as well as a high amount of proteins, especially methionine, which are good for bone health.
The seeds contain a natural and efficient antioxidant, sesamol which has antiageing properties and can help support the immune system. They also contain B-complex vitamins, so which helps the cellular regeneration of tissues.
Lemon juice
I wrote about the benefits of lemon juice in my tabouli article.
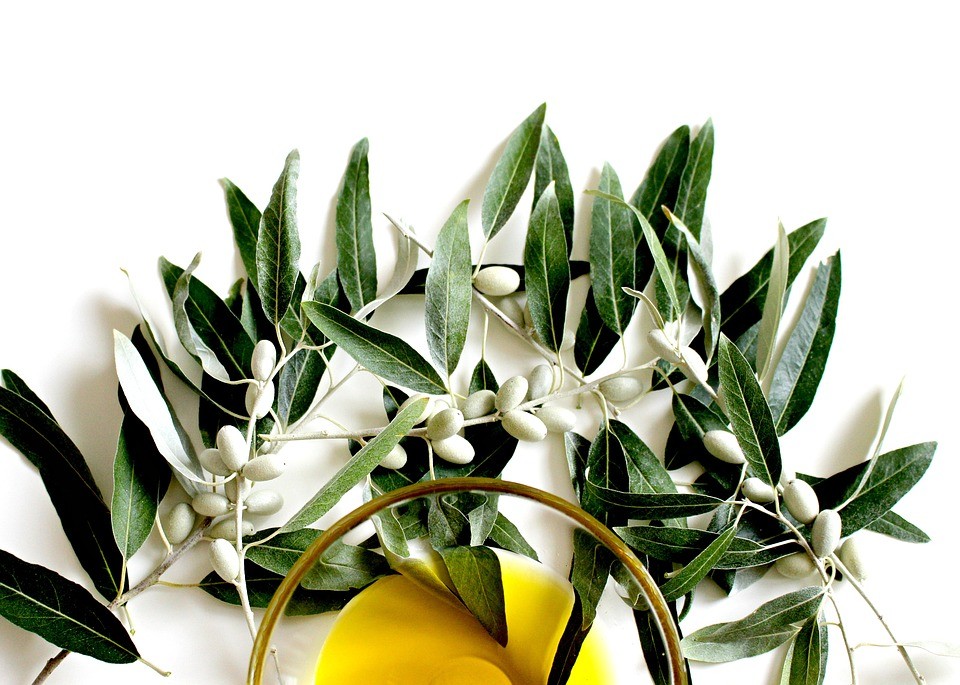
Olive oil
I wrote about the benefits of olive oil in my tabouli article.
Paprika
The paprika spice comes loaded with carotenoids, which are the pigments that give it its vibrant red color. These pigments contain important antioxidants known as lutein and zeaxanthin, which are beneficial to the eyes because they prevent sunlight from damaging eye tissues. Carotenoids also contain vitamin A which helps night vision and plays a key role in the healthy development of cells.
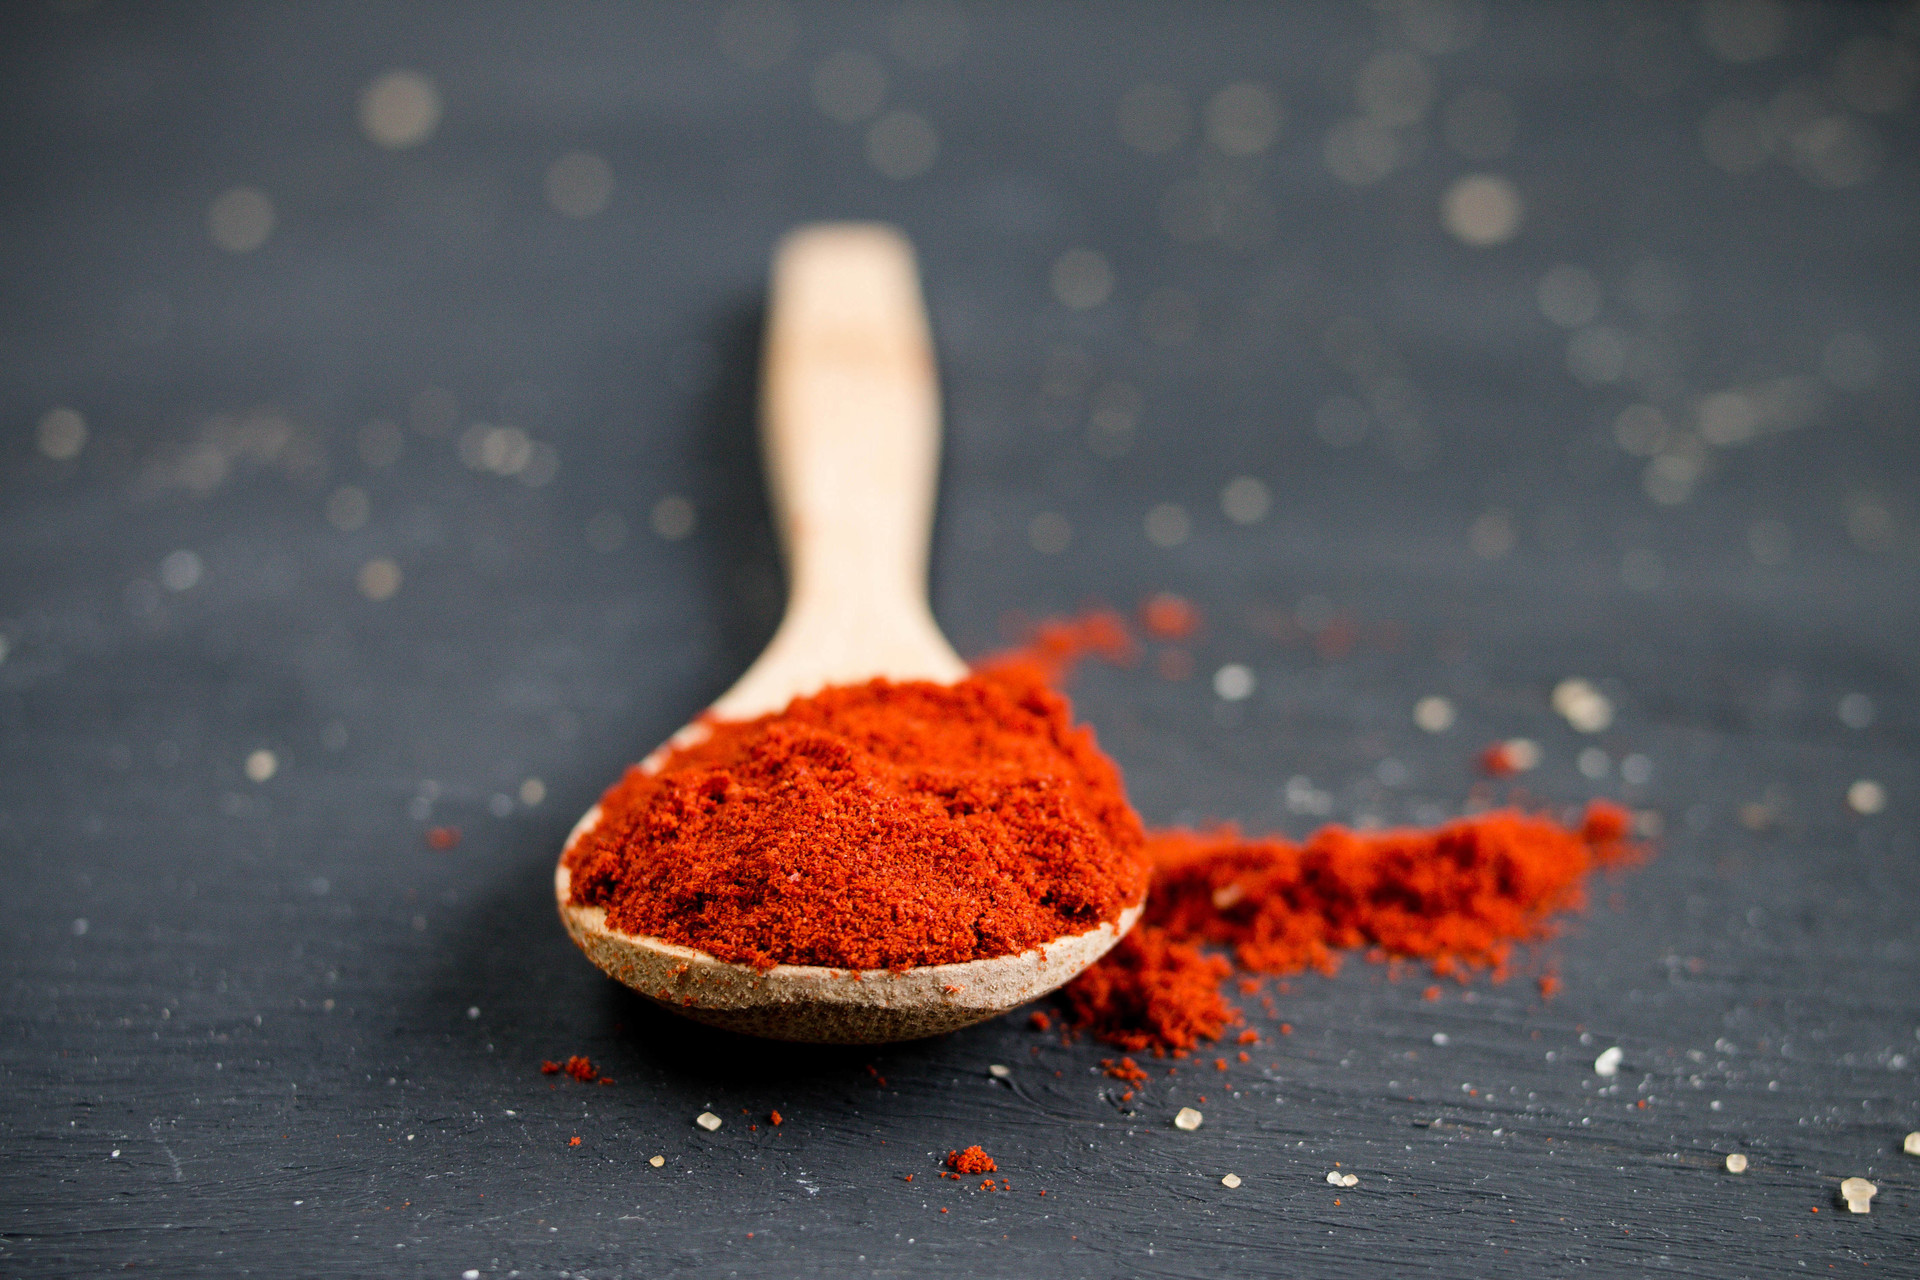
Paprika is also a good source of vitamin E, which helps control the formation of blood clots and promotes the healthy function of blood vessels. Vitamin E also serves as an antioxidant, preventing cell lipids from being destroyed.
Finally, paprika also contains iron, which improves cellular metabolism, thus resulting in the production of energy. Iron also supports the function of transporting and storing oxygen in the body's tissues.
I hope this article was interesting and helpful to you, and I'll be back with another healthy Lebanese recipe very soon.
Photo gallery
Content available in other languages
Want to have your own Erasmus blog?
If you are experiencing living abroad, you're an avid traveller or want to promote the city where you live... create your own blog and share your adventures!
I want to create my Erasmus blog! →


Comments (0 comments)