Peruvian Pickled Chicken: Will 100% Have You Licking Your Fingers :)
Hello to all chefs and lovers of the gastronomic world! On this occasion, I want to teach you how to prepare a recipe that will have you licking your fingers. This is a Peruvian dish that I learned how to prepare thanks to the lessons of my beloved mother whom I visited in Peru. There is no doubt that Peruvian gastronomy is one of the best in the world, and as such Lima as been winning in recent years as the best culinary destination in South America. There is no reason for us to feel sad if we find ourselves far from our country, when we can also make ourselves our Peruvian delicacies and savor the best of our gastronomy.
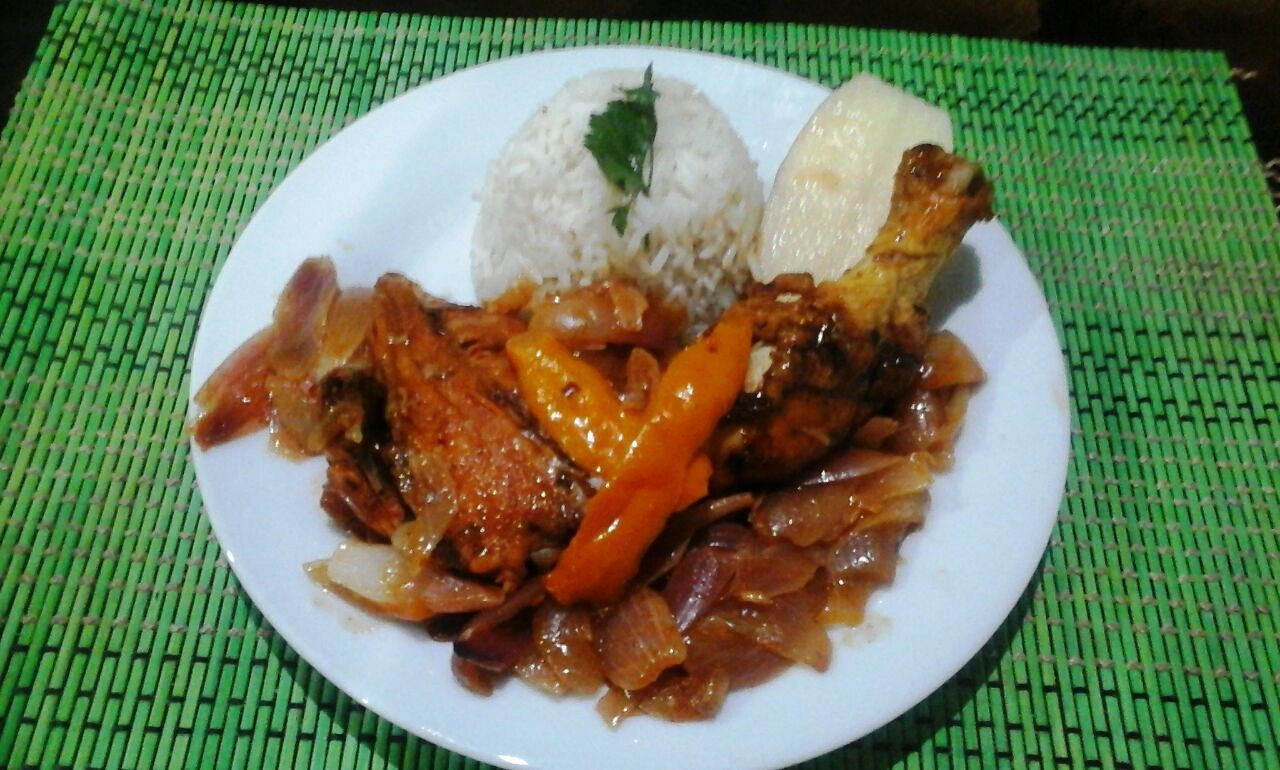
As an introduction, I present you the Peruvian dish of this succulent recipe:

On this occasion, we are going to prepare a succulent Peruvian pickled chicken, that can be made for up to six people, so that if you want to try more Peruvian gastronomy, it's a very good opportunity to surprise all of your guests.
Ingredients for our Peruvian pickled chicken:
- 6 pieces of chicken
- A teaspon of Aji Panca paste
- Salt and garlic
- A dash of cumin
- Oil for frying
- A dash of oregano
- A splash of vinegar
- ½ kilo of onions
- 1 whole yellow chili
- Ground yellow chili
Directions for Peruvian pickled chicken
- Cut the pieces of chicken and throw in the Aji Pancha paste, the garlic, the gumin, and the salt to let it marinate for a few minutes. This will help the chicken pieces soak in the flavor of each one of these ingredients.
- The onion you will have to previously wash and take it out of its peel. Afterwards, cut it into large pieces, that can be some 8 or 6 large pieces (this step is very similar to the preparation of our lomo saltado dish)
- The entire yellow chili we also have to wash previously, and we cut it into long strips, without the seeds, as if it were a bandage.
- Add a little bit of oregano along with a little bit of vinegar to the soup, and all this should be mixed.
- In a saucepan with a little bit of oil, you should let the pieces of chicken brown. This procedure is called sealing the meat. Be careful that you don't let the chicken fully fry. It should only be fried on the external part.
- Once the chicken pieces are all golden-brown, take them out, and in the oil where you fried the chicken is where you will make your dressing. Cut a little bit of onion into quarters, like for stew, and add some of the garlic so that it browns and a little bit of the yellow chili and Aji Panca paste, so that it browns.

- Also throw in the cumin, and also thrown in the onion that has been marinating, with a little bit of salt. What's more, the secret is a little bit of sugar.
- Also cover the pieces of chicken and leave them covered so that the pieces begin to sweat.
- If you see that it has turned out a little bit sour, you can fix that with a little bit of water or salt.
- The recipe can also be accompanies by parboiled potatoes, or also by sweet potato.
Directions for the rice:
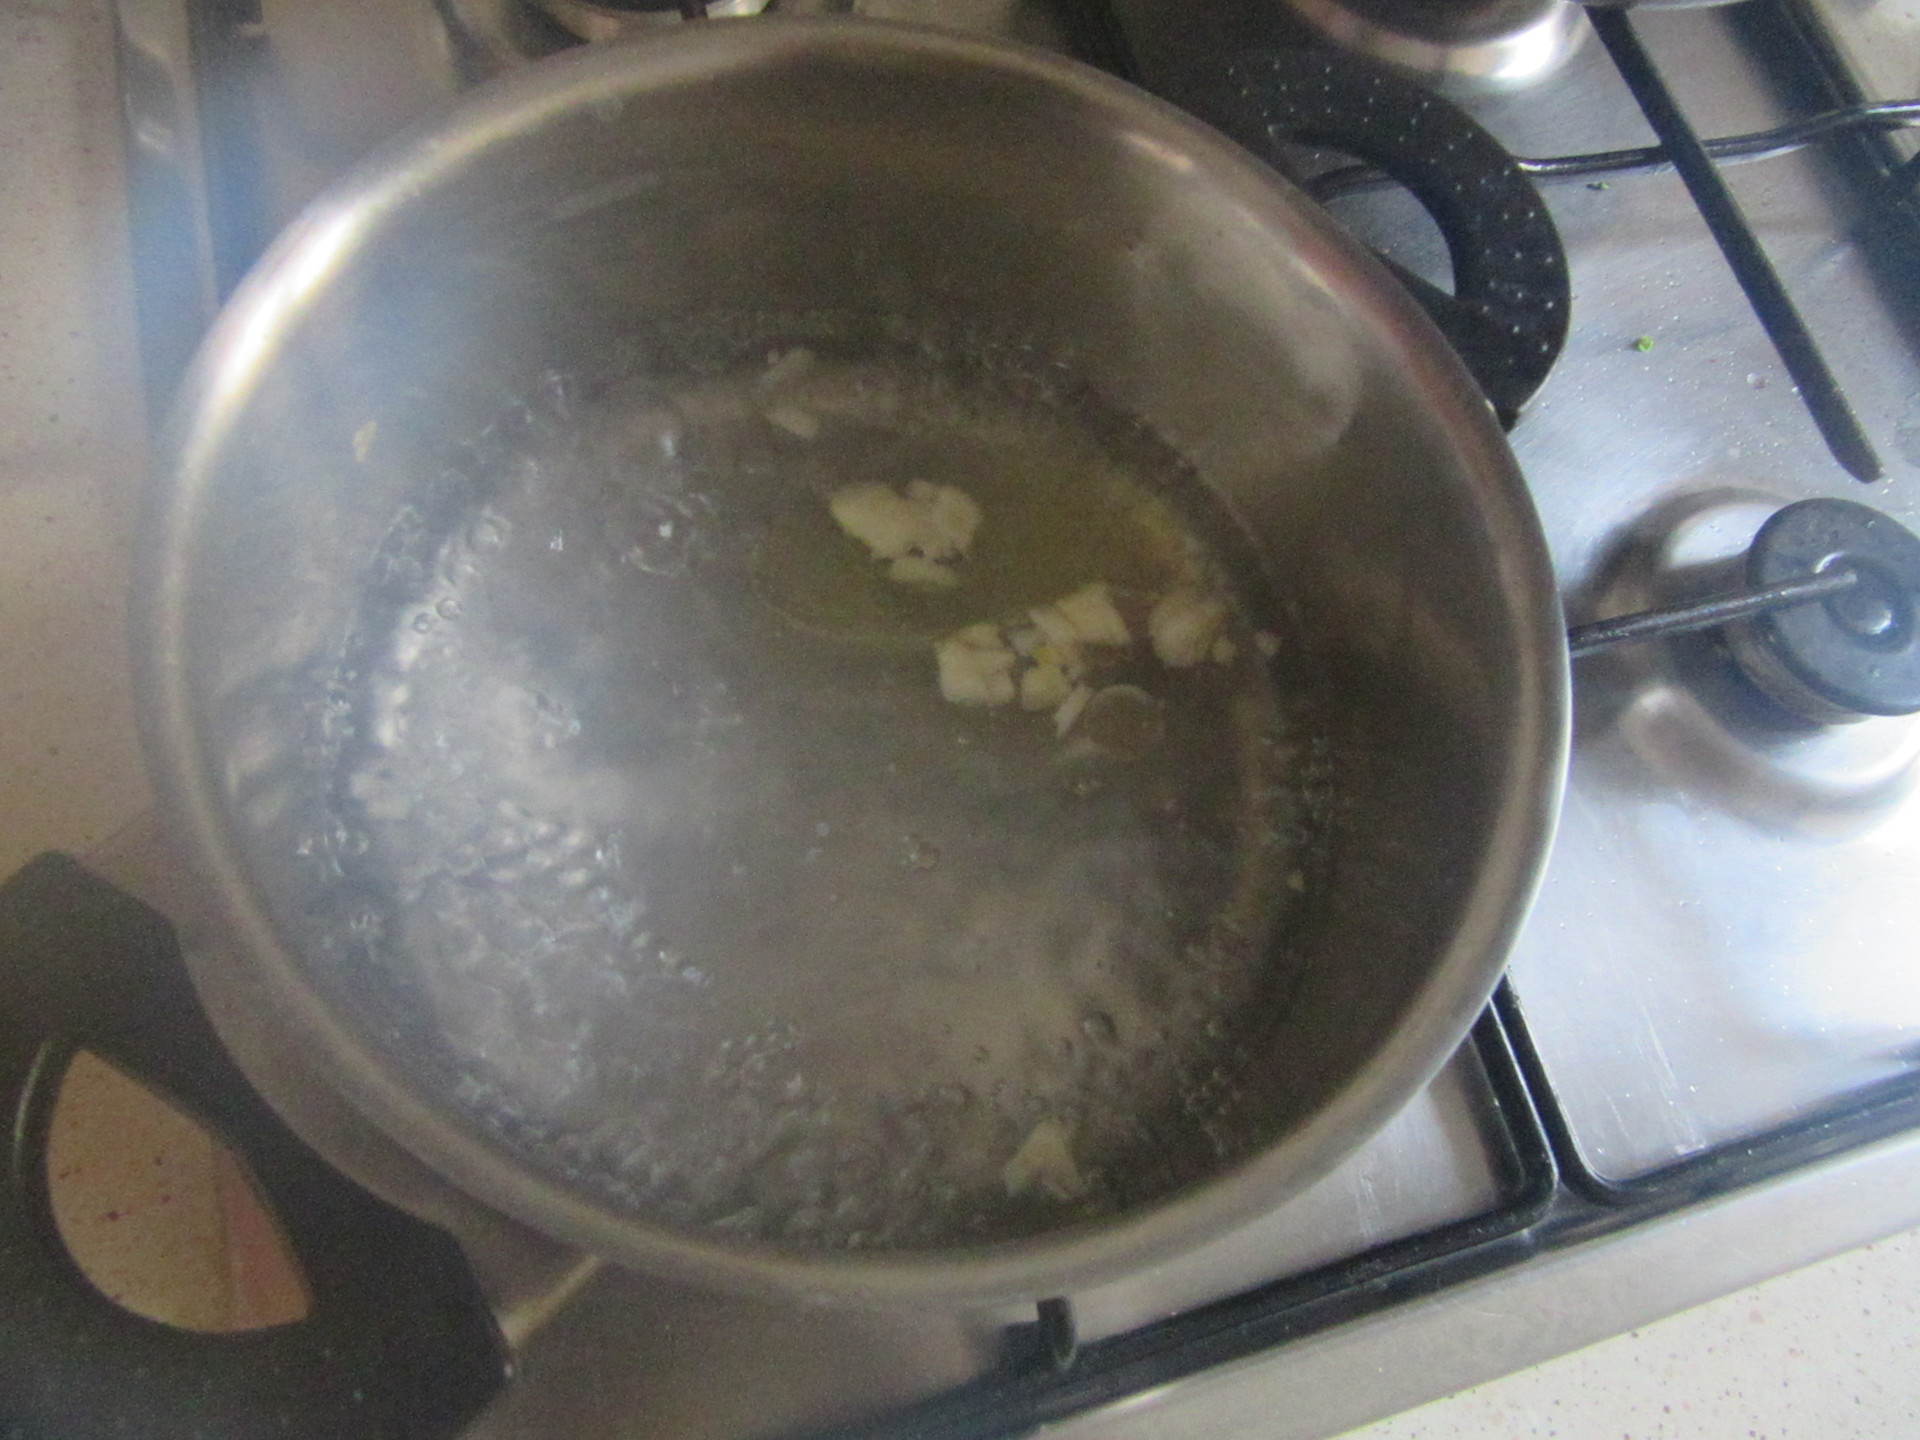
- The ideal would be to have a rice cooker, and wait for it to cook. But as I don't have a rice cook, I've had to improvise. What I do is I use a small pot with a little bit of water (the same quantity that you would otherwise use for rice) and begin to mix over a high heat so that it boils quickly. Meanwhile, I add a clove of garlic and salt so that it disperses the flavor that I have learned to cook around the house.

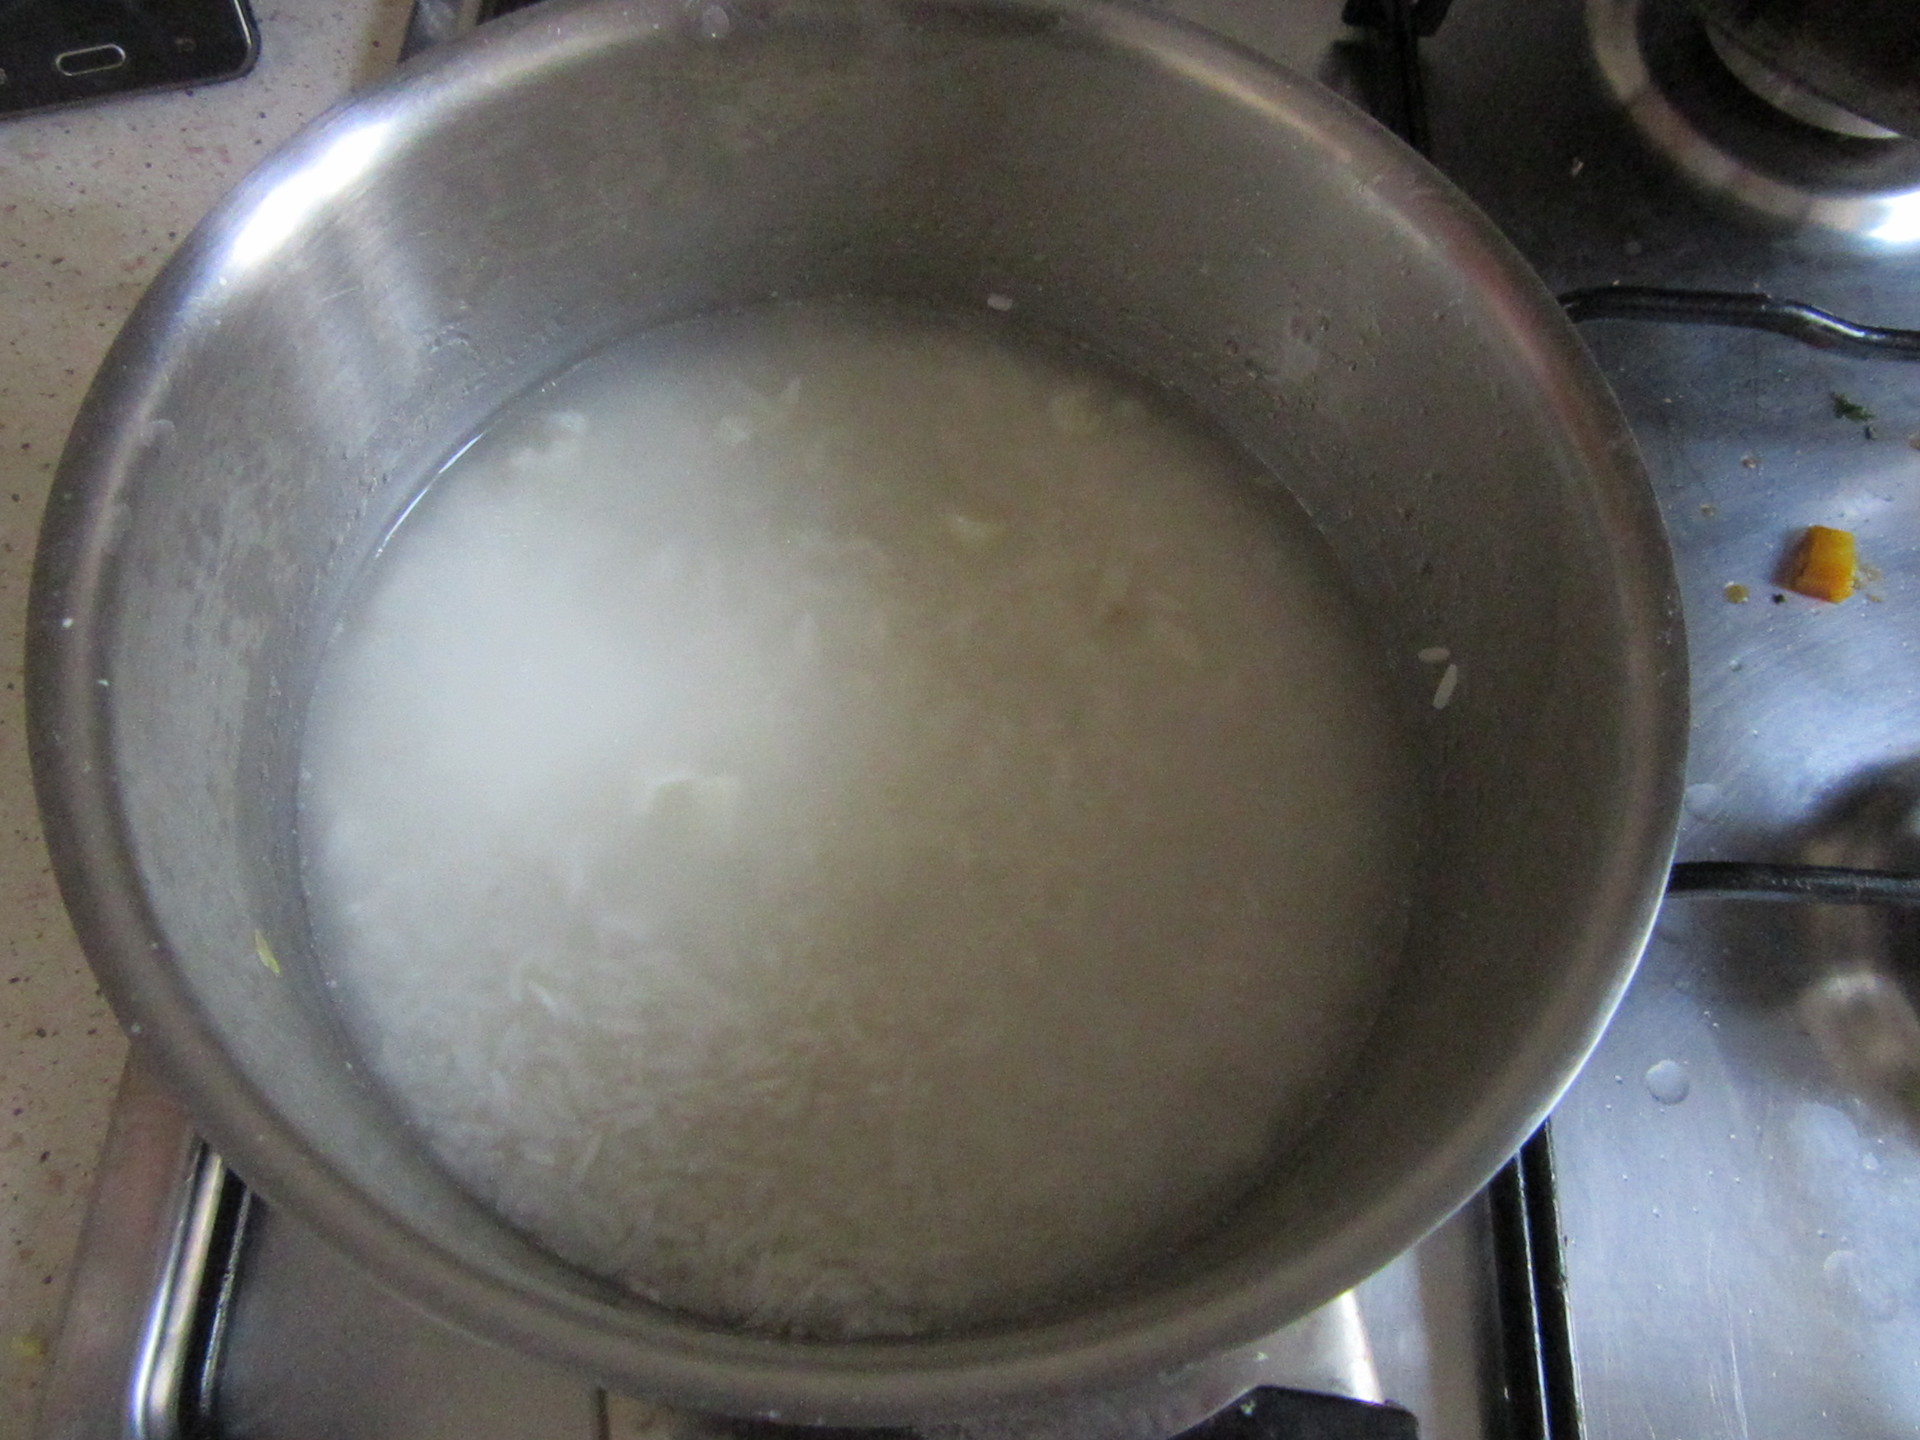
- You should wash the rice three times at least, until you wash it and the color runs as clear as the water from the faucet. If you have a colander, you can drain it while you wait for the water to boil along with the oil, the garlic, and a little bit of salt.
- Once the water is boiling, you should place the rice in, and then lower the heat on the burner so that it doesn't burn, and wait approximately 10 minutes at most.
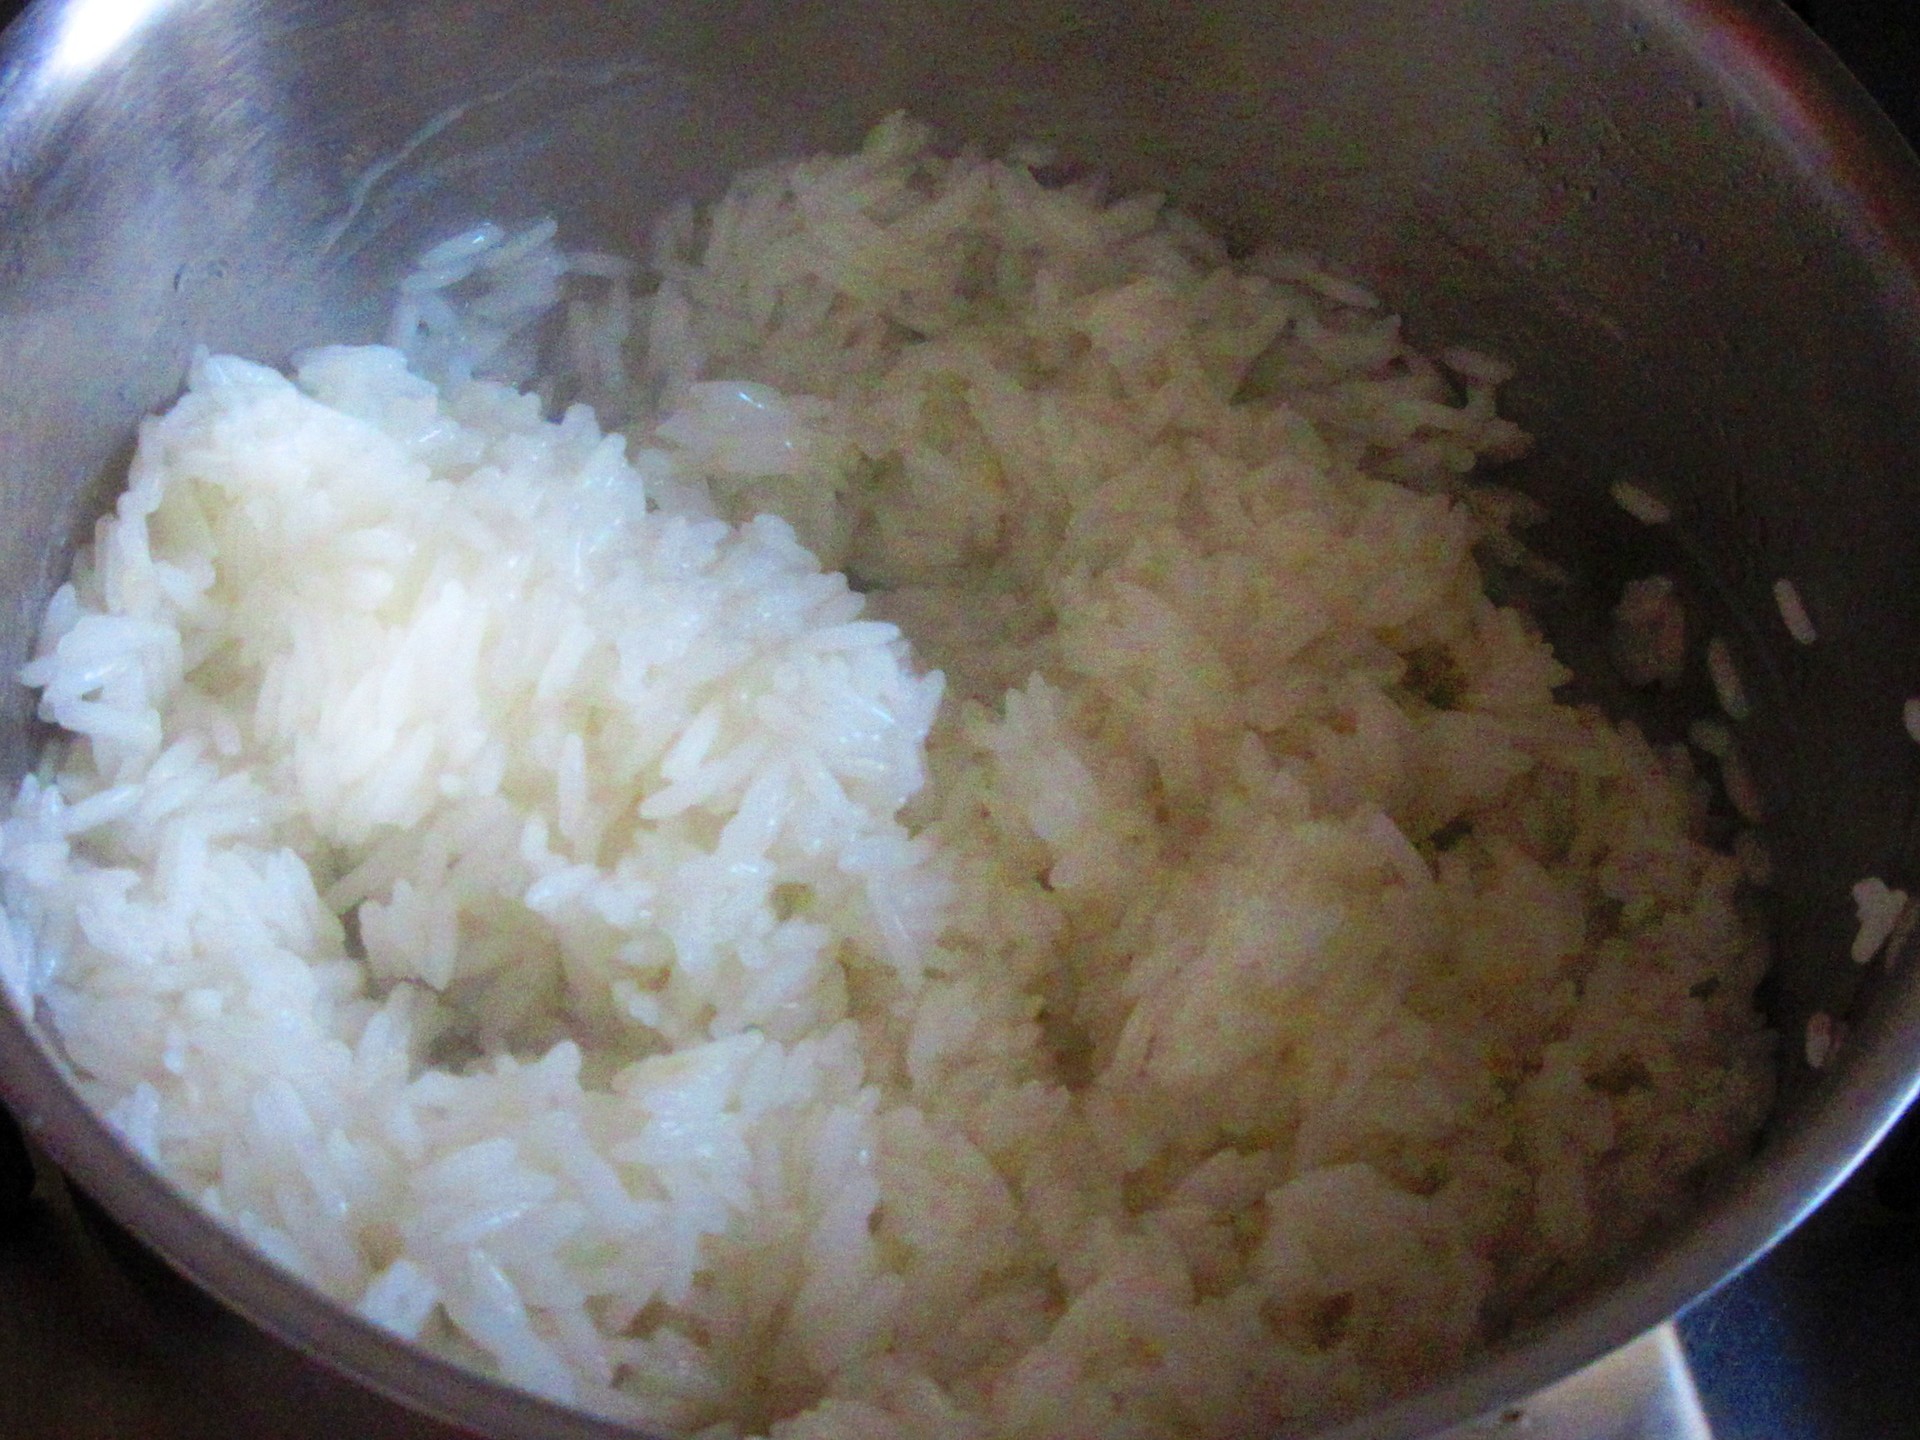
- When the rice begins to clump together, you can grab a fork and begin to move it in circles, so that it finishes cooking in a fast and even manner.
- And once we have the rice and the stew, our dish is already practically ready to serve and delight ourselves with our delicious Peruvian food. As you see, it is a simple plate, delicious to the palate, and with a lot of marinade that gives it that special touch of Peruvianness.

I hope you enjoyed this simple, inexpensive tutorial, and that you try it in your homes. Many thanks for reading this recipe! We'll see each other again in another tutorial for more Peruvian recipes in Italy. Hasta pronto, and eat well!
Photo gallery
Content available in other languages
Want to have your own Erasmus blog?
If you are experiencing living abroad, you're an avid traveller or want to promote the city where you live... create your own blog and share your adventures!
I want to create my Erasmus blog! →


Comments (0 comments)