Pastel De Nata (Famous Portugal Dessert)
Pastel de Nata
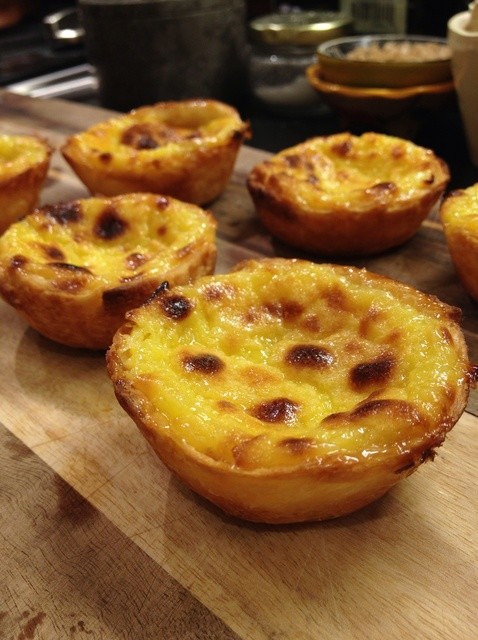
This dessert is the symbol of Portugal. Nata, means cream in Portuguese. A cupcake-looking dessert with puff pastry layers and cream inside. Pastel de nata is a delicious dessert that you can find in all the restaurants and cafes in Portugal. The original was first made by Catholic nuns in the 18th century. The nuns, who are actually French, explain why the desserts are covered with puff pastry.

Although I didn't like dessert, it was a taste which I loved. The most popular selling place is pasteis de belem in Lisbon. You may see a crazy line in front of there, but if you will go at late hours, you won't wait much. In a small town, it is possible to eat a nice nata even in a bakery on the side street.
You can even find it in all Starbucks in Portugal!
My city, Coimbra, is the best place to eat;
1. Canteen of the University of Coimbra Faculty of Letras (You will not be satisfied with one when you see hot and fresh pastel de natas. Experienced constant)
2. The world need nata (A chain of cafes you can find all over Portugal)
Without forgetting, my advice is to consume hot :)
To the recipe,
I've quoted this recipe for you, which is overly difficult and I can never do, if you do, I'm waiting for your comments!
Bon appetit!

Ingredients;
For Pasteis de nata's dough,
- 2 cups minus 2 tablespoons multi-purpose flour (227 grams), also working - more for the surface
- 1/4 teaspoon of sea salt (1 gram)
- 3/4 cup plus 2 tablespoons cold water
- 8 ounces of unsalted butter (2 sticky), room temperature, flat
For Custard,
- 3 tbsp multi-purpose flour (23 grams)
- 1 1/4 cup of milk
- 1 1/3 cup of granulated sugar (264 grams)
- Cinnamon (stick) 1 piece
- 2/3 cups of water
- 1/2 teaspoon of vanilla extract
- 6 large egg yolks, whipped
For Garnish,
- Confectionery candy
- Cinnamon

INSTRUCTIONS
Dough
1. A mixer equipped with a dough hook; Mix the flour, salt and water in about 30 seconds until it becomes a soft, cushioned dough that draws from the side of the bowl.
2. Generously flourish a work surface and attach the dough to a 15 cm square using a dough scraper. Flour dough, cover with plastic wrap and let stand at room temperature for 15 minutes.
3. Fold the dough into an 18-inch square. When working, use the scraper to remove dough to ensure that the bottom surface does not stick to your work surface.
4. Scrub flour from the top of the dough, straighten the rough edges and spray using a small offset spatula and spread the 2/3 portion to the left of the dough slightly below 1/3 of the butter. Be sure to leave a 3 cm flat border on the edge of the dough.
5. Fold the right 1/4 dough (using a dough scraper to crisp if it sticks), leaning right along the rest of the dough. Scrub excess flour, then fold 1/3 to the left of the dough. Starting from the top, attach the bottom of the dough by hand to release any air bubbles, and then squeeze the edges of the dough. Scrub excess flour.
6. Turn the dough 90 ° to the left, so that the fold is facing you. Lift the dough and forget the work surface. Once again, place it on a 60 cm square, then rub the 2/3 portion of the dough with 1/3 of the butter on the dots and dough. Fold the dough as described in steps 4 and 5.
7. For final rolling, turn the dough 90 ° to the left and wrap the dough on a 45x60 rectangle with the short side facing you. The remaining butter is spread over the entire surface of the dough.
8. Using the spatula as an aid, lift the edge of the dough closest to you and take the dough from you into a tight stump that brushes from the bottom. Cut the tips and cut in half. Wrap each part in plastic containers and cool for 2 hours or preferably overnight. (Dough can be frozen up to 3 months. )
Custard
9. In a medium bowl, smooth the flour and 1/4 cup of milk until whisking.
10. Boil sugar, cinnamon and water in a small saucepan and cook until 100 ° C of a read-out thermometer. Mixing.
11. Meanwhile, boil the remaining 1 cup of milk in another small pot. Add the hot milk to the flour mixture.
12. Remove the cinnamon stick and pour it in a fine flow by gently whisking the sugar syrup into the mixture of hot milk and flour. Add vanilla and stir for a minute until it is too hot, but it is not hot. Beat the wrap-water, squeeze the mixture into a bowl, cover with a plastic wrap and set aside. Custard will be fine; This must be like this. (You can cool the custard for up to 3 days. )

Baking,
13. Place the oven rack in the third upper position and heat the oven to 290 ° C. Remove a cake stump from the refrigerator and rewind it on a lightly floured surface until it is approximately 1 inch in diameter and 16 inches long. Cut into sharp 10/12 cm pieces. Put one piece of pastry dough into each well of a 12-cup mini donut pan, roll down (2x12 cm). Allow the dough pieces to soften for a few minutes until they become flexible.
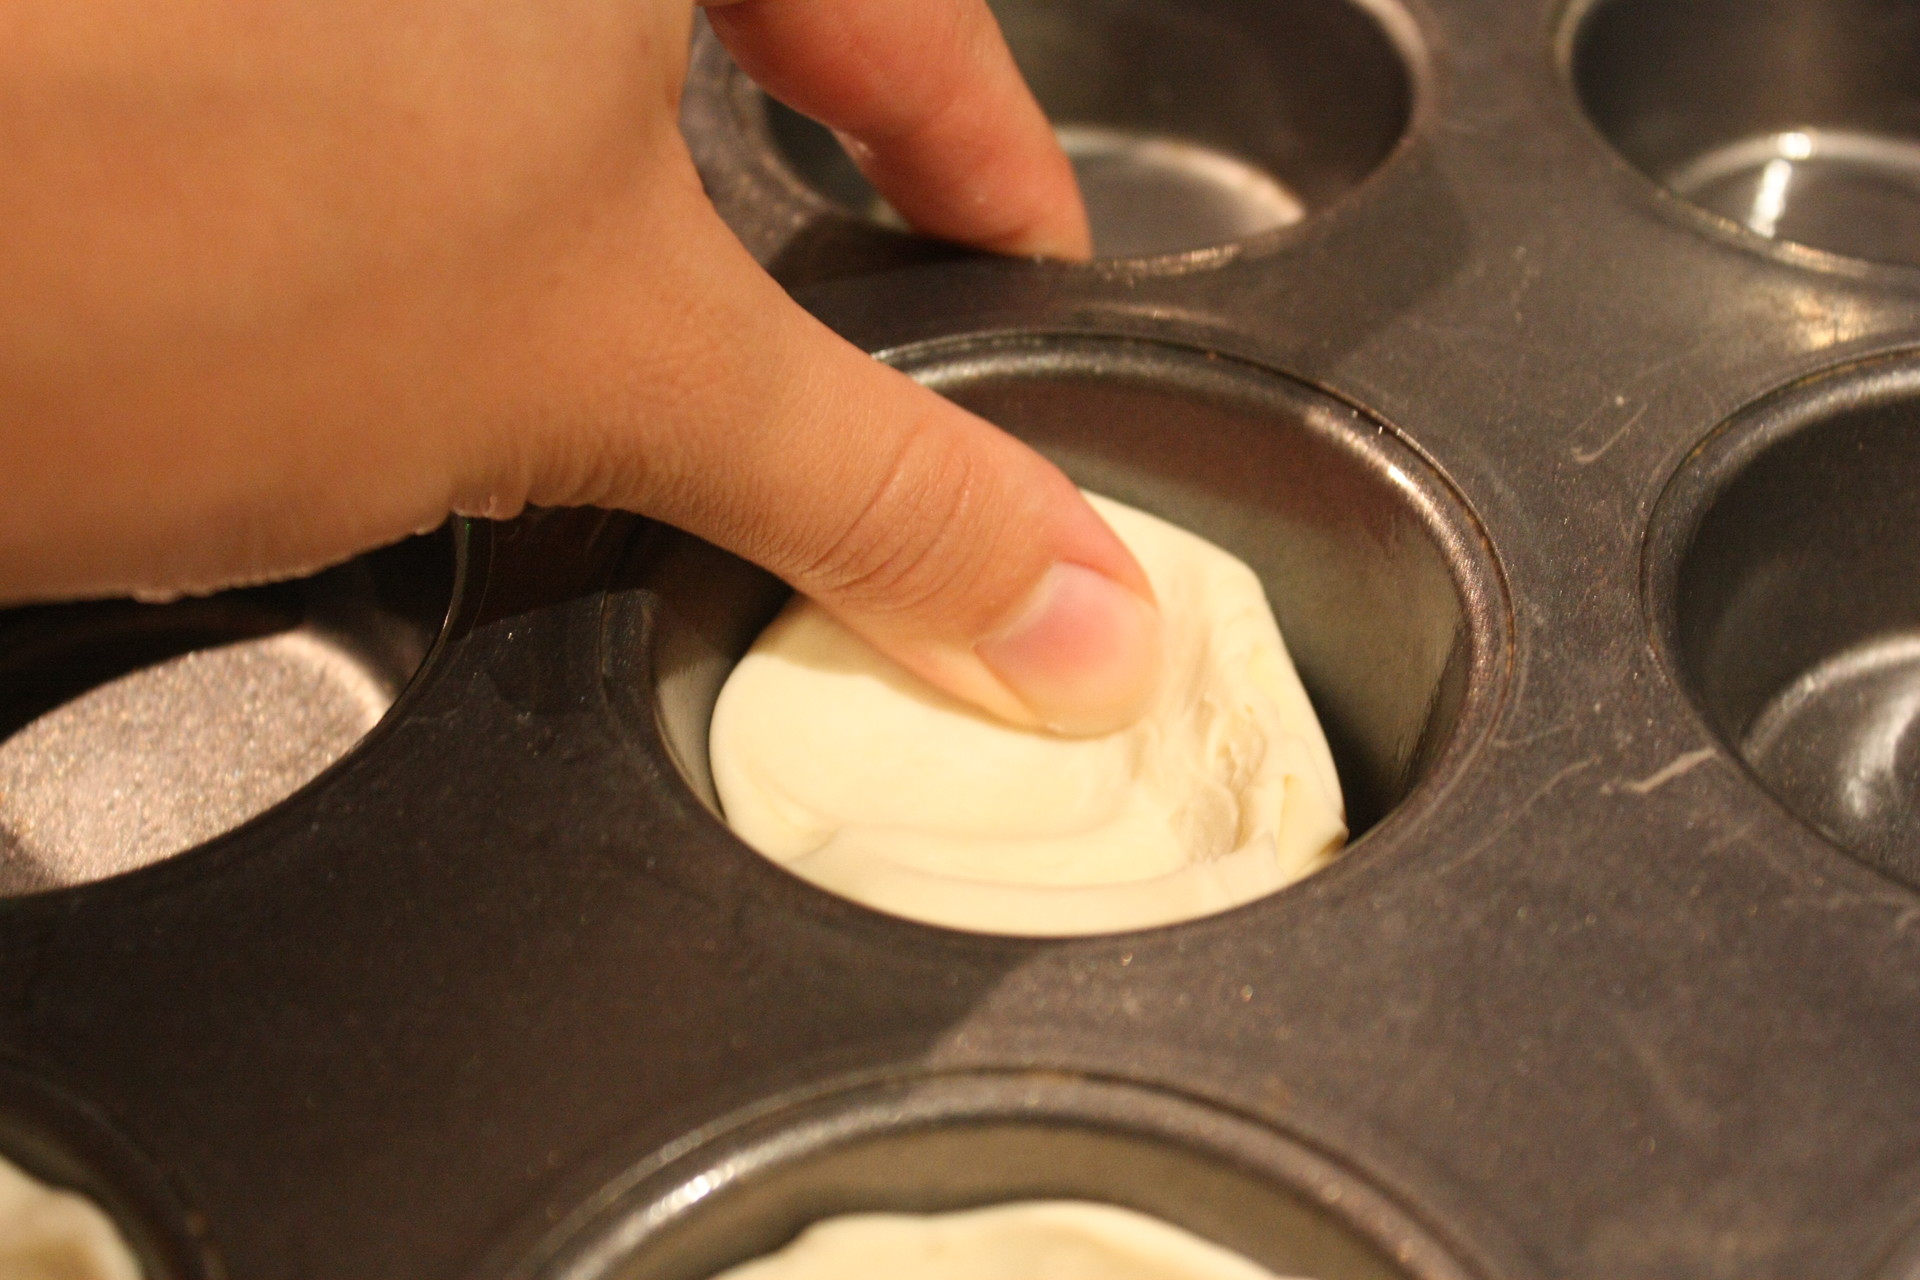
14. Put a small glass of water near it. Dip your thumbs in water, then dive directly into the center of the dough spiral. Straighten the bottom of the container to a thickness of about 1/16 inch, then smooth the dough sideways and form a raised lip about 1/16 cm above the ceiling. The pastry is thinner than the bottom.
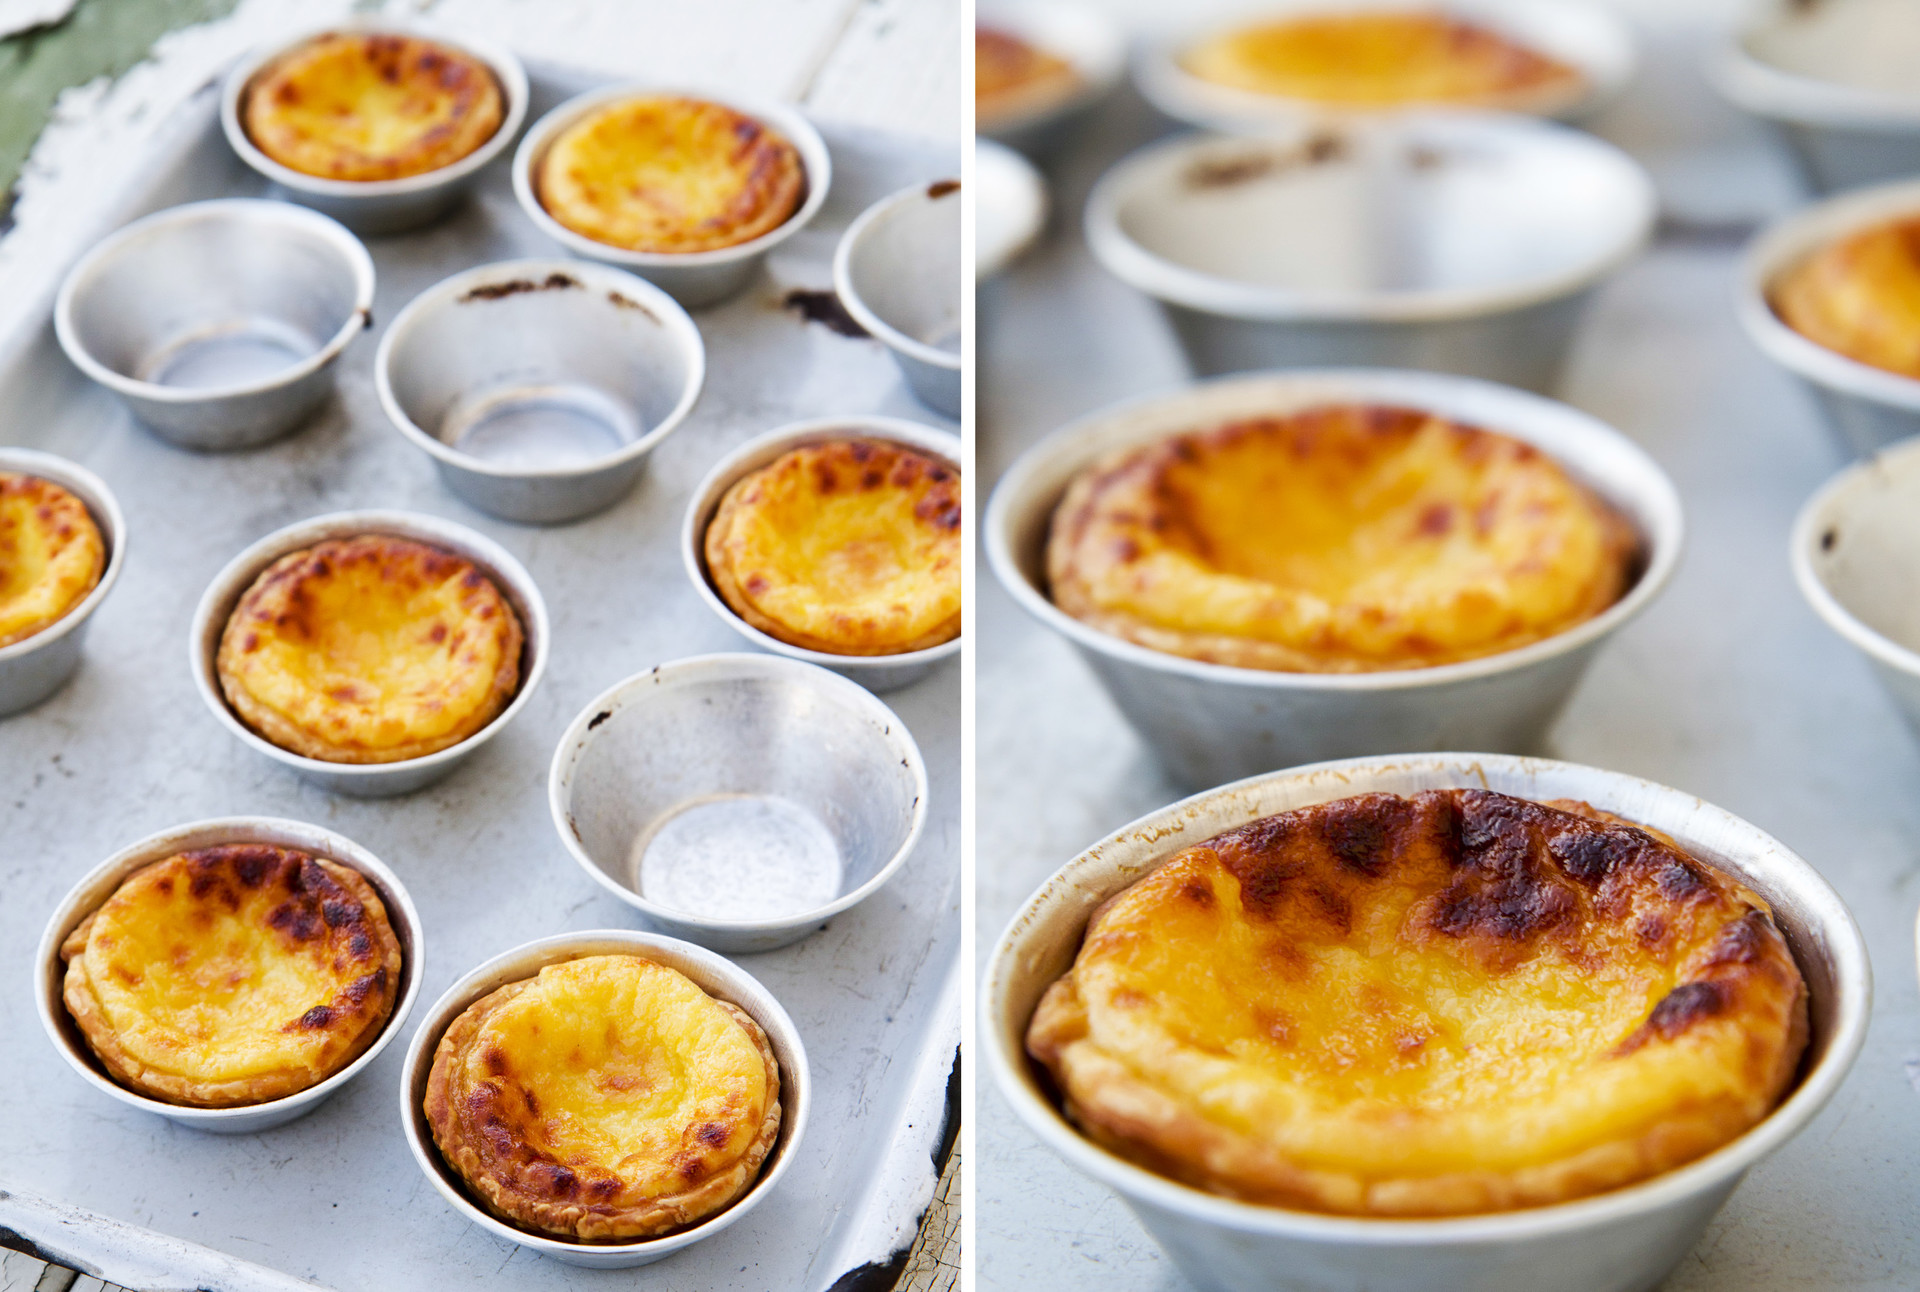
15. Fill each cup with 3/4 of slightly hot custard. Bake the cake in the oven until the edges of the dough turn brown and brown (about 8 to 9 minutes).
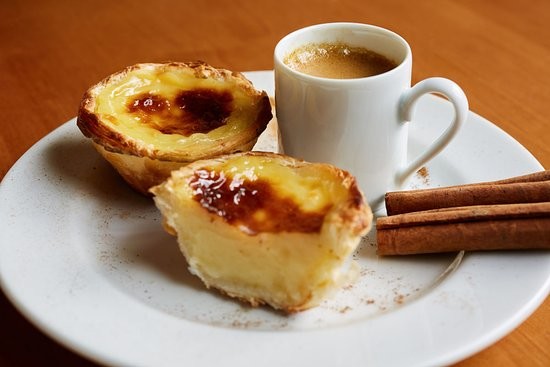
16. Remove from the oven and allow the cake to cool in the pan for a few minutes. Serve the cakes generously with sprinkles and cinnamon. Repeat with the remaining cake and custard. They are best consumed on the day they are made.
Photo gallery
Content available in other languages
Want to have your own Erasmus blog?
If you are experiencing living abroad, you're an avid traveller or want to promote the city where you live... create your own blog and share your adventures!
I want to create my Erasmus blog! →


Comments (0 comments)