Budget friendly sushi
Low budget but tasty sushi: is it possible to cook it in the student dorm?
Let’s be real here, when you are a student, your budget can go through not so happy periods but regarding to food, it doesn’t mean you cannot enjoy the favorites and, if going out to eat can be often a bit too expansive, preparing it at home or in the student dorm alongside with the roommates can be not only a needed activity, but also fun.
Disclaimer to our Japanese folks out there
One of the international dishes my friends and I really like is sushi, but going out, even in Bucharest, to have the dish at a good Asian specific restaurant can be not so cheap. Usually, from our experience, the sushi that we eat when we are going out, at "Japanos" for example, is, indeed, very tasty, but the problem is that, when it comes to sushi, the portion sizes are too small and our appetite doesn’t get satisfied with 8 bites of the Japanese dish.
Thus, we learned it how to prepared it by ourselves in the student dorm. But before starting, I have to make a disclaimer and apologize to all of the Japanese people who are not so happy with the student method of making the sushi, but we are just trying to come up with a decent student budget friendly recipe that can be experienced by everybody in a student dorm.
Actually, we realized that the dish is not so difficult to make as we thought, so after same more or less successful attempts, the recipe and way of preparation deserves to be shared with the other students who are searching for an easy, step by step way of cooking sushi.
The needed ingredients
In an instance, the ingredients that we normally use are the following ( very often we make vegan sushi, only a friend of mine is putting fish in it sometimes ):
-
White rice
-
Nori sheets ( roasted seaweed )
-
Cucumbers
-
Mango
-
Avocado
-
Carrots
-
Rice vinegar
-
Salt
Optional, but highly recommended, you can serve the sushi with:
-
Soy sauce
-
Walled ginger
-
Wasabi
The amount of the ingredients may vary according to taste and how much sushi we want to have.
How to cook the rice
First of all, we have to cook the rice, so in a large pot, we pour the rice, measuring, for example one cup of rice for three cups of water and let it to boil until all of the water has evaporated, stirring in it through so the rice will not get sticked to the bottom of the pot. After the rice is cooked, it needs to be cool down completely. Don’t skip this step, otherwise, you cannot assemble the sushi.
Cutting the vegetables
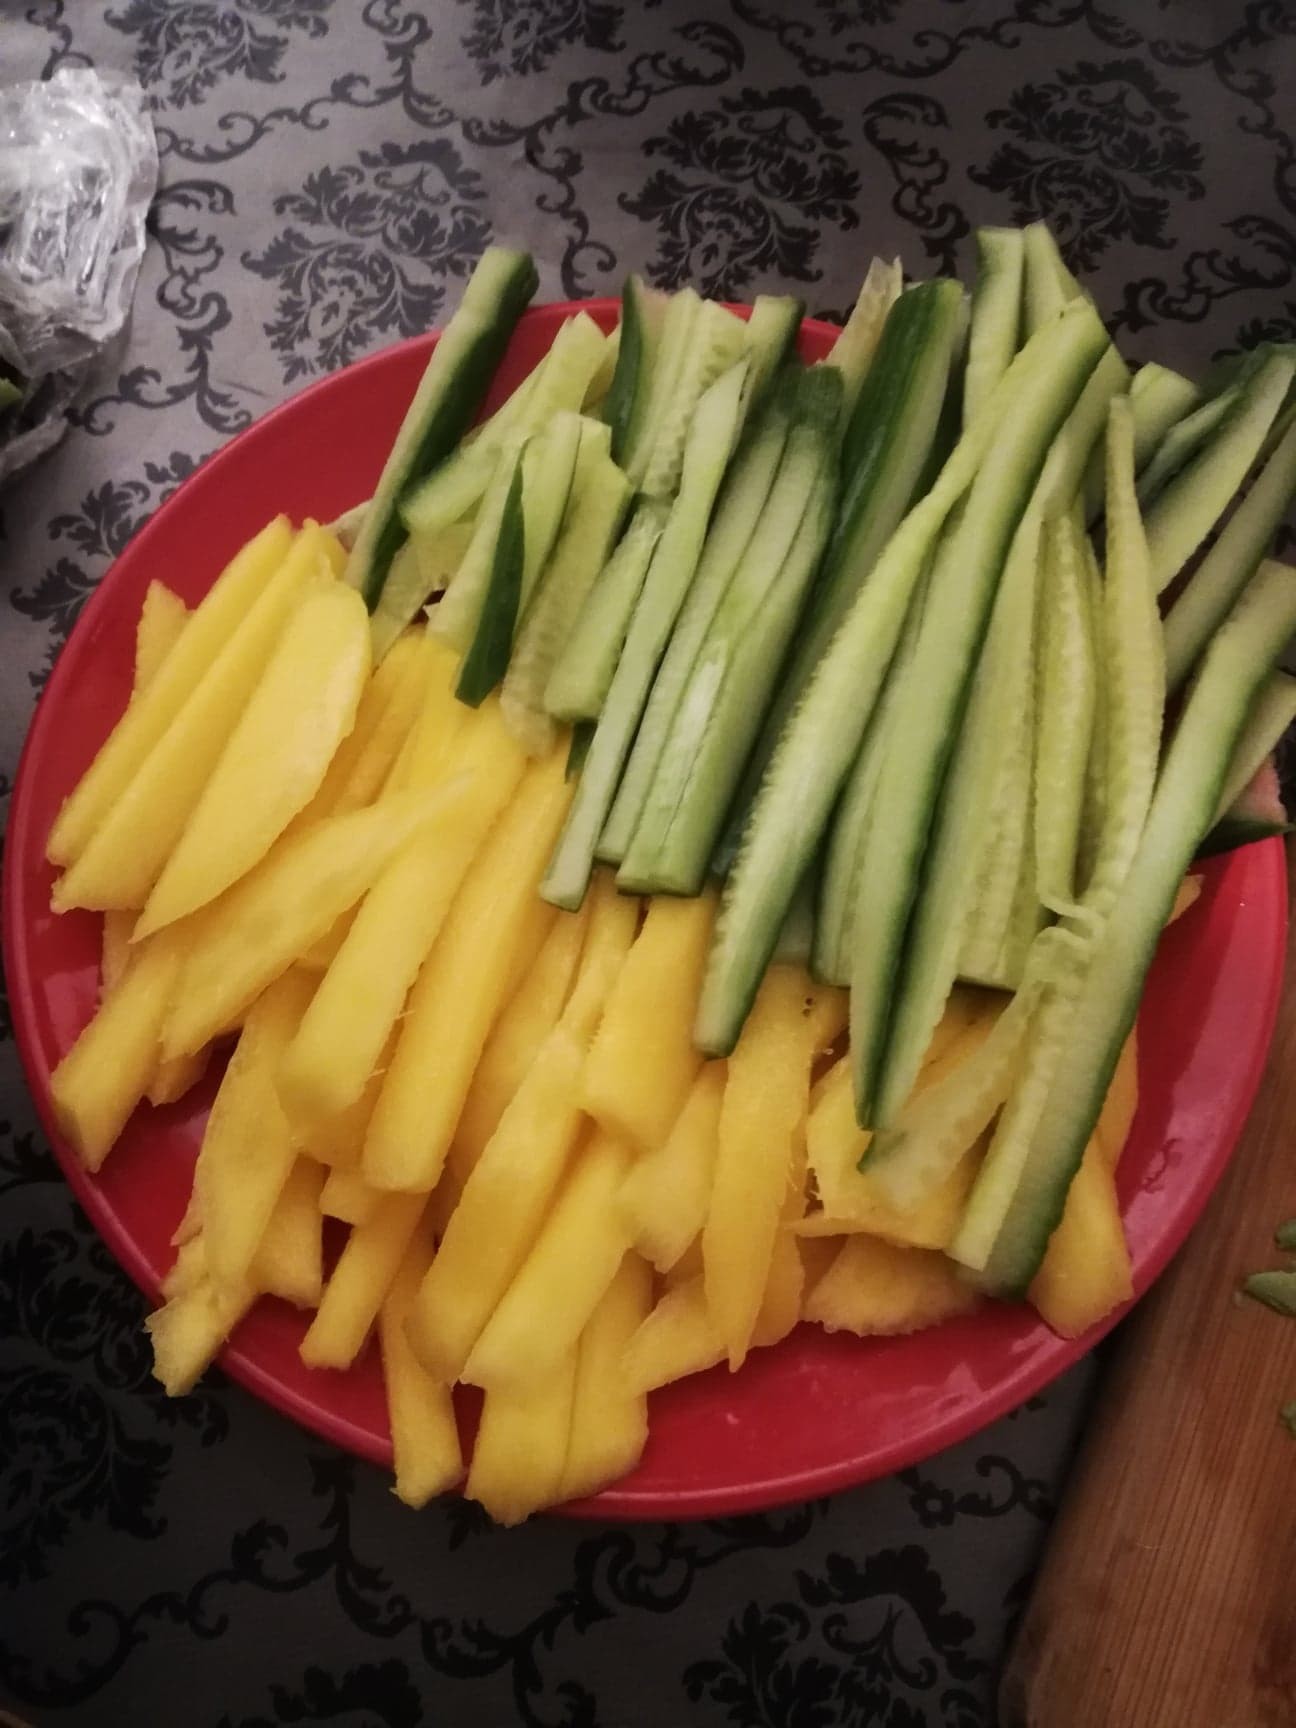
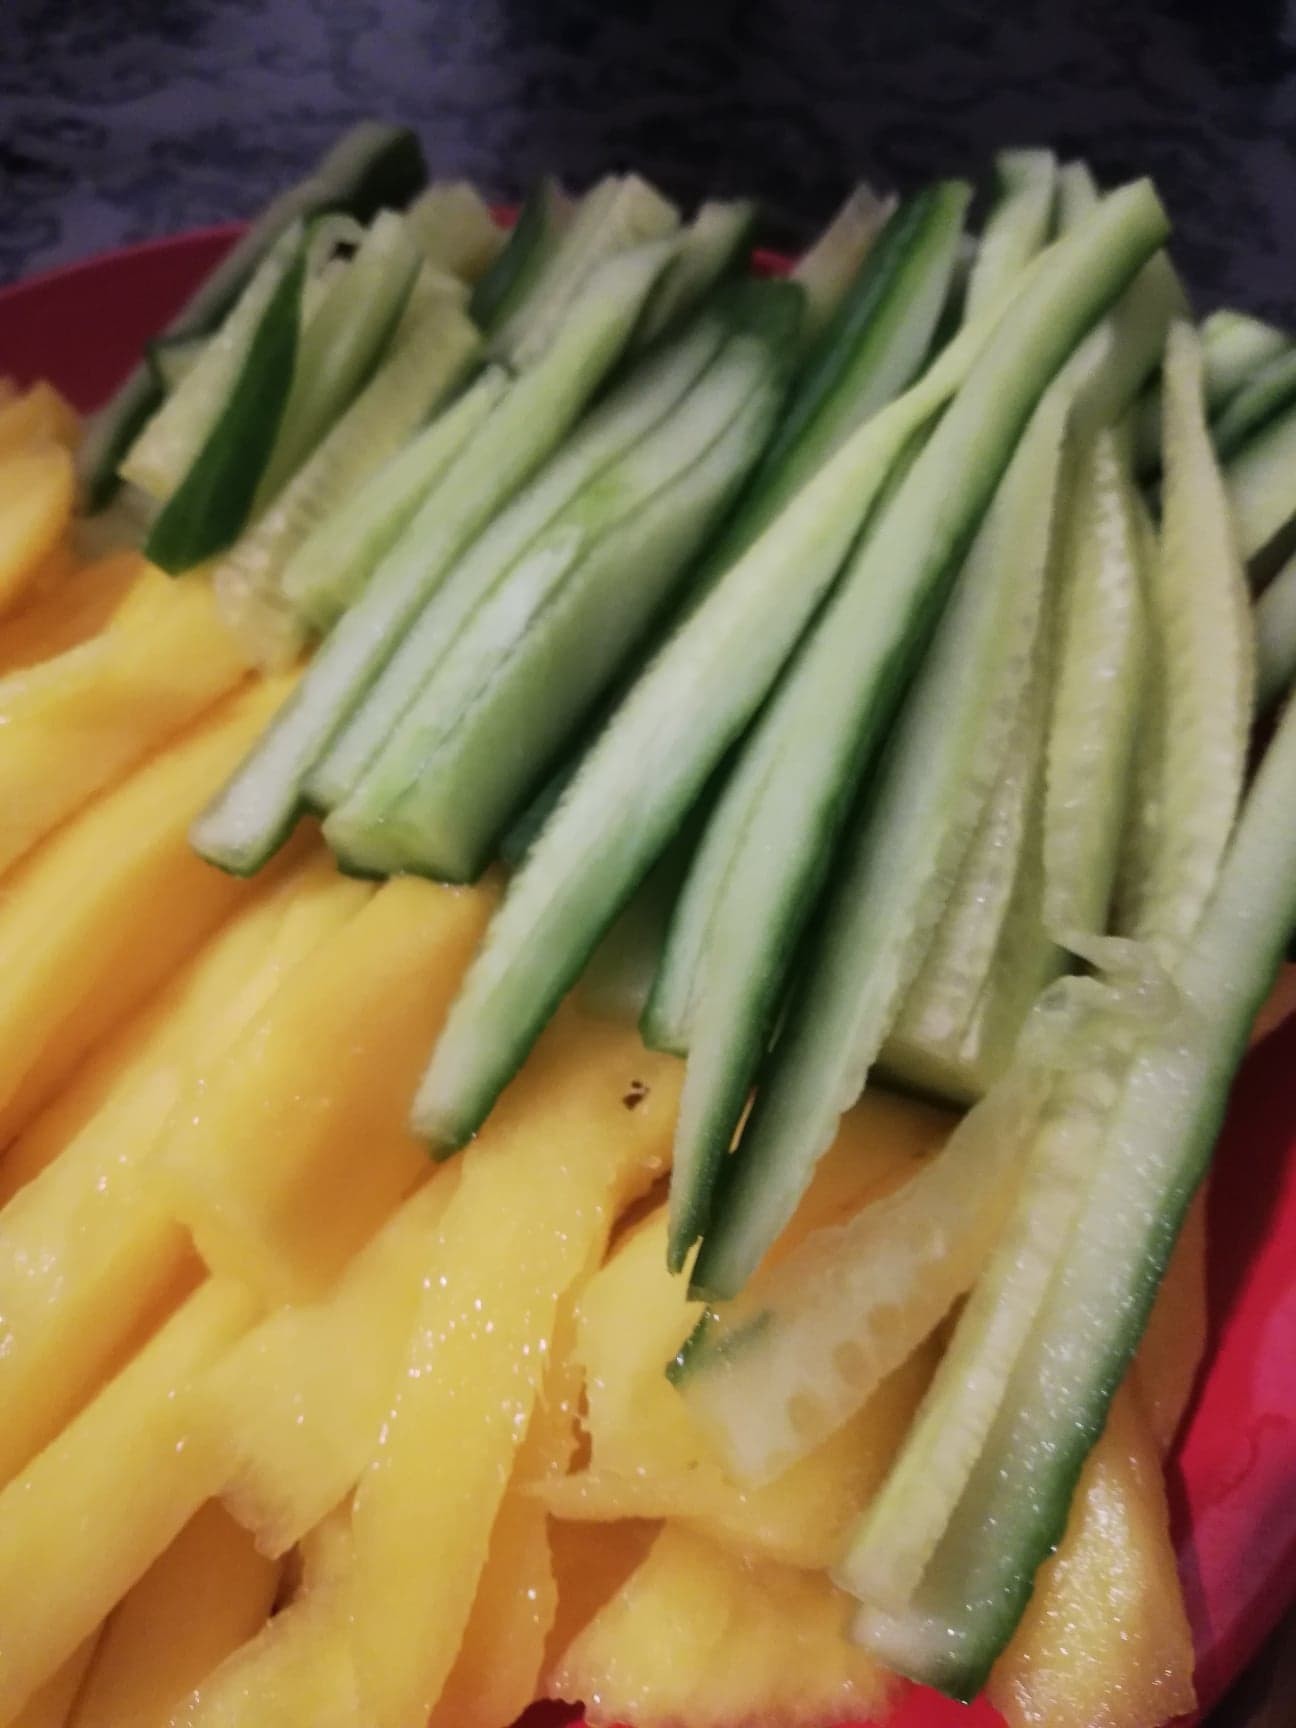
In the meantime, while the rice is getting cool down, we finely cut all of the fruits and vegetables creating sticks like shapes as you can notice in the images. Unfortunately, for this moment, we forgot to buy carrots, but other times we use also them and it turned out great.
When the rice is cold, we add 2 to 3 tablespoons of rice vinegar and salt and mix everything to combine. Don’t pour the vinegar when the rice is hot because it will get too soft and lop.
Rolling the sushi
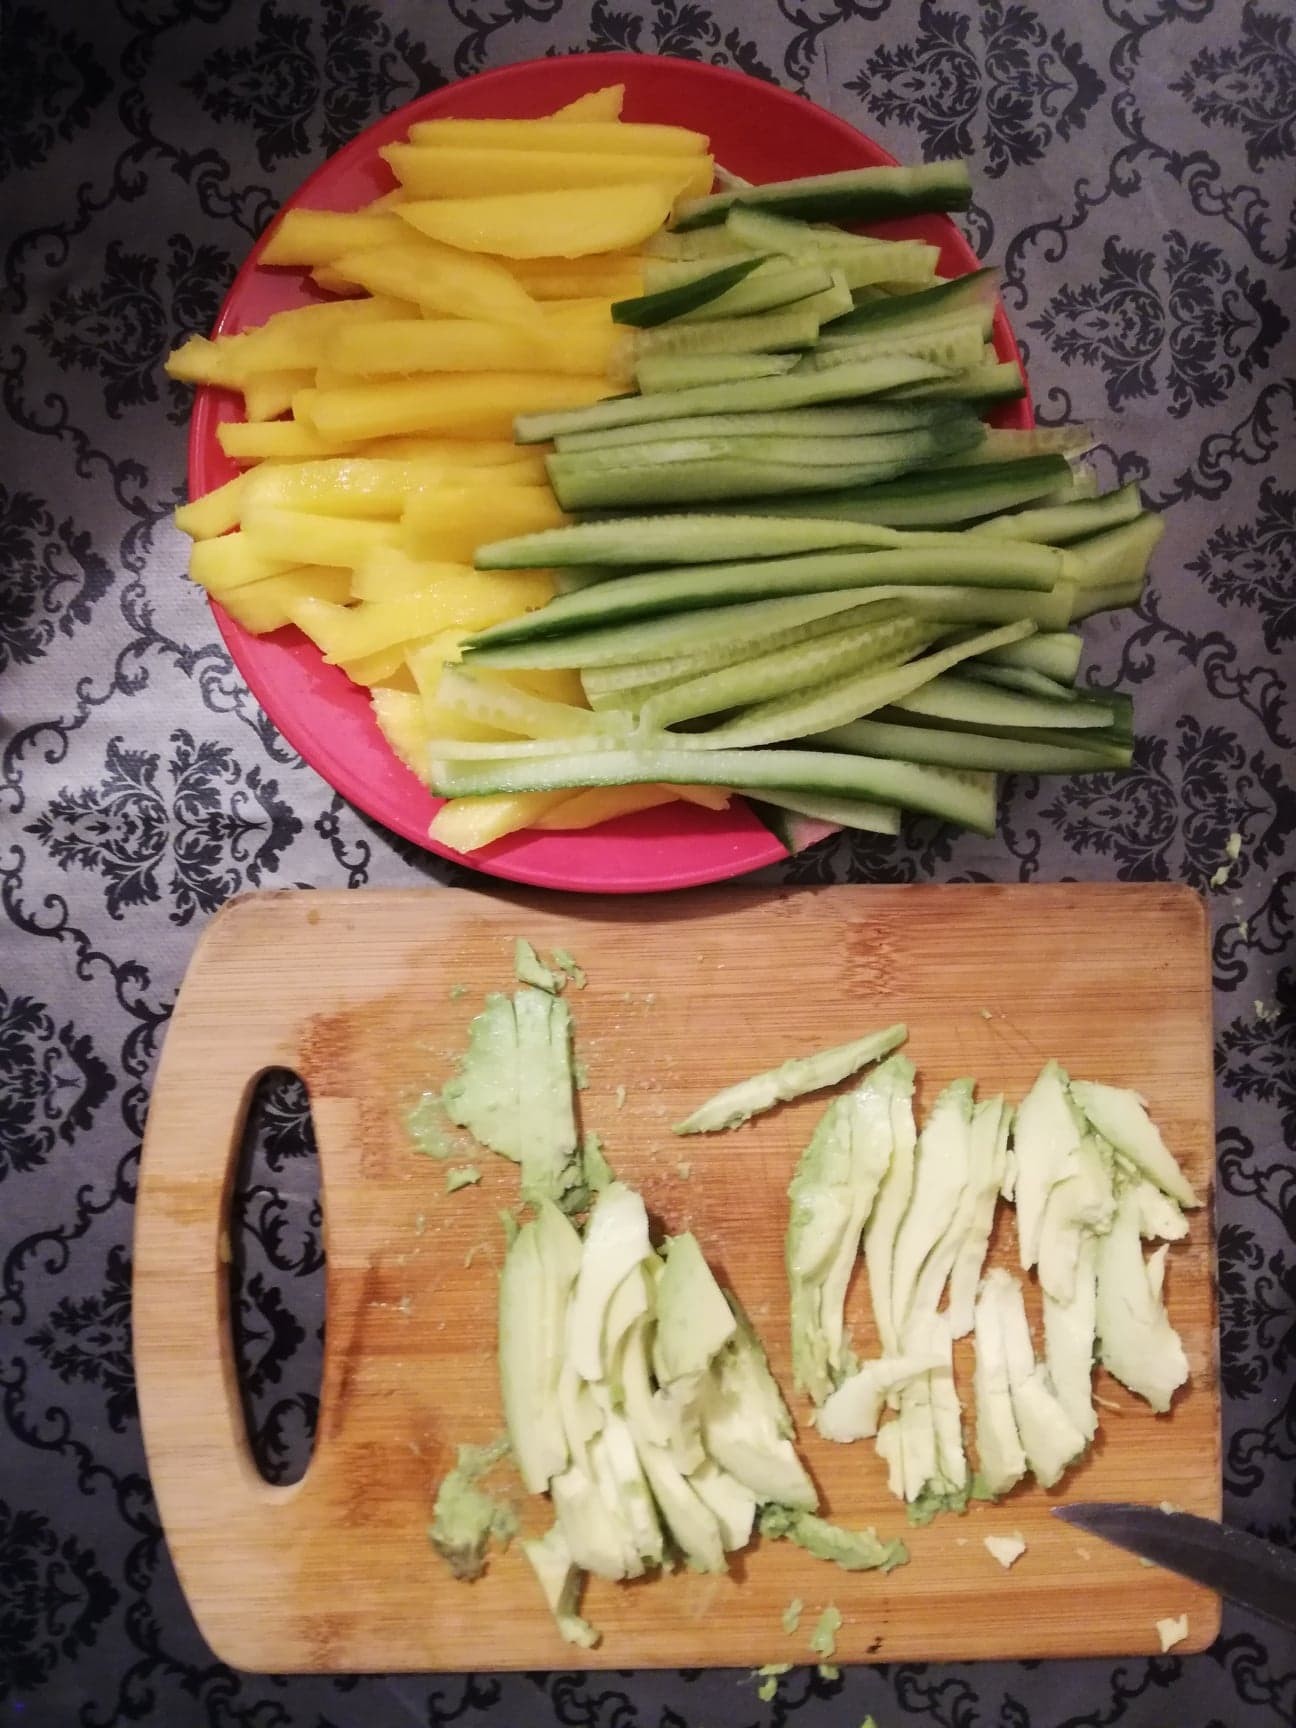
Finally, now the time has come to put together the sushi rolls. We bring close on the table the veggie platter, the pot with the cold rice, the nori sheets and a bowl of water. Currently, we don’t have a sushi mat on hand, so, instead, we are using a clean plastic bag on which we rest the first sheet of roasted seaweed.
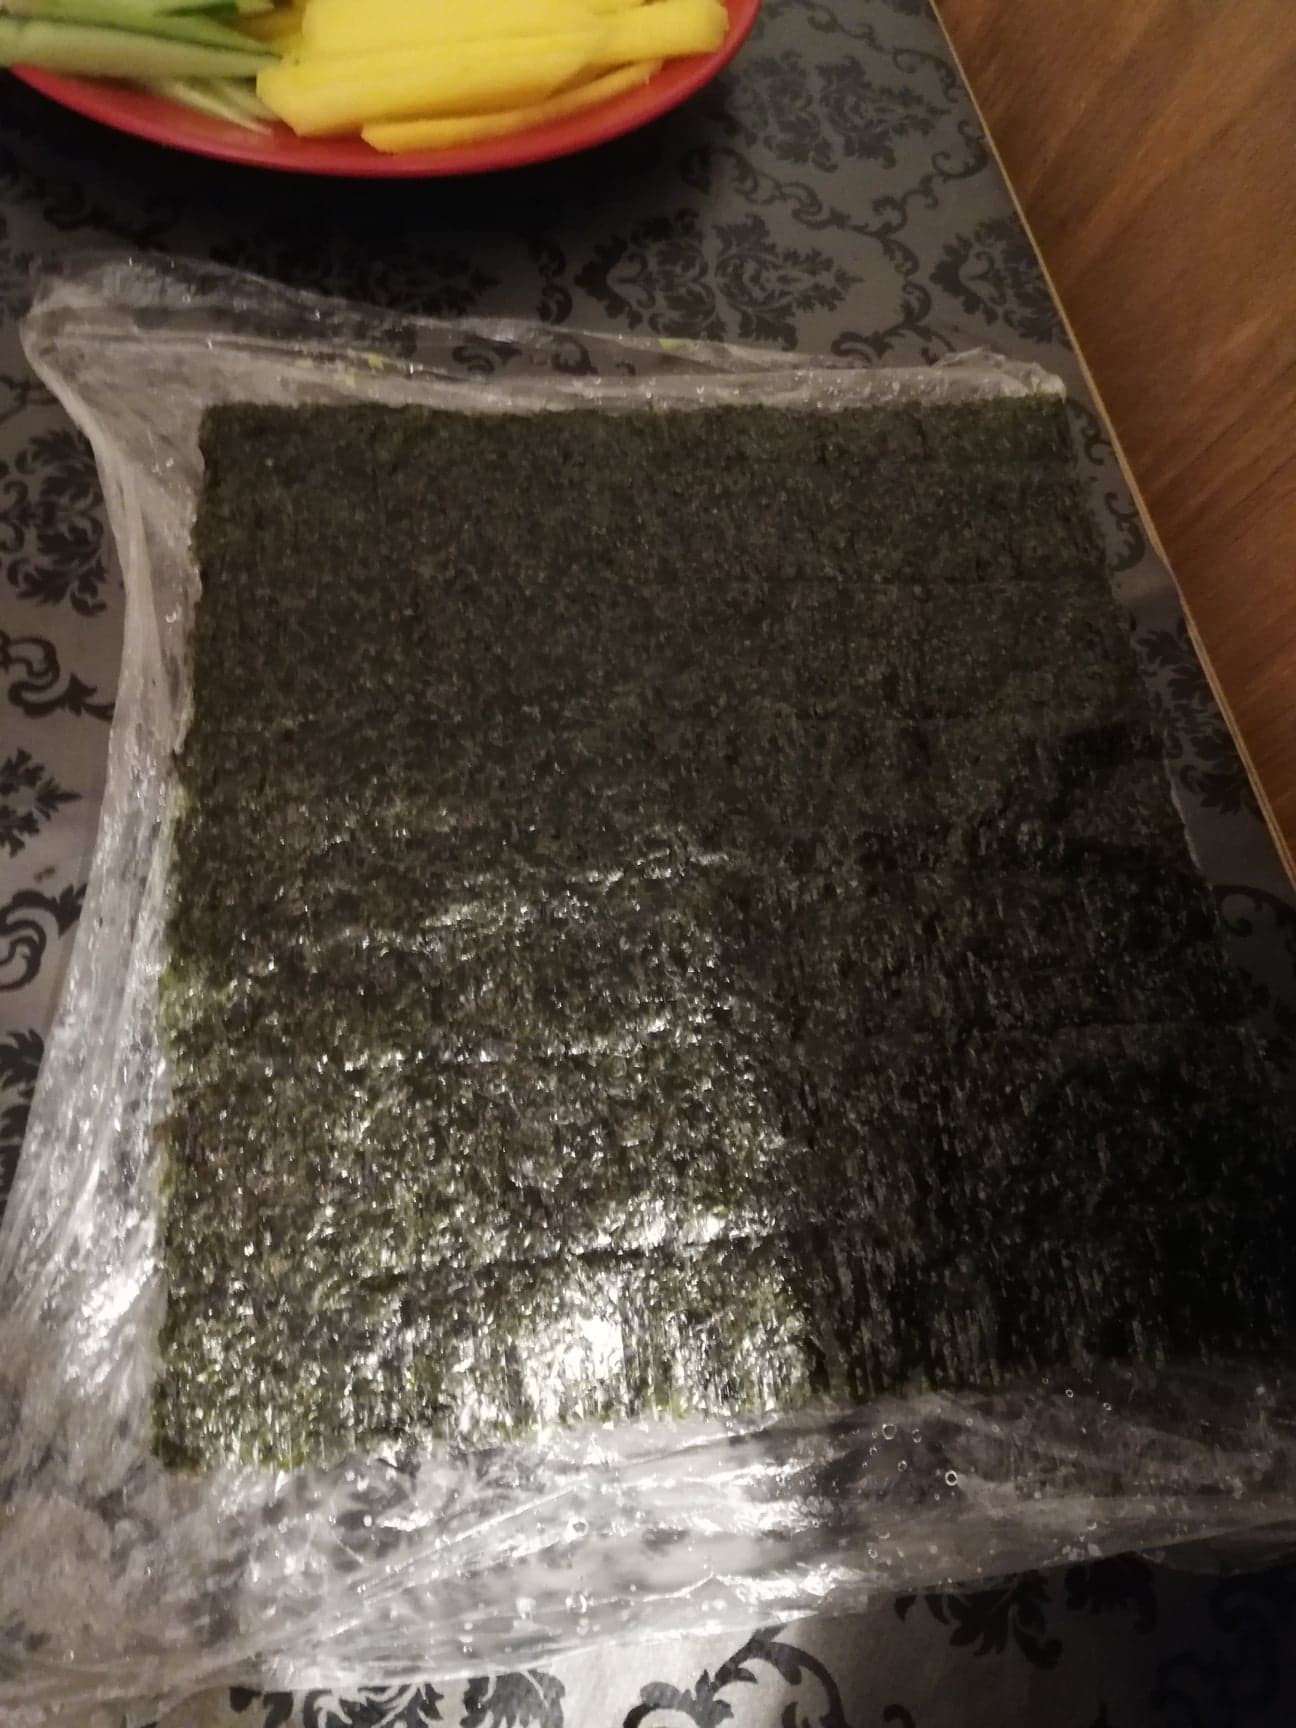
Now, we have to pay attention that the sushi sheets have two different sides and the side which has some vertical lines on it, should be placed upwards.
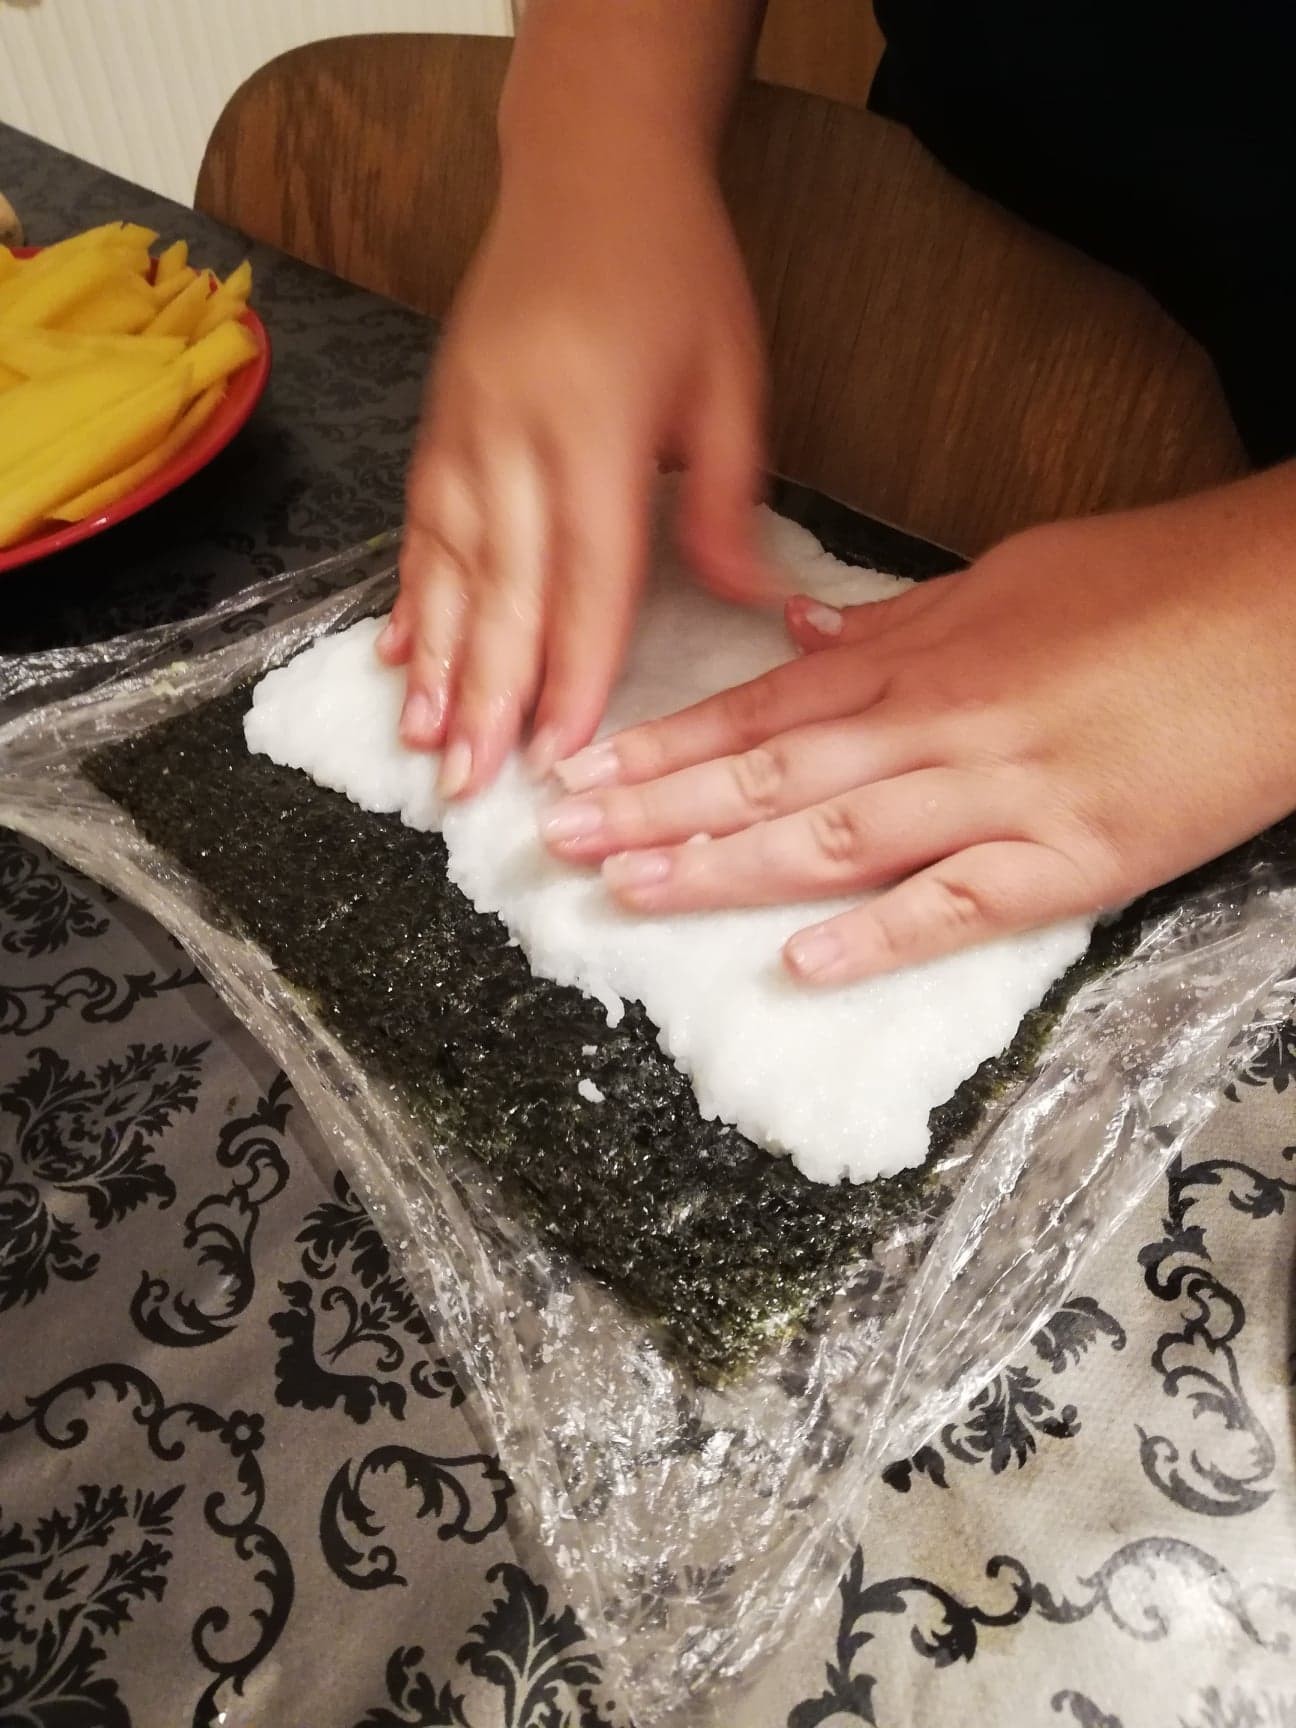
With our hands wet, we take the rice from the pot in same small portions and spread it over the nori sheet, forming an even layer of rice. The margin which is far away from us should be kept clean with no rice to help us later in rolling the sushi.
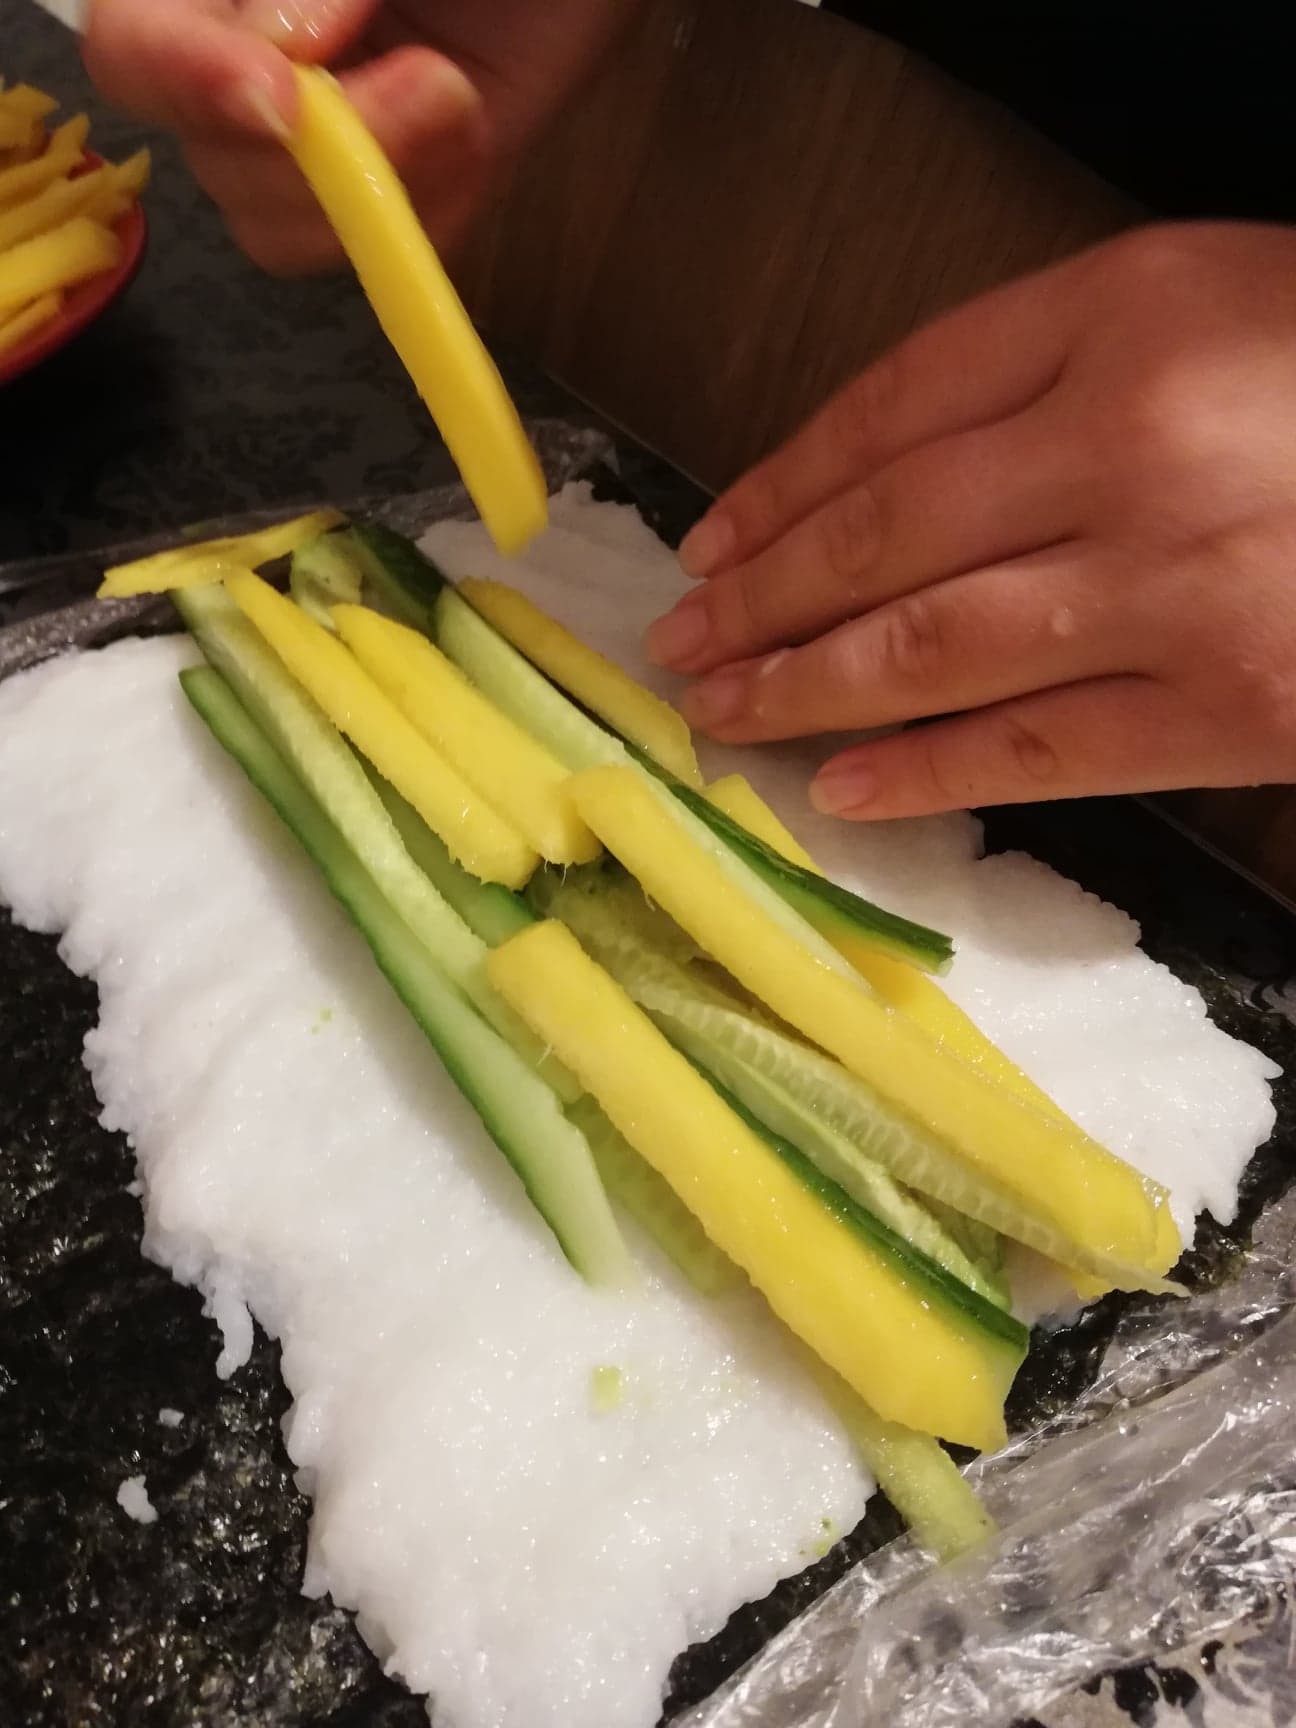
For the next step, we place the vegetable sticks on top of the rice, shaping them in a compact row on the entire length of the seaweed sheet. Don’t add to much, don’t add to less!
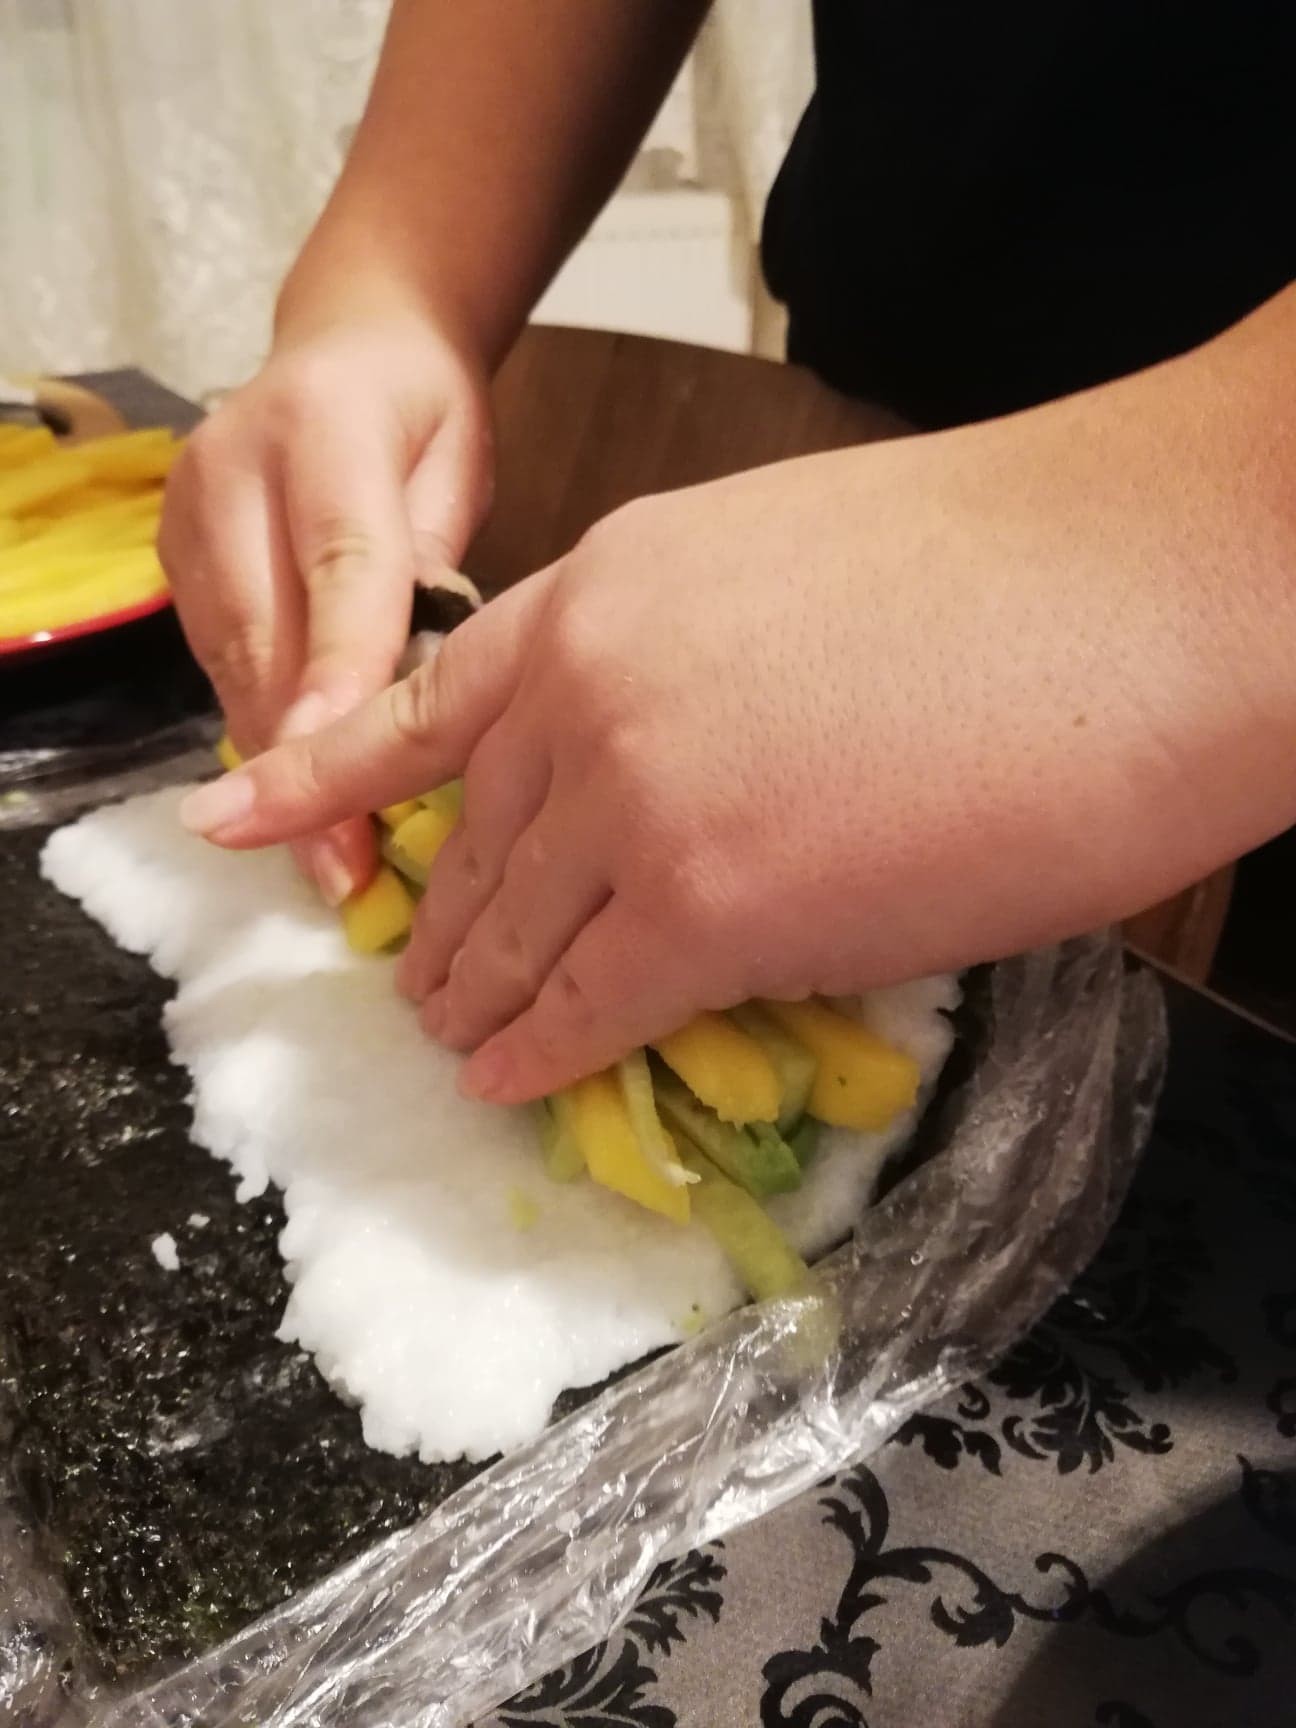
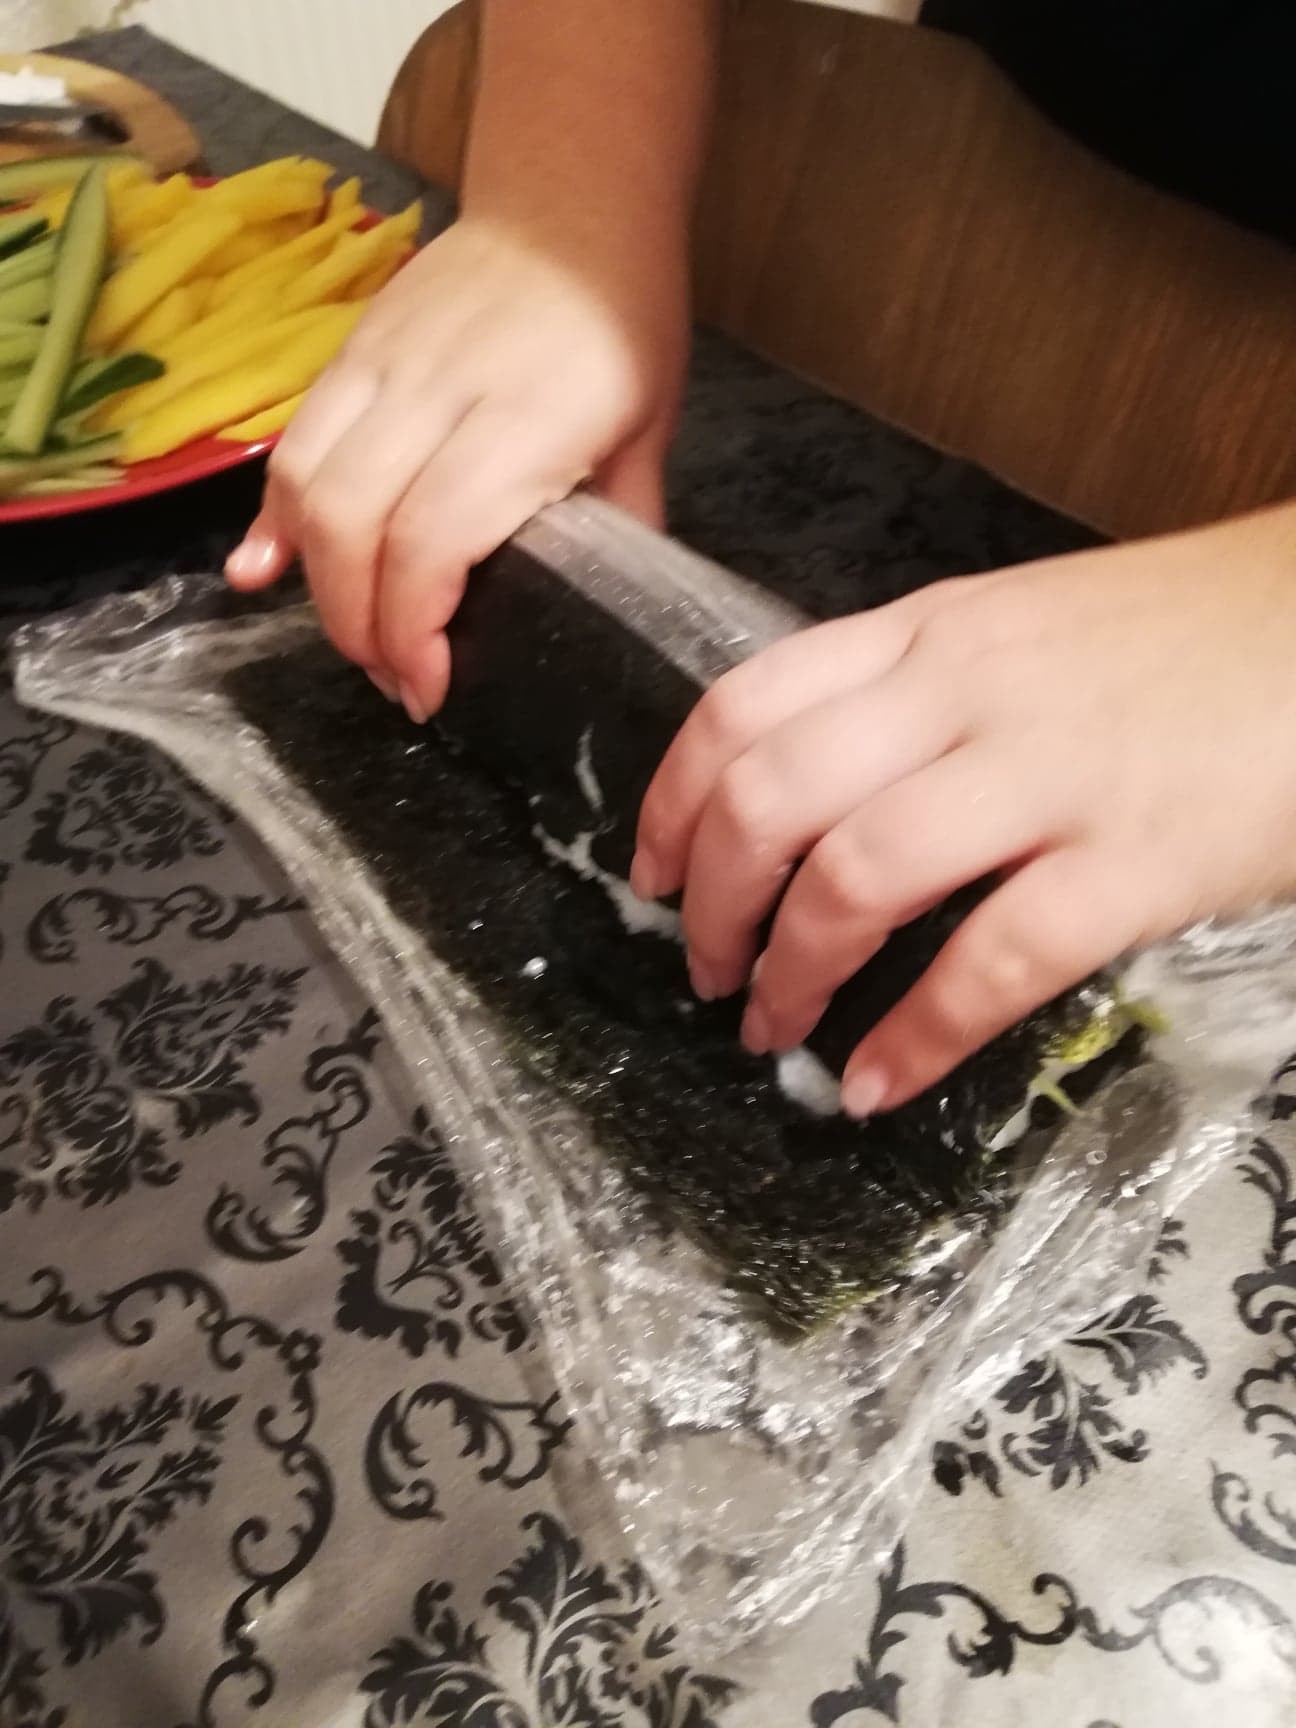
We start rolling the sushi carefully by using the plastic improvised sushi mat. This part can be a little tricky, don’t rush through it, but get your time to make it. The trick is to hold all of the veggies together while doing the roll and pressing it down slowly and firmly. When the roll is formed, we wet the little portion with no rice on, so it sticks to the sushi, closing the roll. And…voila!
Cutting the sushi bites
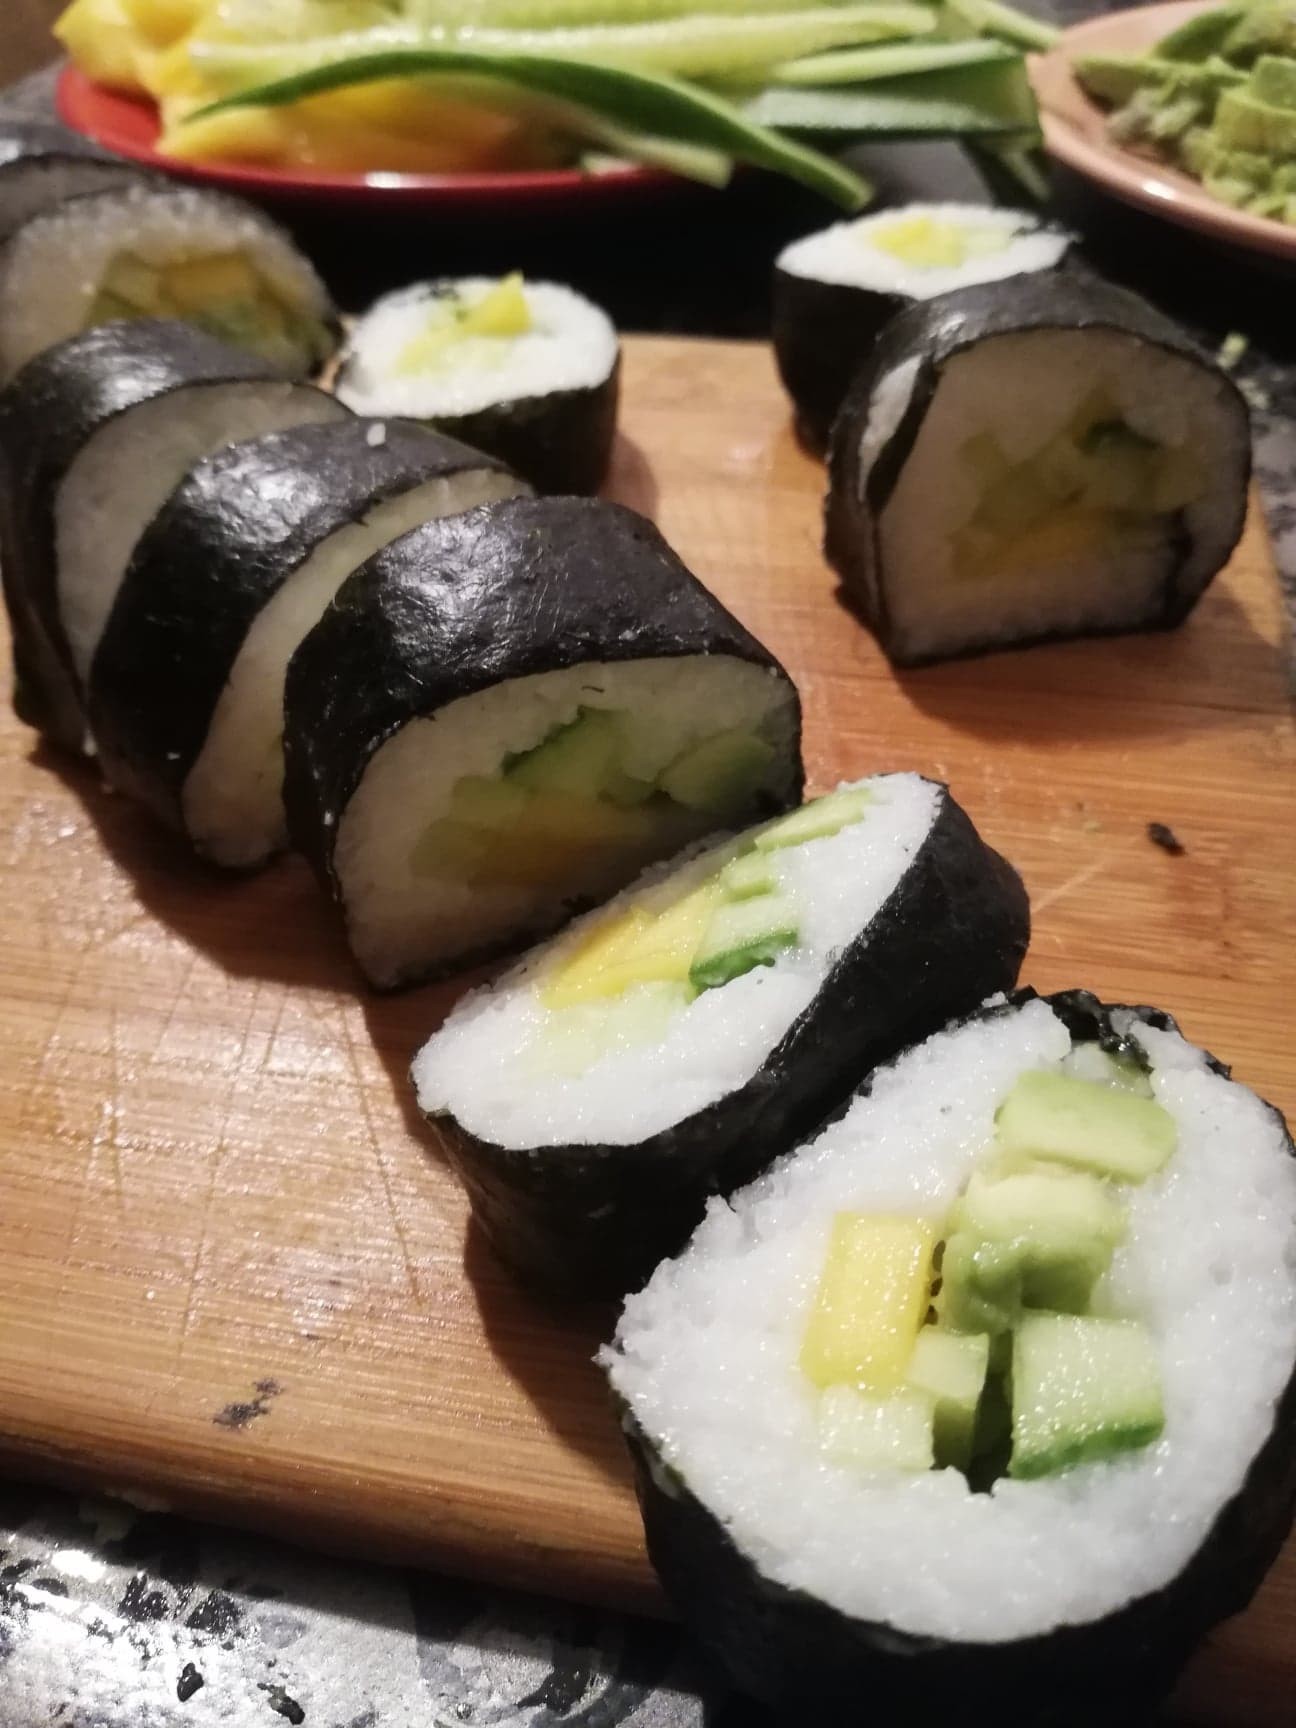
After that, we place the long sushi roll on a wooden cupboard to cut it. Here, again, we come to the conclusion that is better to also wet the knife, before each cut.
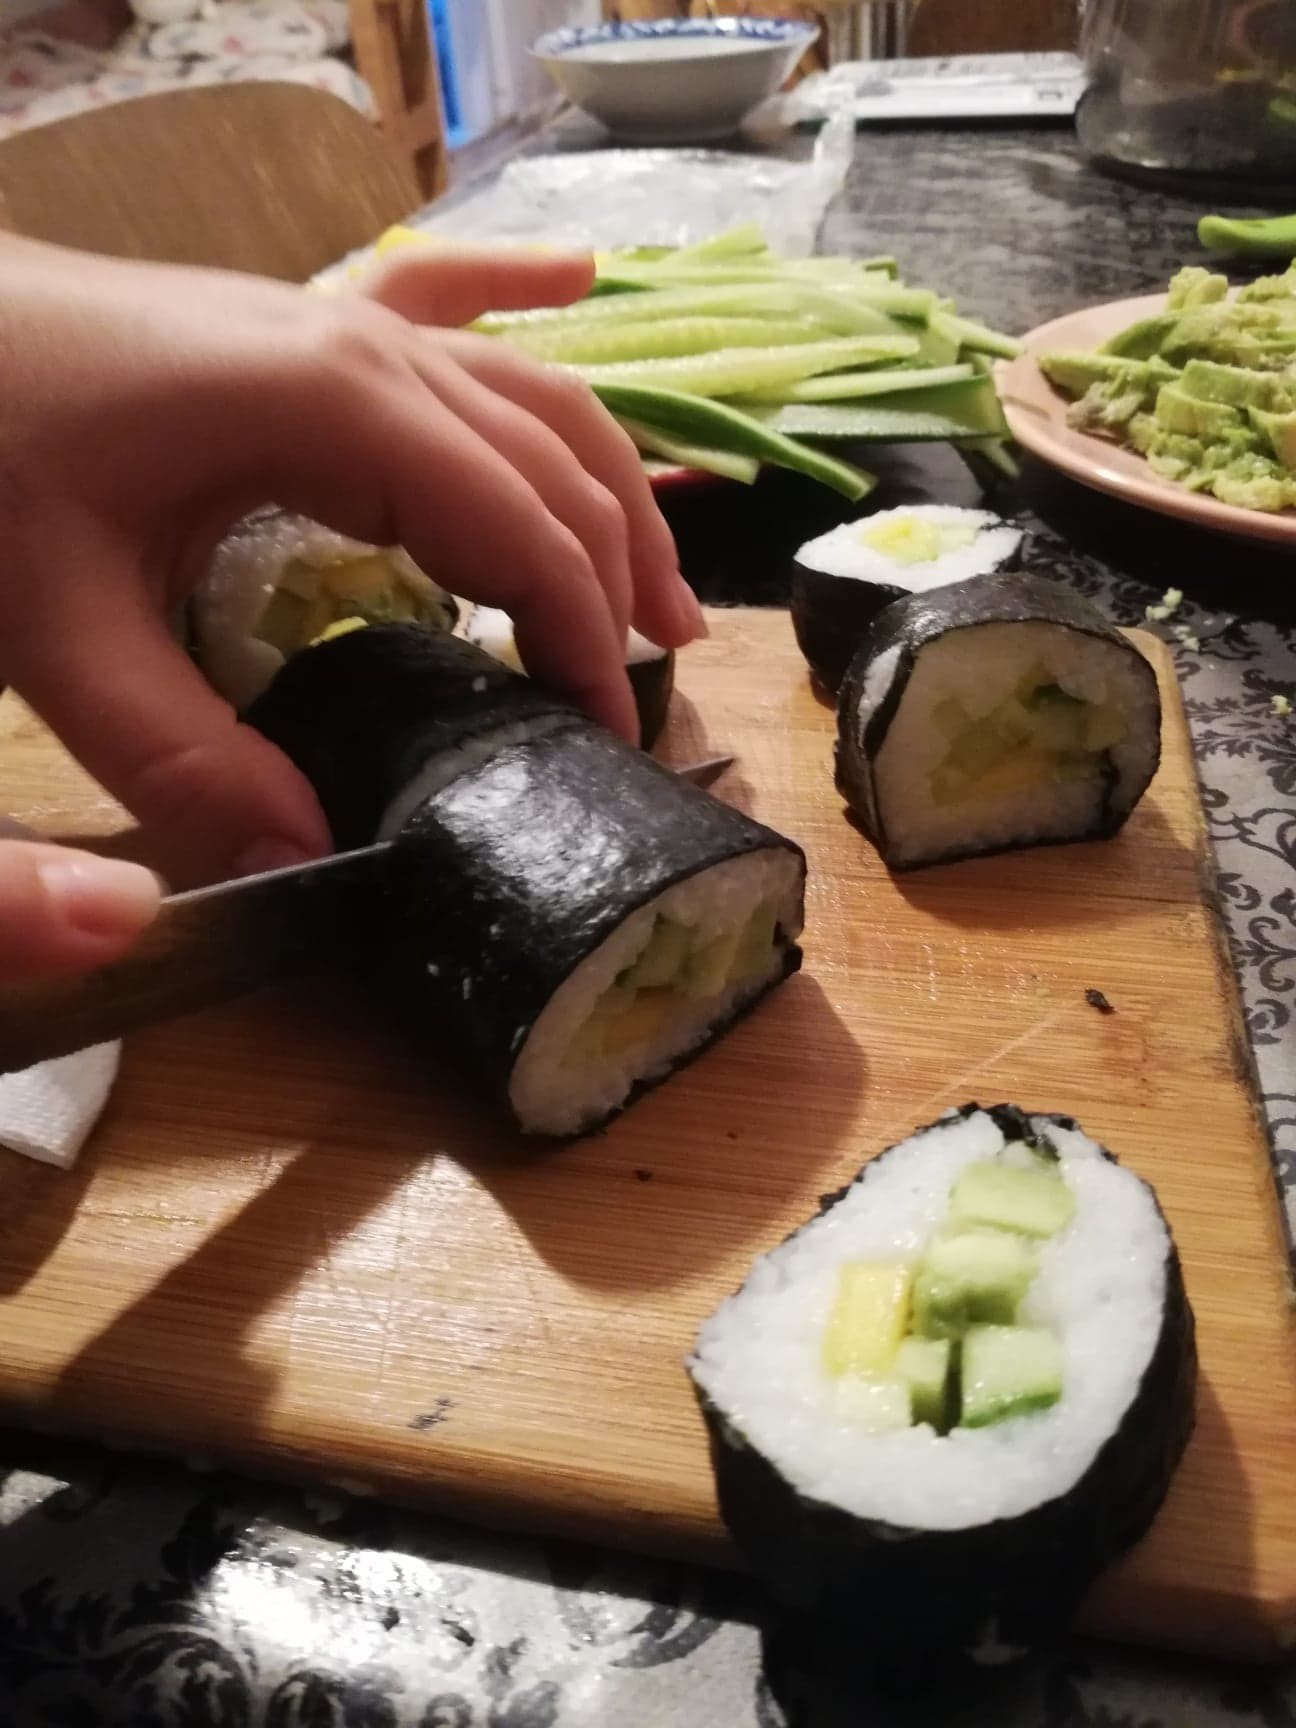
To make sure that we end up with equal bites of sushi, we first cut the big roll in two halves, the halves into thirds and so on. And, that’s pretty much it! We continue the same process until we are left with zero ingredients.
We serve the sushi dish with soy sauce, wasabi and sometimes with walled ginger. So delicious and so satisfying! We make a lot of bites, enough to nourish our body and craving.
Photo gallery
Want to have your own Erasmus blog?
If you are experiencing living abroad, you're an avid traveller or want to promote the city where you live... create your own blog and share your adventures!
I want to create my Erasmus blog! →


Comments (0 comments)