Hoang - My name, The name of a sunset photographer
-
Experience with landscape photos
As a landscape enthusiast, for me, landscape photography has a variety of subjects, of which sea is one of the most popular themes of composition.
To tell the truth, I like to capture the most attractive landscapes in the sunrise and sunset. However, to get the beautiful photos we will need to invest more in terms of technology, equipment, time, ...
I find that this type of landscape image therefore requires deep image depth. To achieve this, a wide-angle lens (short-focus lens) should be used, and the lens should be closed at the maximum value (normally 22). This type of shooting usually has low light intensity and especially the lens is tight close so the shutter speed is often "low". Therefore, if I want to prevent the image from vibration, I smudge when using the tripod.
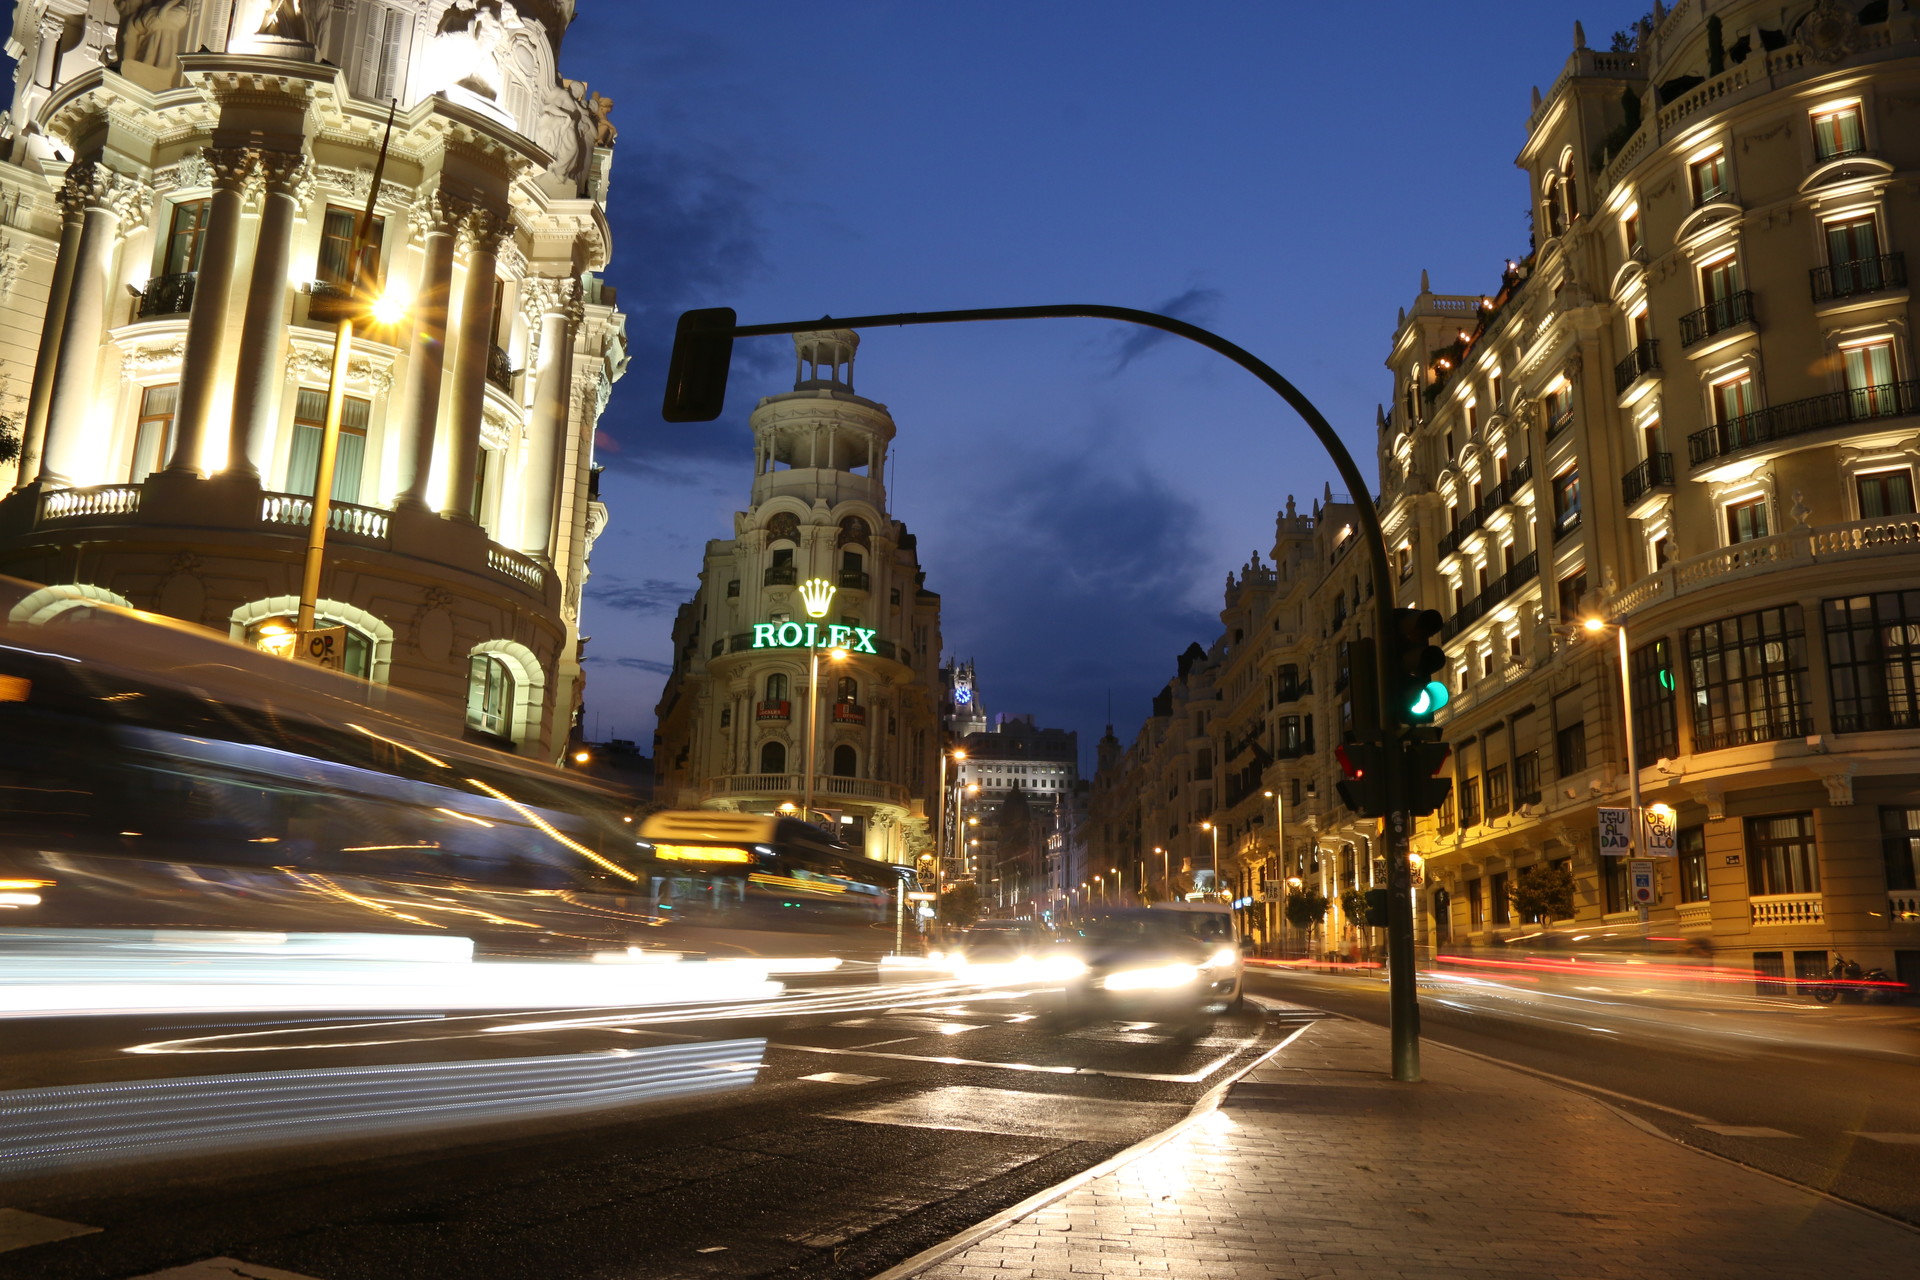
My photo taken in Madrid during rush hour and blue hour. Using tripod is the only way to capture these type of photos.
I have two cameras : fujifilm x100s and a canon 70D with lens sigma 17 50, two 23mm and 17mm lenses are suitable for taking landscape photos. However, I think this type of picture is considered beautiful because of the shape, the lines of objects combined with the bright light of the panorama.
- Main thing to get noticed
So, when you take this type of picture, I recommend that you know that the main objects will not be illuminated clearly, but most of them will only float to the light, which means they will be black ( Printed on the background of a bright glow (possibly the sun or the sun's water surface), the color of the light depends on the idea of the image, but It is usually orange for a warm, loving feeling, but sometimes people use cold purple to describe the loneliness of the riverboat by the river ... .Sampling directly without interference from the side. In addition, the light is usually orange, but other colors such as purple, blue must use a filter or will handle b. ng photoshop ....
-
Light and Color are also important
What most people have and feel difficult to capture, I think it is light and color. The photo after the shooting usually does not show you what you are shooting, rather it does not give you the "light" you want.
This error occurs because you do not measure the brightness, to get the same color as the eyes you see, when shooting you have to measure the brightness of the object was taken. For example, you see the light of the sky is brilliant, and you want to get the color of it, when you light you have to measure the light of that sky instead of measuring the light in the shape you plan to print to the sky. . Actually all of your actions when shooting is true, you also light on the highlight but the shot is not as you expected, this is because of your "machine", you have not understood and not fully grasp. Be the feature of the machine you are using.
I can assert that most of you have this type of problem: people using digital cameras and camcorders have professional auto-metering. These metering units are usually designed into three types of measurement:
-
How to measure when using digital camera
+ Measure the whole scene, the medium (the machine will measure the whole picture and then give a certain average parameters suitable for both the lightest and darkest part of the picture), if you measure this light is invisible Both the volume of the image you are about to capture will also be measured, and the light of the light you want will be reduced to compensate for the darkness of the other.
+ The other type is the "spot meter", measuring this type, the machine only measures the area you specify and the point that the machine based on that measured in the center of the frame you see.
I had a trip to Santorini and took a photo here, a wonderful area to take pictures of the sunset and the sea. Here I will list out some of the difficulties when shooting the suns and sunrise at sea:
-
Difficuties when shooting at sea
- When the sun goes down or grows up, the colors and light are beautiful, creating contrast, strange lines appear. However, it is clear that the sky and the earth are very bright. If you aim the camera out to capture the sky well enough, the ground will be dark, if the ground is bright enough, the sky is completely burned, losing details.
- Beautiful moments happen very quickly, usually only 2-3 minutes is the end.
- The time of blue hour is also fast over 20 minutes to 25 minutes so quick operation in this moment.
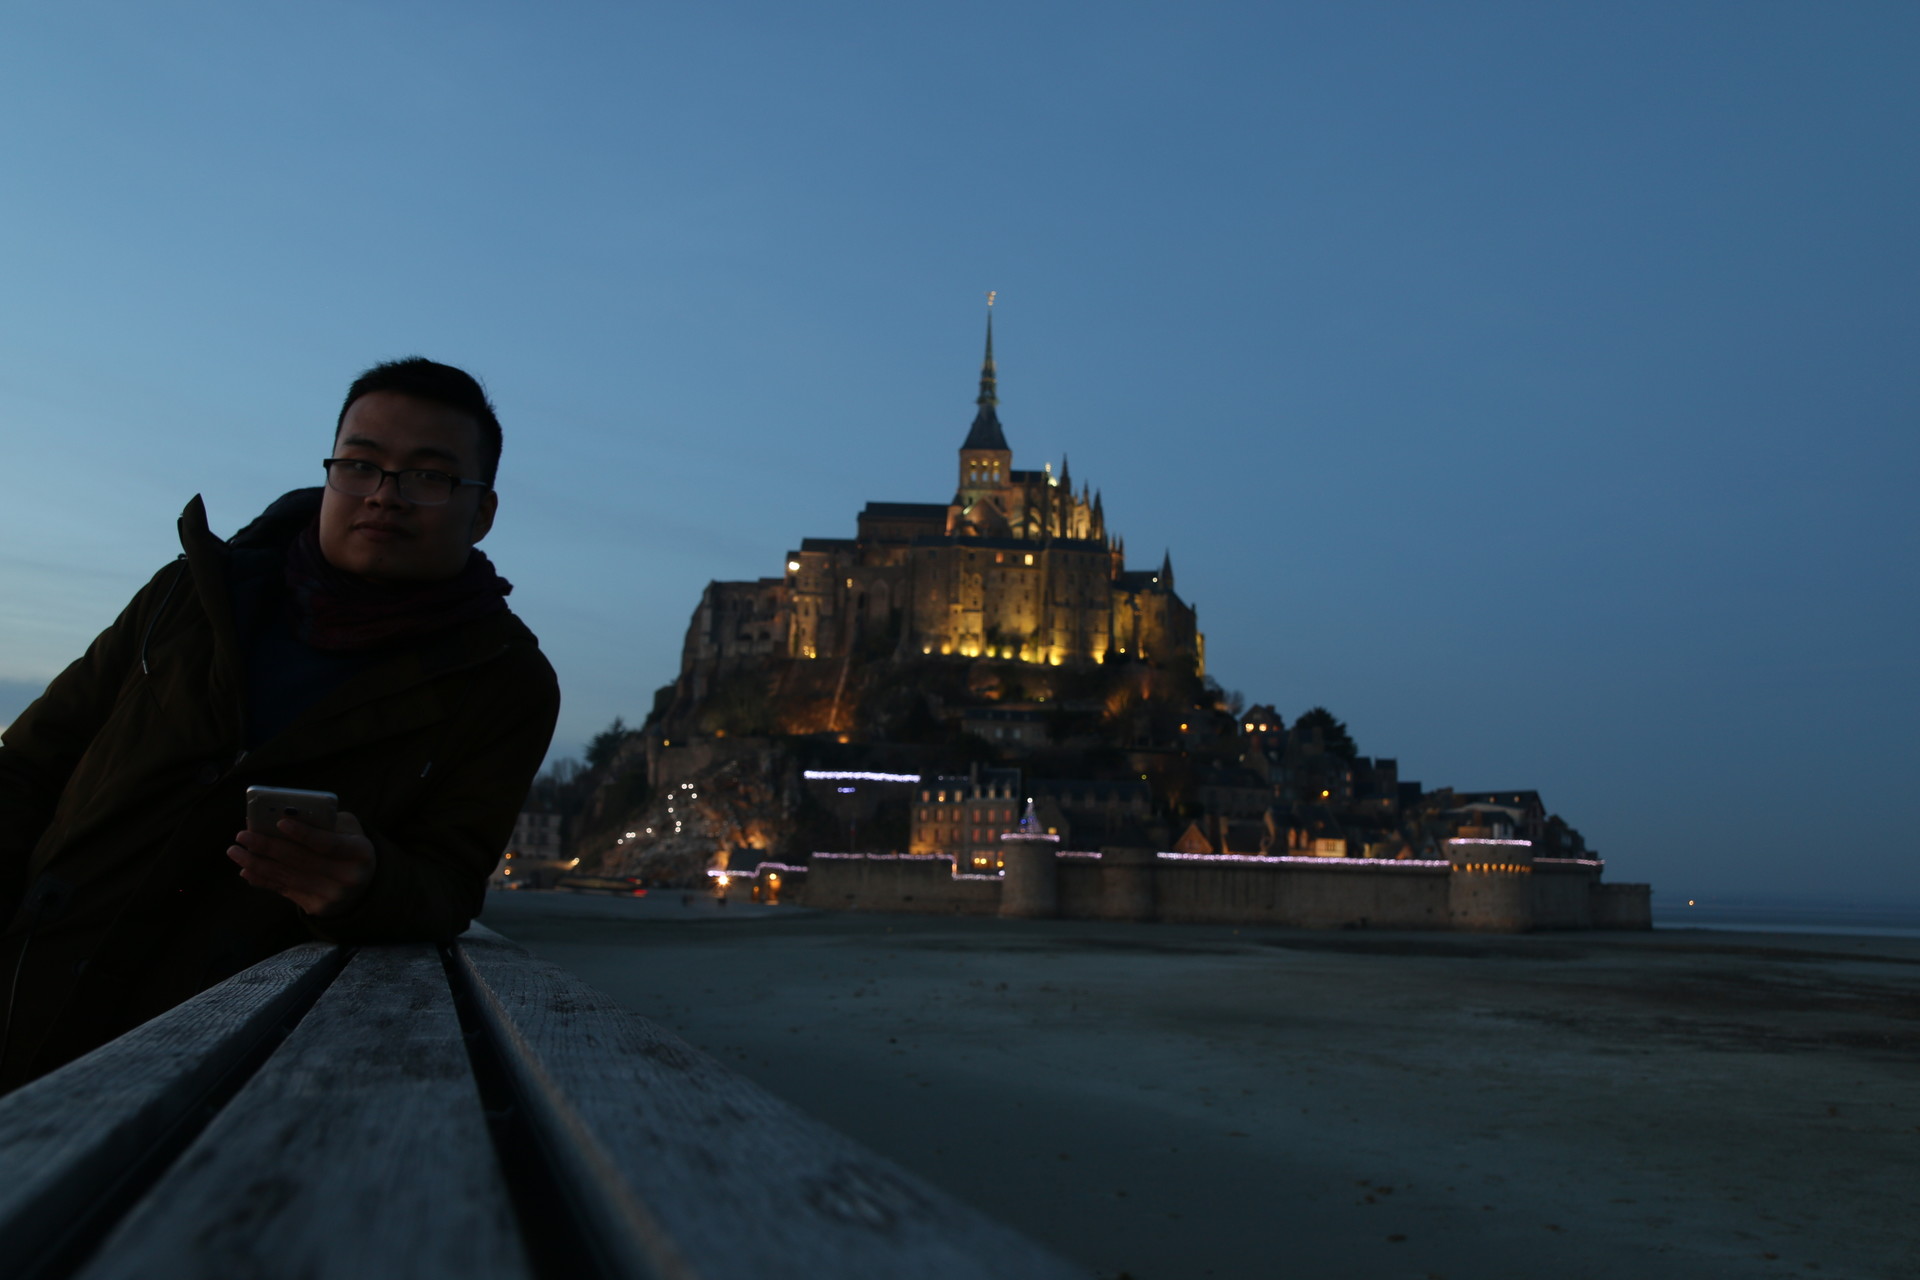
The blue hour in Mont Saint Michael, France
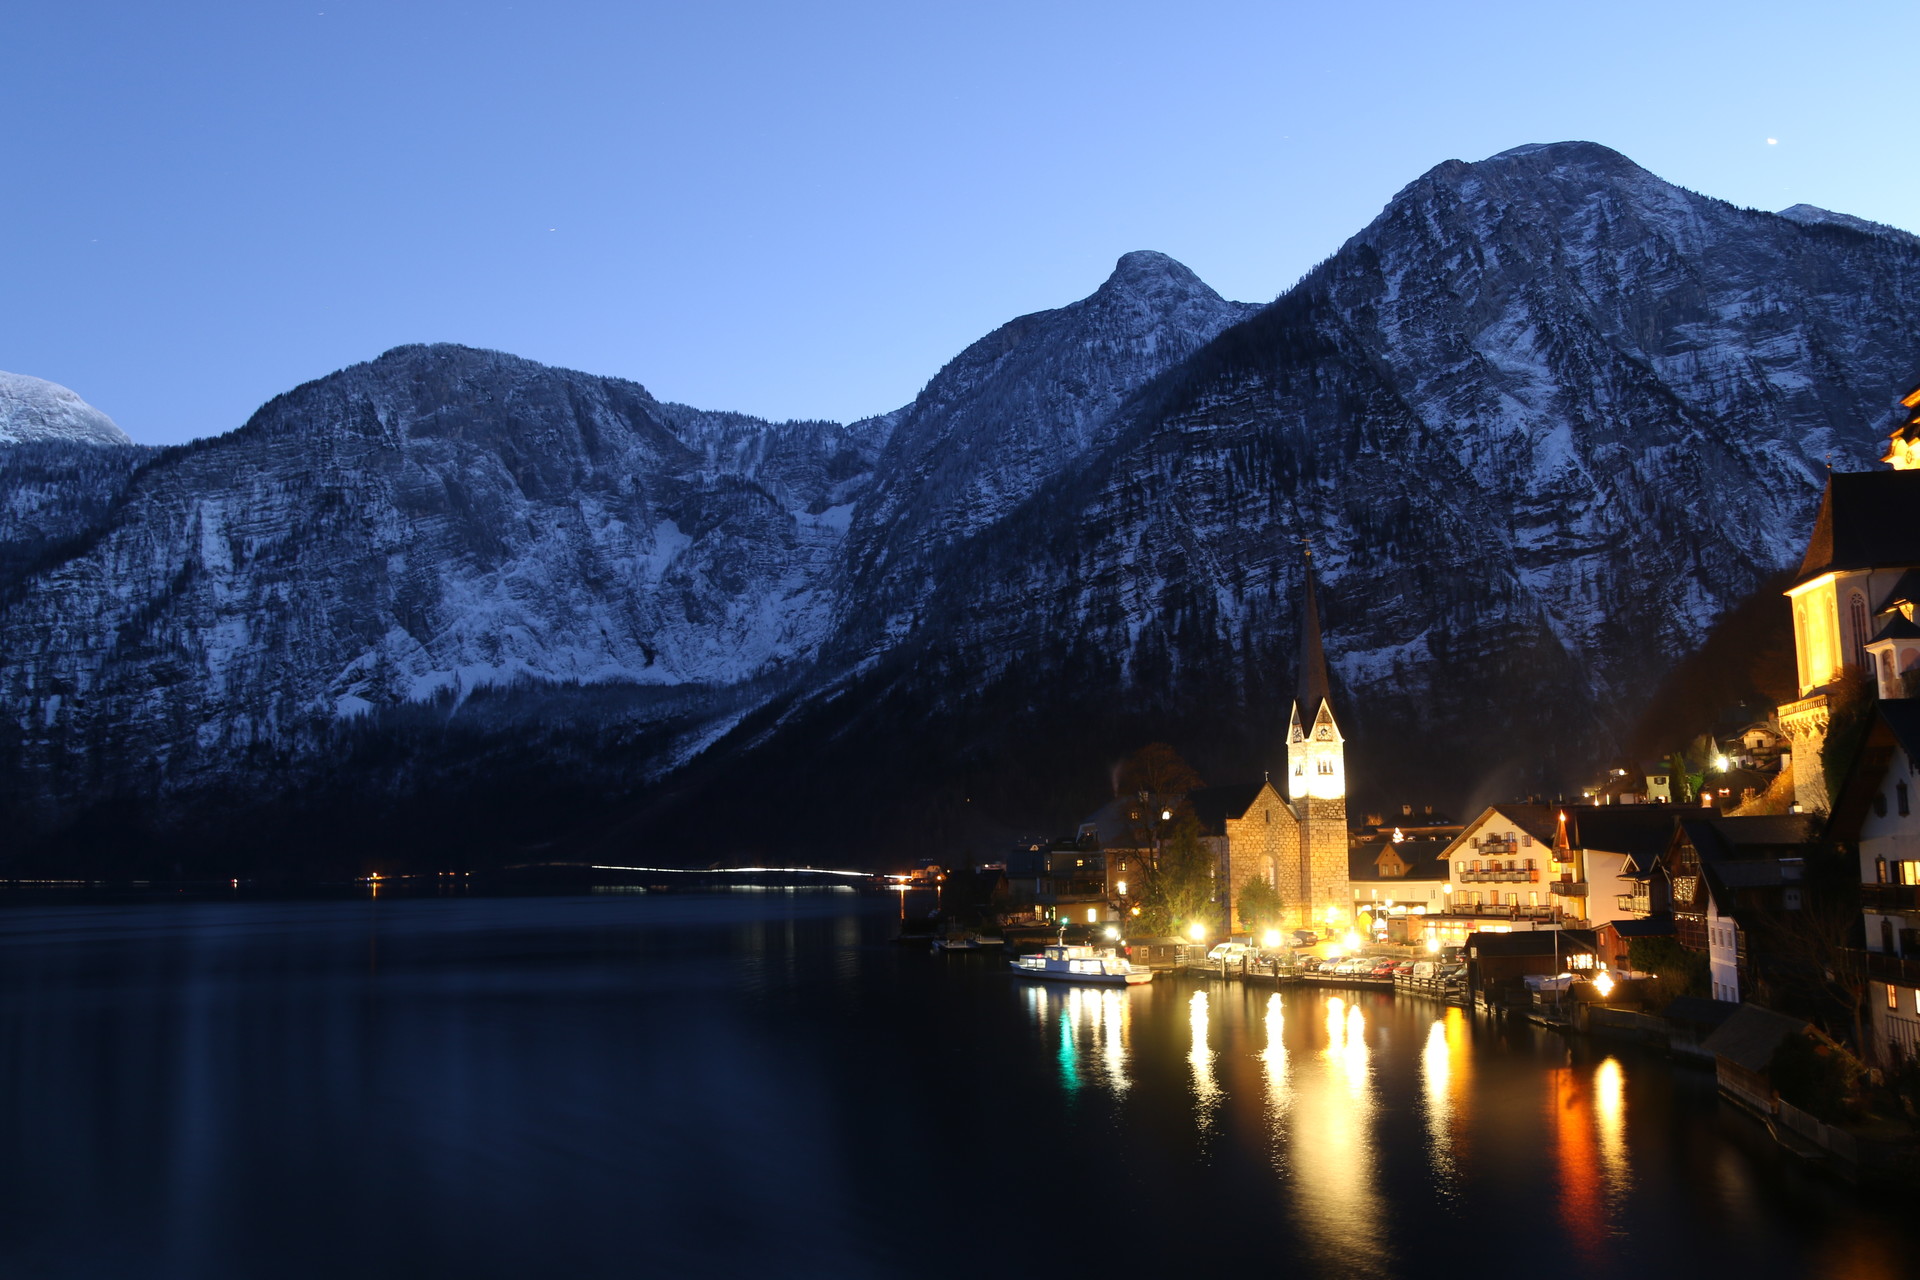
The photo I have taken in Halstatt during blue hour.
-
Necessary Equipments for shooting
The necessary equipment I would like to list here, in case you can invest in photography, actually I met many erasmus students have pretty good camera but if you take the investment as some support tools, you will get some fantastic photos.
I guarantee these photos will be a lot more artistic.
1. Camera body
Should use the body with a large sensor, preferably Fullframe (FX with Nikon or Canon). These sensors provide good image detail, high fineness, ... of couse, my Canon 70D is also a good choice. However, Fullframe cameras such as Canon 5D, Canon 6D are much better but these cameras are quite expensive.
2. Lens
Use wide-angle or ultra-wide lenses. As I used the Canon EFD 10-22 F / 3.5-4.5 lens mount on the Canon 70D body, the Canon EF 17-40 F / 4L lens mounted on my cousin Canon 6D, otherwise my friends in Vietnam also use the Tokina 12- 24 f / 4 mounted on Canon 550D body, Zeiss 21 f / 2.8 mounted on Canon 5D mark II body. These ultra-wide angle lenses give us the advantage to capture the foreground from the background to the background, many strange layouts, ...
3. Filter (filter)
After the camera body and lens, in my opinion, the filter is the key to the beautiful image. Especially when I shoot sunrise and sunset, if you do not have the right type of filter, you will find that shooting beautiful photos seems impossible.
The filters I use here include the Hoya CPL filter, the Hoya NDX400 filter with 9 stops and the LEE GND 0.9 hard filter with 3 stops.
- Glass filter LEE GND 0.9 Hard
- "LEE GND 0.9 Hard" filter on the upper half is transparent neutral black, while the front lens filter can help the sky and the earth have balanced light, so that the brightness does not lose detail. .
- The rectangular filter, mounted in front of the lens as shown above, can be raised and lowered depending on the horizon and layout as appropriate. This type of filter is especially important if you want to capture sunrise and sunset.
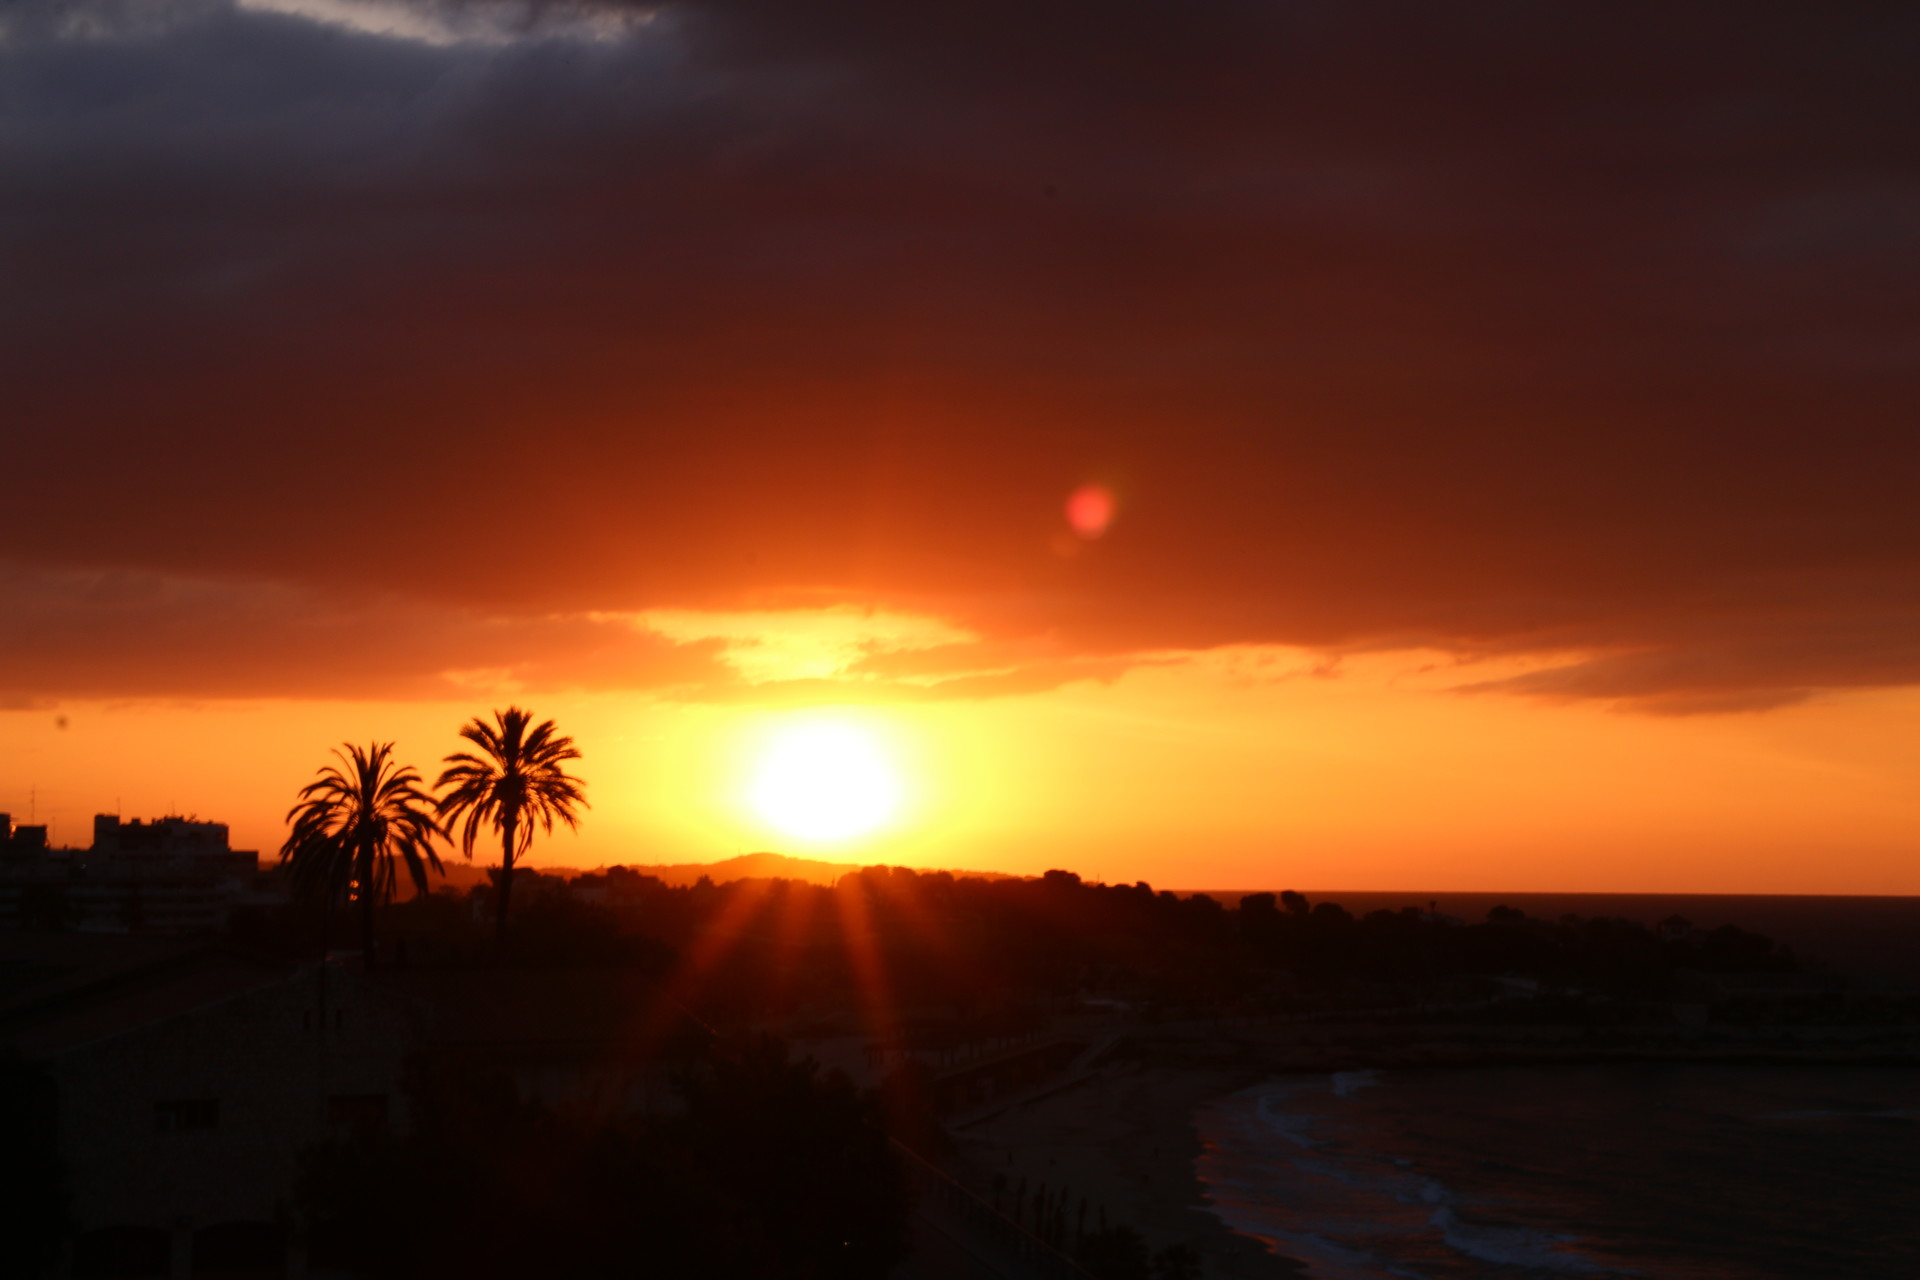
The sunrise in Tarragona, I have taken during my trip back to Tarragona in April,2017.
At sunrise, the sun goes up from under the horizon and slowly moves in the sky at altitude depending on the time of year and the geographical area where you are standing . When the sun is low, it will produce long shadows of the landscape.
GND filters have a variety of filters that can reduce from 1, 2, 3 stops, with hard, soft effects. Depending on the circumstances, use the appropriate type.
- ND filter square glass.
- ND filter (Neutral Density); This filter has many different types, depending on the number of stops it decreases, the common one is 5-6 stops and 10 stops. With shooting sunrise and sunset, 5-6 stops is the best fit. If you use 10 stops, the exposure time will be very long. Type of filter reduces the 10 stops commonly used when you want to expose the day. In addition to the square filter, you can also buy round filters, lenses fitted to the lens as CPL or other UV filters, vendors such as Hoya, BW, etc. You should use a square filter, square filter for easy removal while handling, while the filter round, you have to twist.
- Square glass filters are convenient to use, however, high prices and uncommon. So I chose the Hoya NDX400 round filter.
To mount both ND and GND filters on the front of the lens, we need the Ring and Holder.
- Note: On the market today there are many different types of filters with different price range. If you go to some camera stores in Barceloan you will find that there are many cheap filters are usually produced in China for low efficiency, photos often hinted certain colors or photos are not clear .
You should not buy too cheap if you want to have the picture you like.
4. Tripod
I find the tripod the second most important accessory behind the filter. We need a leg that is strong enough to withstand the weight of the body and lens, while stabilizing the wind and waves. If conditions allow, you should invest in carbon fiber tripods that are lightweight, sturdy, easy to move, or you can choose other alloy motors. I used the Fancier Weifeng WF-6664H, which is pretty good, especially at a light level because I have to move a lot, the Weifeng-6664H leg length is exactly 30 cm or equivalent to the standard luggage carrying When flying in Europe.
Weifeng camera WF-6664
- Paragraph 5
- Diameter of pipe is 23mm
- Maximum height 1335mm
- Minimum height 310mm
- Length when folded 300mm
- Loaded 3kg
- Weight 1.3kg
5. Remote control cable
To limit the vibration during shooting, affecting image quality, it is best not to touch the camera during exposure. So, I recommend having a soft lanyard as a necessity. Here, you can use the usual low-cost soft strings, but you can also invest in Interval meters, which can be timed, counted, taken at certain intervals, etc.
If there is no soft waistband, you only exposures up to 30 seconds, if you have soft wire, we switch to B mode (bulb) can exposures more than 30s (60s, 90s, 150s, ...) Depending on the author's idea.
However, if you feel that you are steadily shooting, you can also use the self-timer to take a photo shoot with a soft belt.
6. Other essential accessories such as battery backup, backup flash card, backup filter, backup camera, flashlight, ...
Machine parameters:
I usually adjust the machine parameters as follows:
- aperture: from f / 8 to f / 13. The reason we choose this aperture range is to have the maximum depth of field (DOF), and the image quality of the lenses are usually the best in this range.
- File format: raw, always take raw image to save the most information for easy post-processing.
- Speed: depending on the light, and the intention of the author want to capture, with long exposure I usually leave for more than 20 seconds, with the photo capture wave, I usually leave 1-2s.
- Iso: always to the smallest iso possible, the machines I use are usually 100. If in the case of 100 iso too dark, you can increase to 200 or 400.
- White balance: If not too rigorous, you can let automatically, then post-period will adjust later. However, to be happy, you should set the white balance in degrees K, try more levels to find the best fit.
The above are the parameters I usually use, however, in special cases, you can change such as closing a small to f / 16, open larger than f / 8, lower iso to 50, ...
-
Shooting technique
- Prepare before shooting:
I think that you should find the location and view that you want to have first,
For example, during my time in Santorini, I have researched about the best place to watch sunset in Santorini from that I can take my place before the crowd rushed into it.
Then, I go to the scene to see the angle you want to capture, I test camera if possible and review, evaluation. After that, I just wait until the golden time comes.
Ideally, you should go out before a session, test the corners, then copy to the computer and look to find the best corner.
- Experience when shooting
After selecting the angle of shooting and placing the camera, I measured the light in the foreground (foreground) of a test panel with Av mode with ISO 100 parameters, f / 8-11 aperture, auto wb. Record speed capture. In fact, my Canon 70D has f/22 however being too low is not mean “ too” perfect.
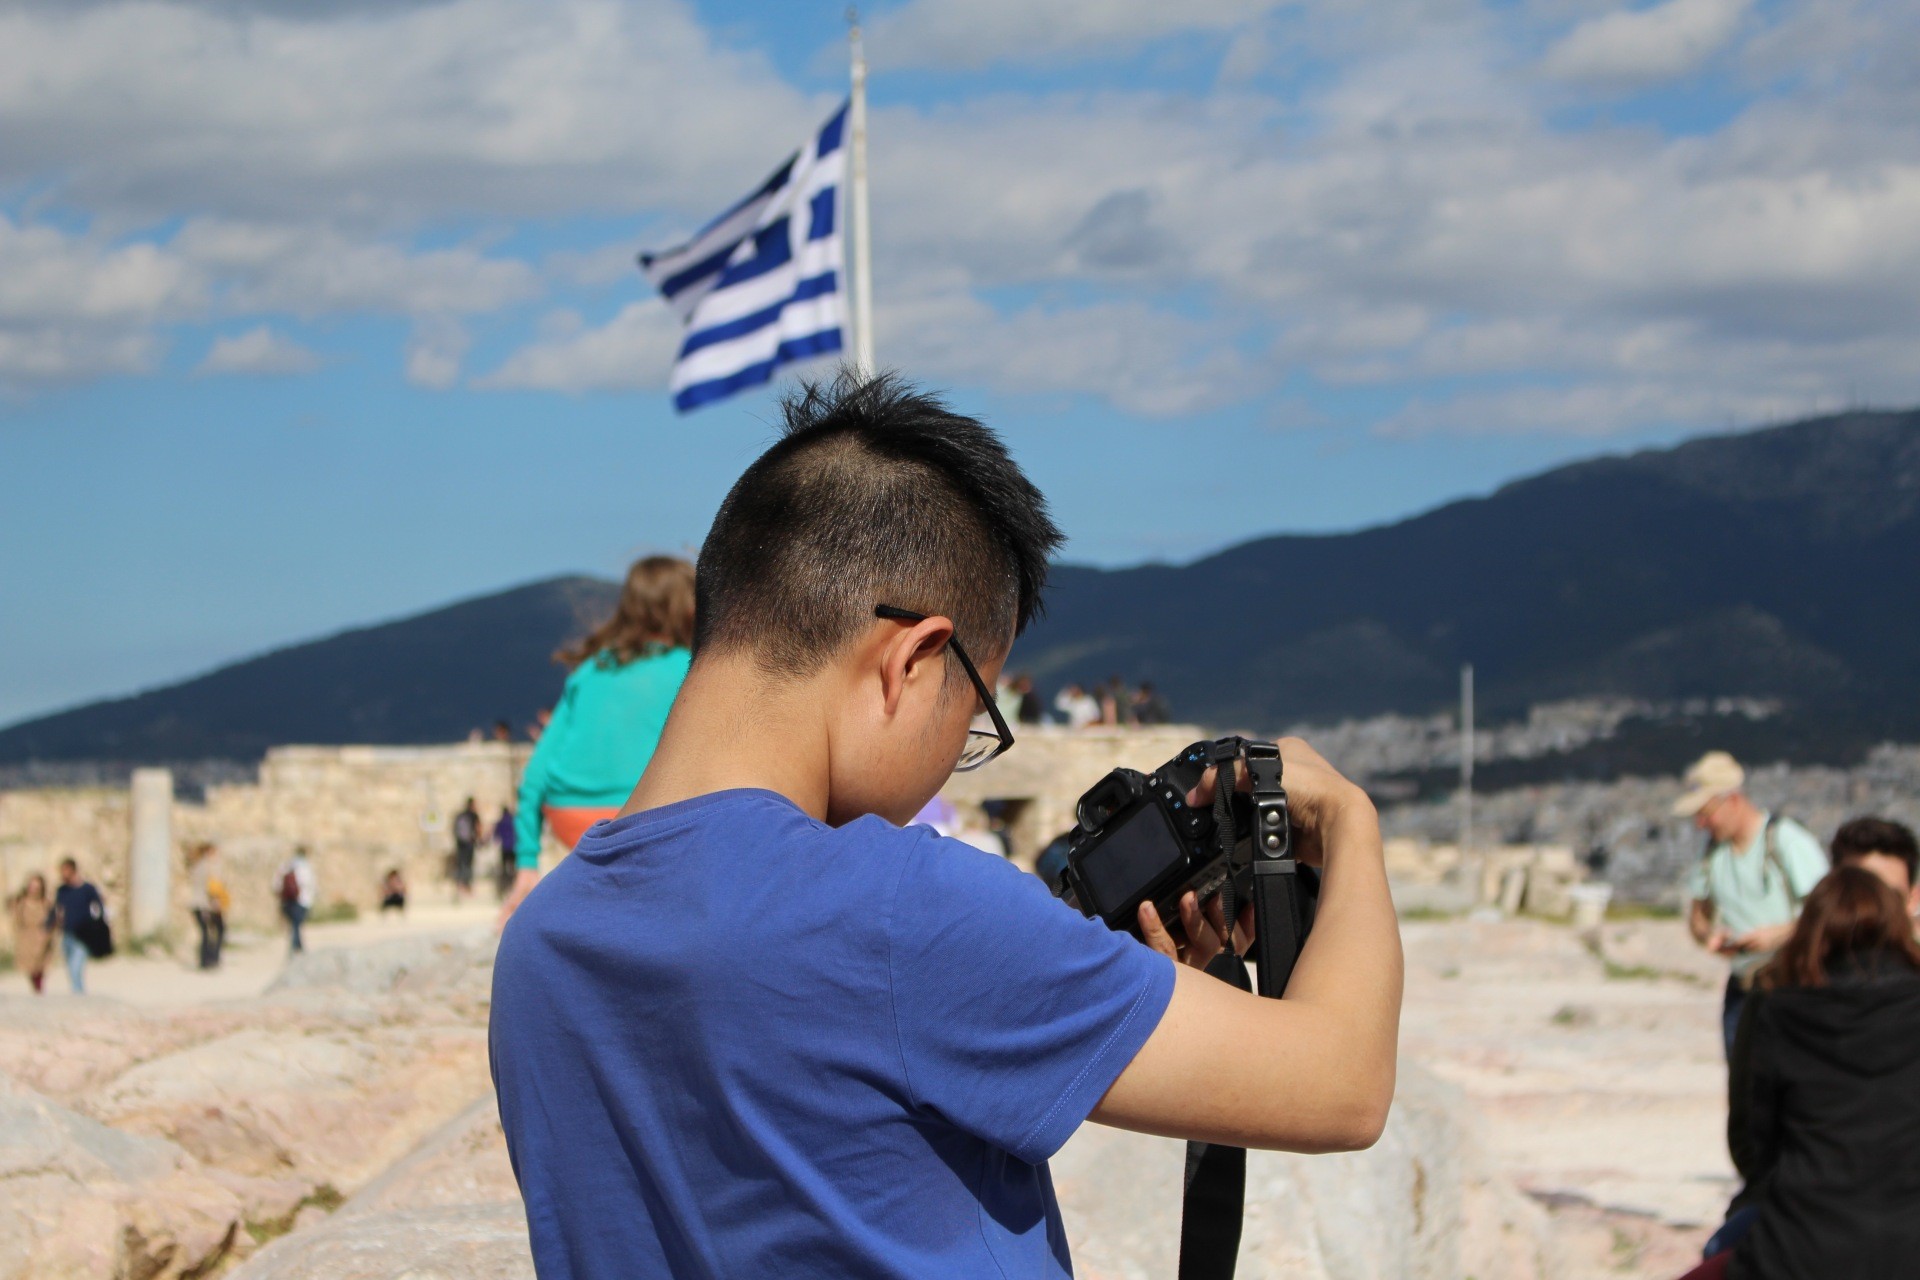
I with my camera in Athen, always see the weather to decide the mode.
-
Check the photo histogram
Then I switch to M mode, set iso 100 ( remember always the lowest one), auto wb, aperture and speed as above. Install the GND filter in front of the lens, pull the GND so that the horizon fits into the black and white transition of the GND filter. Test and adjust the speed, aperture so that the image is bright enough.
The simplest way to test a picture is brightness, lack of brightness or brightness check histogram.
You follow the picture below. I show you that the first histogram is sufficiently bright, which is enough information for us to do post-production, then the second histogram is a bright image, which is partially burnt, losing details, whereas the third histogram is a lack of brightness, darkness, loss of detail.
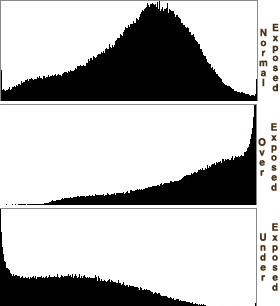
http://gakuran.com/ricoh-gx100/
Install ND filter. For each type of ND filter different, you multiply the speed above and the speed when installing the filter that the image is still bright enough. For example, when you shoot enough light, the speed is 1 / 20s, you put the filter down 5 stops, the new speed will be 2 seconds. You can use software like ND filter Calc installed on your iPhone or Android device to calculate these shooting speeds.
Attention to good focus, I advise you to shoot in live-view mode.
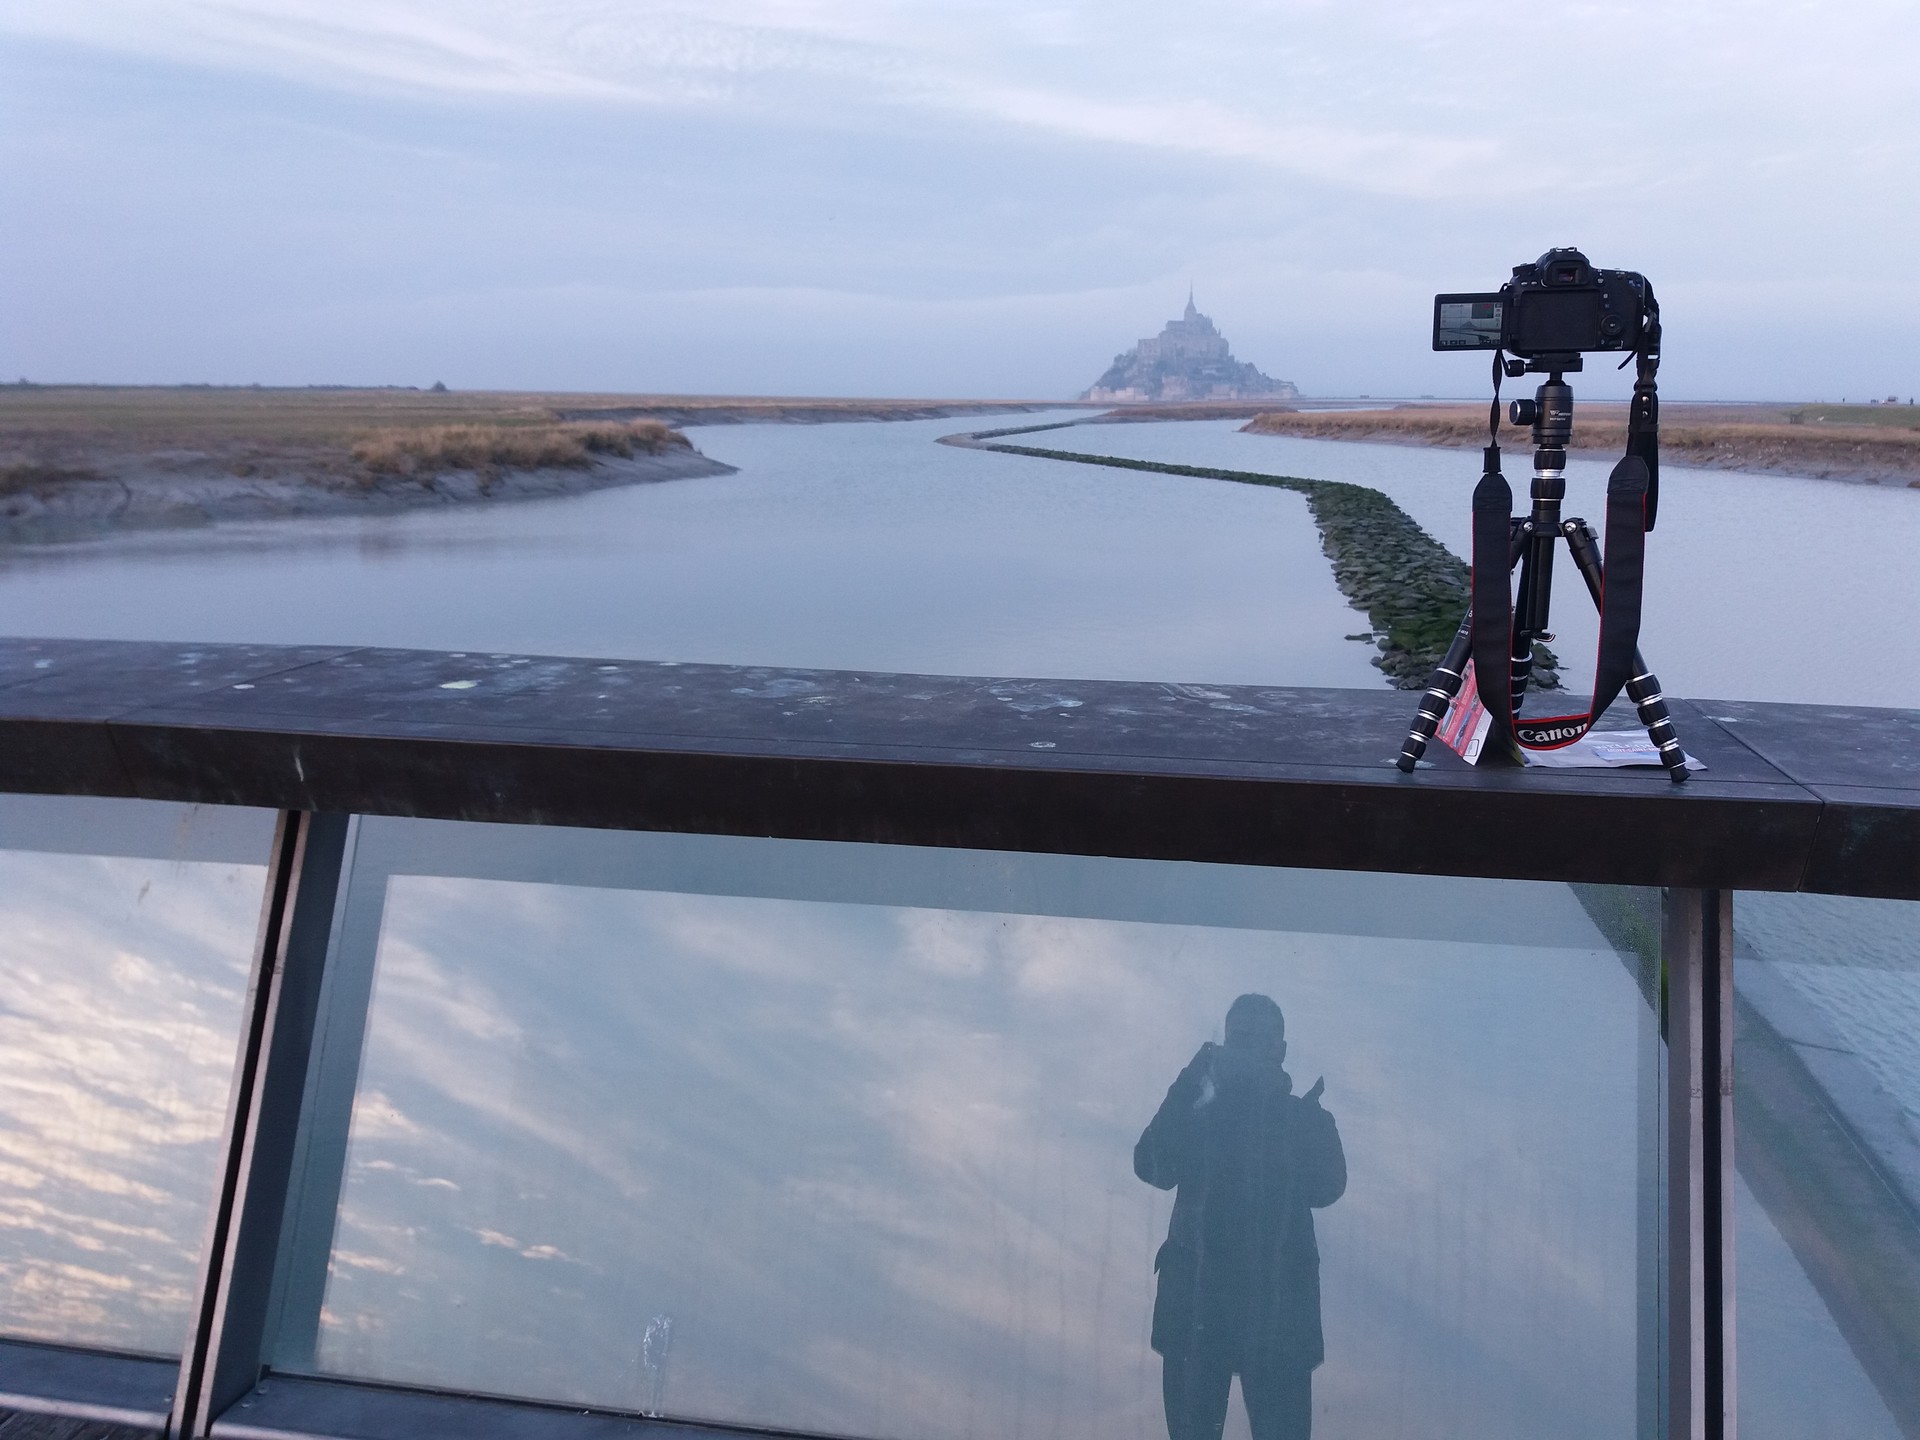
Look at the small screen of the camera, it is on live-view mode.
-
Using live-view mode on Canon
I often use live-view on the Canon 70D, generally excellent, you can adjust on other machines, the way as follows: to change the focus mode to manual focus, turn the machine into live view mode, Zoom with the 200% zoom key, rotate the lens and look at the screen when the sharpest stop. This focus ensures the image will look most. Note, every time you change focus, you have to focus again on the zoom lens.
The next step is metering. As I said, the bright spot is in the middle of the frame so when you center the frame to the light you want to measure, the composition of the image will not be exactly as you intended to shoot. You have to move the machine back to get the beautiful and original layout as you just translated the machine is also the time you distort the metering parameters.
To fix it, I used the AE lock. For professional machines, the button is located on the back of the machine, which coincides with the position of the right thumb. After moving the center of focus to the light beam, lightly press the shutter release button to measure the light, and press the AE lock button at the same time and hold it down, then press the shutter button again and press the shutter button again. Lay focus and then press the shutter button down to capture. Take a test at the same time with a scene but with 3 different shots you will see 3 different results: the first: to measure the medium or the panorama and then shoot normally as you are still shooting, the second For the point-and-shooter as mentioned above, the third time is also taken in the metering mode, but only after you lightly press the shutter button to measure the brightness, instead of simultaneously pressing and holding the shutter button. AE-lock), you keep the shutter button, drag the camera to the correct frame and snap.
For the mechanics camera ( DSLR) such as Canon 70D, 5D, 6D or Nikon, I almost do not see this happening because the machine camera (DSLR) only has a measuring mode that measures the point and after the measurement, whether you turn the lens to any place, the time taken remains the same as before you measured.
However, with the compact model, such as my fujifilm x100s, of course, this is the machine that I rarely carry when shooting in Europe due to low battery life, the adjustment of shooting mode is very important. .
Furthermore, I must say that the point to keep in mind when shooting in this situation is the halo, or there is a mist covering a part of the image, or there is a light trail running from the surface.
It's down To avoid this situation when shooting to let the camera lens slightly down, that is to create an oblique angle to the direction of sunlight.
During my shooting, I was always careful not to let seawater cling to the filter, get dirty. If the filter is dirty, even if you have expensive bodies and lenses, you still can not produce a good image. In my experience, professional photographers often carry an extra set of backup filters and, if possible, a set of backup cameras. Because landscape photography is very dependent on the weather and the moment so there are moments that never come back to the second time.
You would be sorry if it was just because the filter was dirty and you did not get rid of the beautiful moment.
-
Steps of taking landscape photos
Installed on the camera, my experience is not to allow long exposure noise reduction, as the fact that the noise reduction is not very effective and quite time consuming, every time you Exposure of 30 seconds, you have to wait for the machine to process at least 30-45 seconds to complete, so will miss many beautiful moments. You also pay attention not to the sensor is too hot, too hot sensor will lead to dead pixels, broken out much and the picture is more noise.
Post-processing I use Adobe's Lightroom software for post-processing. About the use of this software, you can find the manual in English or Vietnamese on Youtube, it is easy to master and produce the photos I like to make in the quicker way. However, Photoshop is still better in terms of details.
In general, if I have time I will write a technical article about Photoshop skills for you.I wish you beautiful photos.
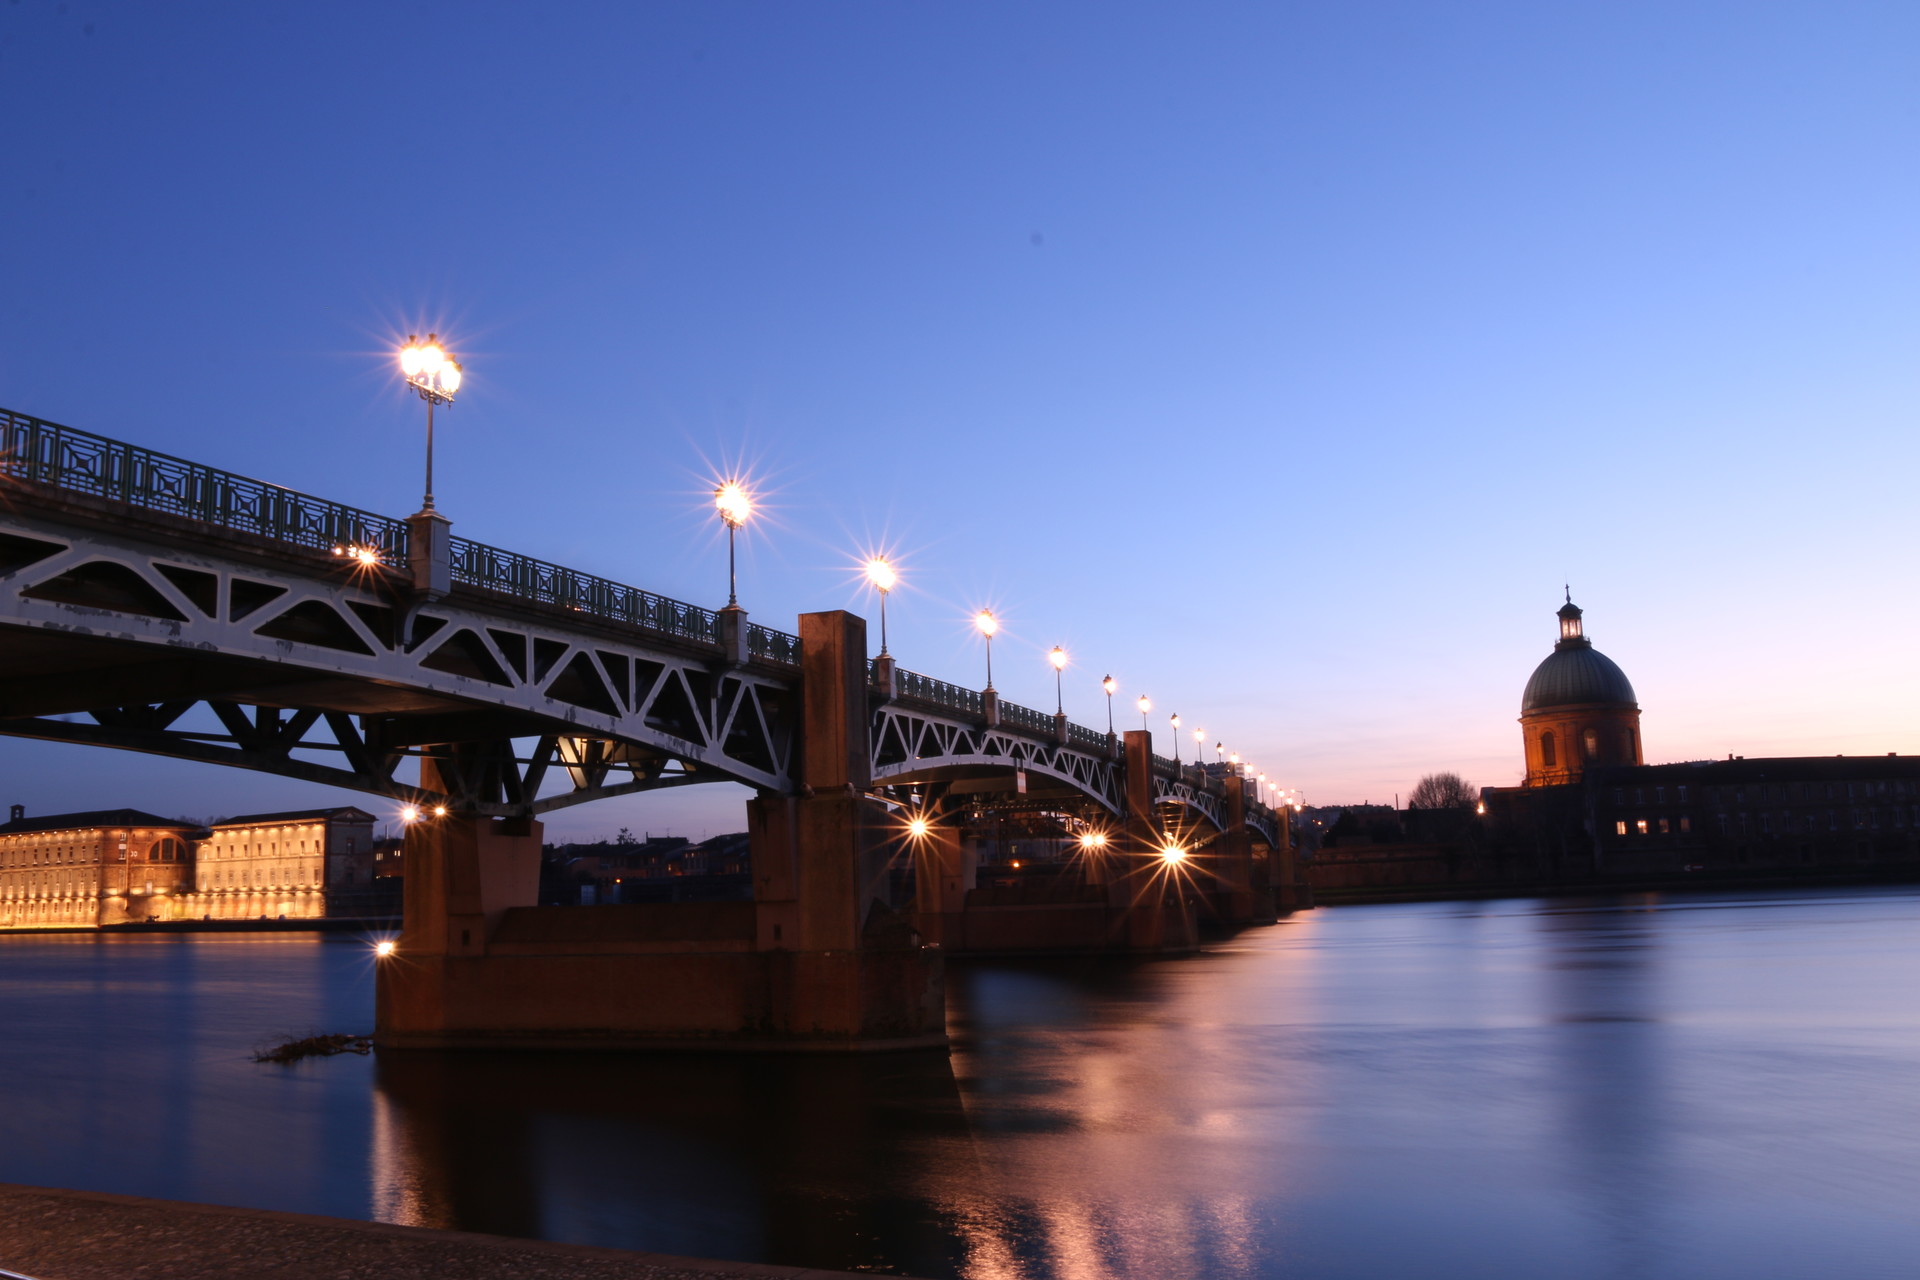
The great sunset I have taken in Toulouse, the pink city of France. So wonderful!!!
Alright reserved!
Photo gallery
Share your Erasmus Experience in Rovira i Virgili University, University of Tarragona!
If you know Rovira i Virgili University, University of Tarragona as native, traveler or as exchange student... share your opinion on Rovira i Virgili University, University of Tarragona! Rate different characteristics and share your experience.
Add experience →


Comments (1 comments)
good!