Preparing for my Trip to Tokyo
Published by  Angelica Yang
— 4 years ago
Angelica Yang
— 4 years ago
Blog: Solo Travelling in Tokyo, Japan (Summer 2019)Tags: Erasmus blog Tokyo,
Tokyo,
Japan
On the night before I flew to Tokyo, Japan for my first solo travelling experience, I barely slept a wink! I think I only had 30 minutes of sleep, because I was so excited to visit a place close to my heart.
I've been to Japan four times with my family, and I swear I never get tired of the unique culture, efficient train systems, delicious food, and aesthetic scenery there. That is why I was so eager to come back, and experience the energetic and fast-paced urban life in Tokyo.
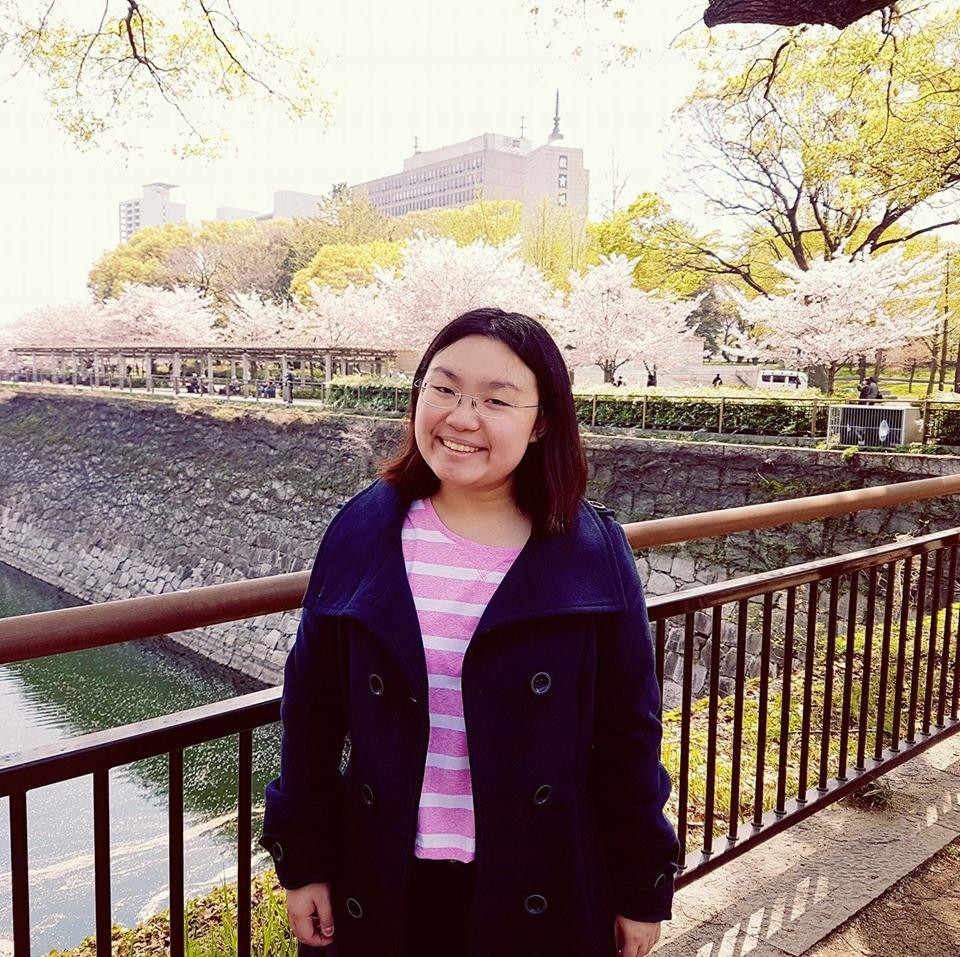
A picture from one of my trips to Japan during hanami season.
Ever since last year, I was already researching and planning for this "grand" trip. I looked up the best prices for shows, attractions and/or events and booked some of them through Klook; and I compared plane fares from time to time.
In the Philippines, travellers can choose between low cost carrier Cebu Pacific, or the full service flag carrier Philippine Airlines- when heading to Japan. Many of my "tipid" (money-pinching) friends swear by Cebu Pacific so I ended up booking a round-trip flight under that carrier. It was way cheaper than the other option.
I also looked at the Agoda website for single non-smoking rooms, perfect for solo female travellers like me who wanted peace and quiet (and our own private bathrooms).
After months of searching, I found the perfect hotel just a few blocks away from the JR and subway stations. The name of the hotel- Smile Hotel Sugamo- is quite peculiar, but cute.
It was the cheapest option- for a picky solo traveller like me. And it was right beside a grocery store and convenience store.
Now that I booked almost all of my activities, I decided to organize them into a detailed itinerary using Excel Spreadsheet.
On the spreadsheet, I included my destinations, train routes with estimated fares, and planned budgets for the day. Special thanks to my cousin, Kimberly, for sending me her original template, which she used for her Tokyo-Osaka trip way back in 2016.
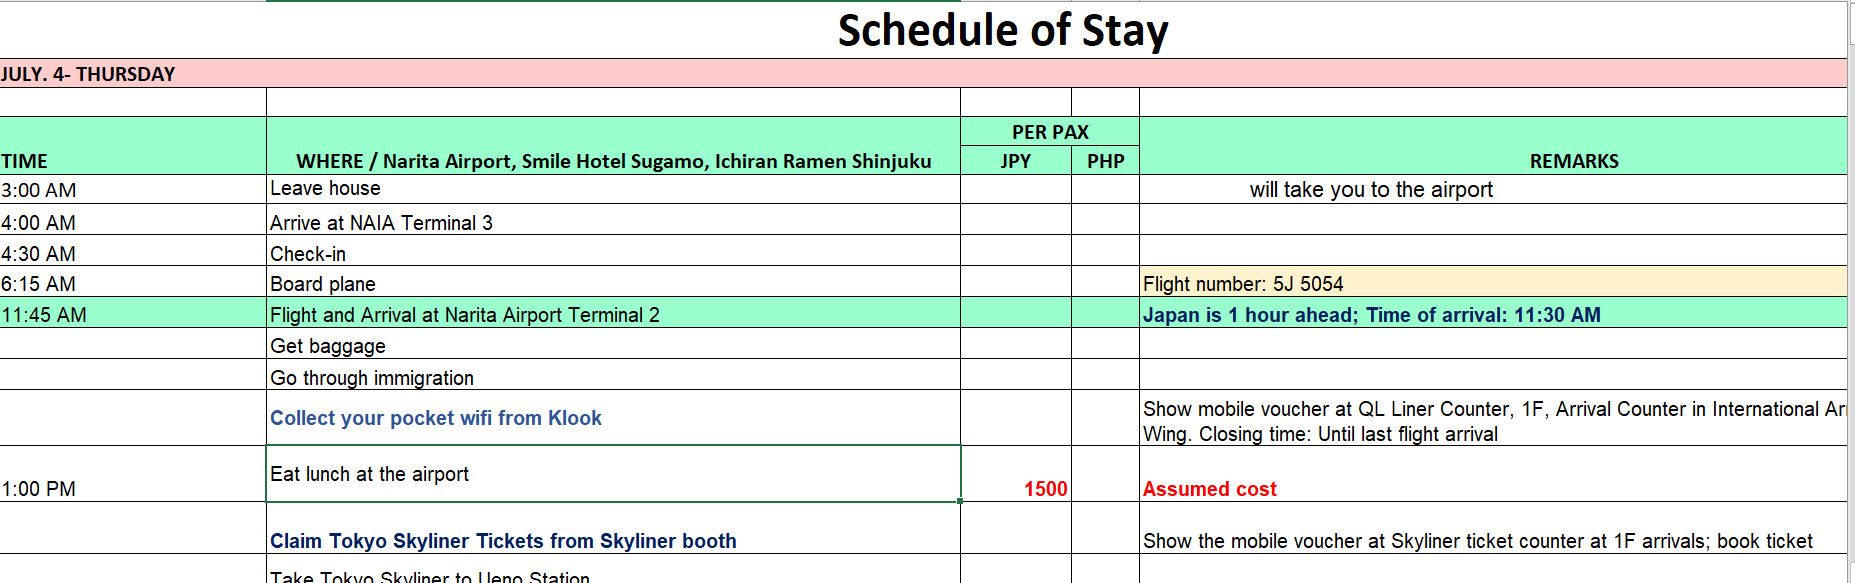
A screenshot of the itinerary I used for my Japan trip.
I wanted everything to be perfect, because it was the first time I was spending my hard-earned money for this solo trip. I saved up about Php 100,000 (USD 1924) for this trip. I thought I would go over the budget, considering that I allotted a lot of money for shopping and "pasalubong" (gifts that Filipino travellers buy for their families).
After completing the itinerary, I was surprised that all my expenses added up to Php 80,000 (USD 1538). Of course, I brought along my debit card and 500 USD for emergency funds just in case, but I had peace of mind that I would be able to stay within the budget I set for myself.
Armed with this itinerary and tickets I printed from Klook, I was ready to embark on my solo trip to Japan.
Below is a summarized list of my itinerary (for those of you who are planning a trip to the capital of the Land of the Rising Sun!):
*Take note that I took advantage of the efficient train system (JR and Subway lines) to get to each destination. I did not ride a car, taxi or bus.
Day One- Narita Airport, Smile Hotel Sugamo, Ichiran Ramen Shinjuku
Day Two- Tokyo DisneySea, Akabane Food district
Day Three- Ginza, Shinjuku, Shibuya
Day Four- Ueno, Asakusa, Akihabara
Day Five- Yokohama, Robot Restaurant
Day Six- Harajuku, Don Quijote
Day Seven- Narita Airport
Photo gallery
Content available in other languages
- Español: Preparándome para mi viaje a Tokio
Want to have your own Erasmus blog?
If you are experiencing living abroad, you're an avid traveller or want to promote the city where you live... create your own blog and share your adventures!
I want to create my Erasmus blog! →


Comments (0 comments)