Mid-Autumn Festival - Shape and bake the moon cake ( part 3)
Published by  Hoàng Nguyễn Vũ (Asian Traveller)
— 7 years ago
Hoàng Nguyễn Vũ (Asian Traveller)
— 7 years ago
Blog: Vietnam
Tags: Erasmus blog Hanoi,
Hanoi,
Vietnam
HOW TO SHAPE MOON CAKE AND BAKE IT
To continue the series on making moon cakes, anyway, today I will continue with the next step of making our special Vietnamese Moon Cake.
Perhaps can you ask yourself why with the moon cake, I have to work hard to write several topics compared to other Vietnamese dishes that I only write one or two recipes?
- Moon Cake - the most complicated Vietnam traditional cake
To tell the truth, I will answer that, because Mid-Autumn Festival is a special occasion to say that I personally see the moon cake is the most complicated cake in the collection of traditional Vietnamese cakes.
In truth, there is no cake that Vietnamese people have to spend more time to make expect Moon Cake? No, probably, I am thinking about Rice Sticky Cake – which is also my blog’s name in Erasumusu.com.
In the near future, I will write about that cake but right now I need you to focus on our moon cake.
- Anyway, I have just discovered that the interesting fact is that the moon cake in the past that only the rich or kings can eat and enjoy its taste.
- Most of the people, they are poor, they have no money to make and eat moon cakes.
Since it is a cake that is only for kings, the moon cake capital required higher technical, while the cake for the people obviously less demanding technique.
However, I find that in different regions of Vietnam, the standard for grilled moon cakes is different. Depending on the taste that some people like soft shell, someone likes to thin shell, soft, others want to crust hard and a little more brittle.
-
Appearance is important
I like the cake has a soft shell, moist, not dry, not too sweet. The shell should not be so thick that it feels like eating only the shell, but not too thin because of too much cause of feeling bored.
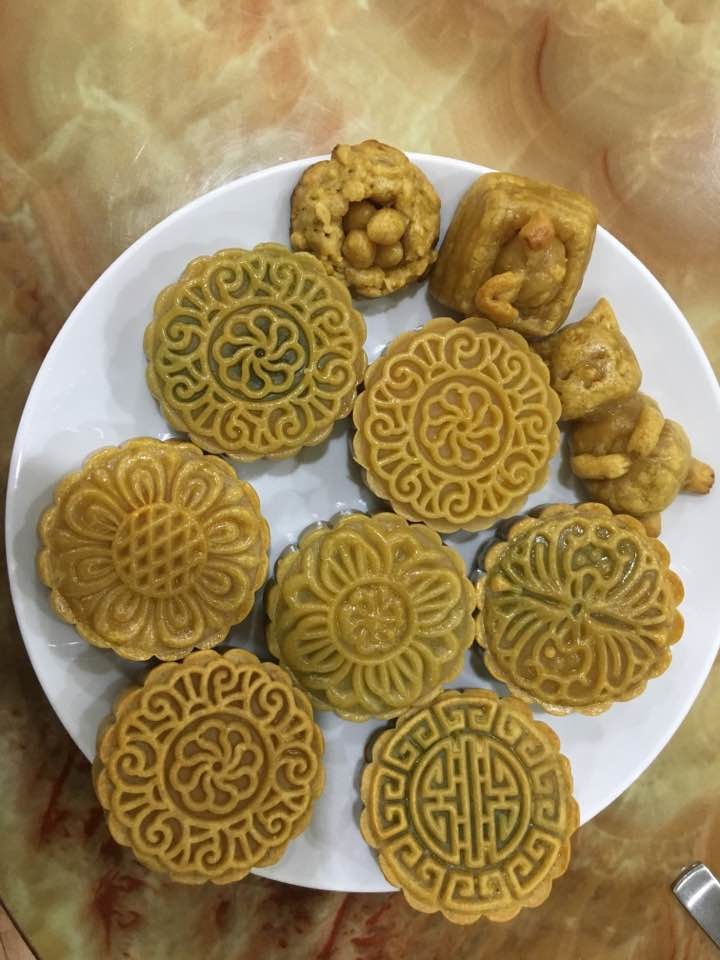
Besides the delicious, I especially see the "appearance" of the moon cake is probably also very important. Of course, we all love anything which is not just tasty, delicious but also looking good right.
The cake will be more attractive if there is a shiny brownish-brown shell, with a nice, crunchy, cracked casing, no eggshell covering the pattern, bubble gas. And the cake must be straight, not bent, not swollen or swollen near the legs or face (I notice this detail because usually the moon cake or just note the cake surface is beautiful but ignored into cake).
It sounds complicated, but if you have good sugar, good taste, then we is close to "destination" then. The rest of the work is not really "hard". For those of you who have not had a lot of experience doing baking and try it for the first time, it may be a little bit gloomier. But after getting used to it, it will be fine. If you want to do but still afraid to be afraid of failure, then boldly this year is actually the first year that we make moon cake, so if you do it now then you will do it perfectly next year.
As with sugar or bread, with bread crust, I try a lot of different recipes, and the formula that I introduced below is the formula that I like best. The cakes follow this formula, as long as the powder is smooth and not sticky, very easy to roll and wrap. When the cake is soft, it does not smell, it smells of honey, the sweetness of lemon from sugar, and also the aroma of peanut butter, the sweetness is just right, it will fit you with any appetite. Moon cake but hesitant with the sweetness to the neck often found in traditional moon cake.
- Material
- • 240 grams of flour (use 120 grams of pastry flour / 8% protein and 120 grams of bread / protein flour 11%).
- • 160 grams of baking sugar
- • 30 grams of peanut oil or ordinary cooking oil
- • 1 egg yolk (18 - 20 grams)
- • 10 grams (about 2 teaspoons full) peanut butter
- • ¼ teaspoon (five-spice powder)
- 1 Note:
- - A powdered formula is made of about 450 grams of batter. Depending on the type and thickness of the shell, you can calculate the equivalent amount.
- I usually make the shell equal to 1/3 the weight of the cake.
- For example, if the cake is 75 grams, the shell will be 25 grams and multiply by 50 grams. So 450 grams of shell powder will do: 450: 25 = 18 cakes weight 75 grams. If you like thicker shells, you can increase this ratio a little bit.
- - Wheat flour has a great influence on the quality of the cake. The better the flour, the better the bread. Pastry flour (flour flour No. 8) will make the cake more soft. In contrast, multi-purpose flour or bread flour # 11 for dry crusts and harder.
- - Some formulas use more ash water and / or baking soda to make the cake soft and brownish. However, I did not use both of them and found no problem with the color or softness of the cake.
- If you have questions about the use of eggs, peanut butter and ash / baking soda, please see the explanation in this article.
- - Peanut butter can be ignored if you do not find it. Flavors are usually only added to the shell when making salads.
- 2 Note: This recipe is pretty soft. If your crust is dry or hard, please review the following points:
- • Long-lasting freshly cooked or cooked broth (freshly cooked sugar can be the cause)
Old wheat flour, high in protein, will give the cake a dry and stiff finish over the new, low protein meal
- • Bake at high temperature for a long time, or bake several times
On the contrary, if you feel the casing is too soft, want to be more rigid; In the case of making bread with puree, oil like lotus seed or bean, when the oil is secreted to make the cake soft and slightly sticky -> You can overcome in one of the following ways:
- • Remove the egg yolk from the recipe, add 10 grams of cooking oil if the dough is dry, bake it higher than normal 10 ° C.
- • Use high protein flour such as wholemeal flour, bread flour (No. 11)
- • After baking, turn on the oven at 110 degrees Celsius, add the cake to bake for 5-10 minutes, the cake will dry and have a crisper crust.
A. Mix the flour
- 1.Sieve the flour into the pan
- 2. Use a spatula to make a hole in the center of the bladder Give the remaining ingredients in turn
- 3. Gently stir with circular spiral or spiral from the liquid part in the middle, leaving the dry powder to mix with the remaining ingredients .
- 4. Stir until the ingredients blend with your hands gently kneading the flour to form a smooth and homogeneous mass The new mixture will be a little wet. If the dough is dry and can be broken easily, add cooking oil or sugar.
- 5. Use a cling firm or baking sheet to cover the whole block so that the powder does not dry Leave the flour at room temperature for 30 - 45 minutes.
B. Prepare kernels and baking utensils
While waiting for the shell to rest, prepare the cake and tools:
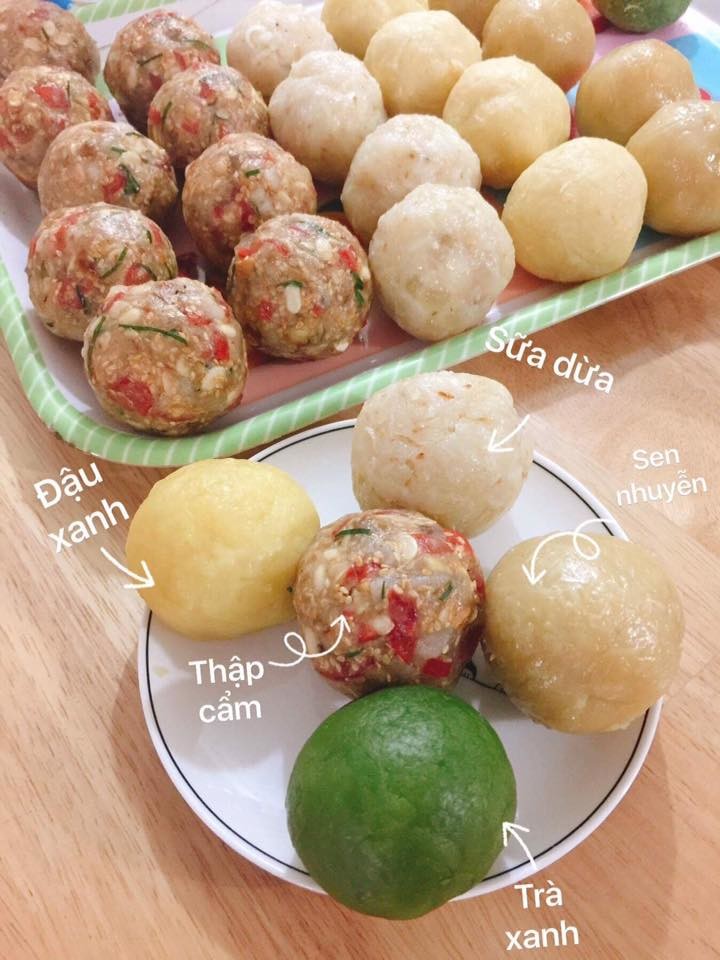
- 1. Divide the weight into small, round pieces. If using salted eggs, include the eggs in the kernel weight. See more how to handle salted eggs and how to wrap the cake with salted eggs in this article.
Blend of pineapple, green beans and coconut milk
- 2. Preparation of tools for baking:
- • Weighing to calculate the weight of the cake
- • Molds
- • Clean surface for rolling and baking
- • Flour Flour (can use glass bottle to be rolled if no special flake roll)
- • A small bowl of about 1 tablespoon of wheat flour (15 grams)
- • A small bowl of edible oil to prevent mold sticking & oil brush
- 3• Baking tray with silicon grill or baking sheet.
I found out that many people use powder to prevent mold sticking when cake but I use cooking oil instead. Edible cooking oil is very good, the cake removed from the mold extremely easy. Powder coating is not only more difficult at the thinning of the powder, but it also adheres to the grooves on the mold, making the wheels less sharp or time consuming scouring. In addition, the anti-stick cake with cooking oil is also more hatched, less bent crooked into the cake or blister into the cake as when not sticky with flour.
Everything is ready to wrap and make the shape of the moon cake.
C. Coating and caking:
For this step, you should allow powder after rest for about 30 - 40 minutes after that it is ready for the cake. At this time the powder will be more flexible and less sticky as when finished mixing. Note that each type of powder absorbs water, so it may be that your powder will be slightly wet or slightly dry compared to your powder in the picture. If the dough is too dry, you can add some sugar, honey, or cooking oil. If the flour is too wet, add a little flour and mix well.
- 1. Use scales to divide the dough into small pieces corresponding to the prepared number. When making many buns, prepare a damp cloth or plastic to cover the dough while kneading and baking, to prevent the dough from becoming dry (due to a lot of work and not fast enough).
Weigh both the core and the shell to fit the mold
- 2. Wrap the cake: Wash your hands and wipe dry. Take a little bit of flour and rub into both hands and then douse the powder. Hand over the "cover" powder to get a powder coating and to form a round. Powder from the hands will stick outside the powder to make the powder less sticky and easier to handle. This way you do not have much experience can shell powder for powder coating easily, without worrying too much powder (making the cake dry).
- 3. Use a rolling mill (covered with a thin layer of powder) gently rolling the shell into a circle, the edge of the powder slightly thicker than the middle. Do not roll too large, how to shell just enough about 2/3 masses. Too large rollers will hardly hold onto the core, creating a hollow layer between the core and the shell.
- Gently roll a line vertically
- Add a horizontal line that we have a rounded powder, the edges of the powder should be thicker than the middle.
- Compared to the kernel, the width of the shell like this is moderate, not too wide
- 4. Put the kernel in the middle, gently press the dough with the kernel, starting from the bottom of the top up. Often, the shell will not be covered by a single kernel. Muck and pull the powder at the edge of the shell cover the whole human.
After the shell has reached the bottom of the core, to easily cover the face of the tablet, you can place the tablet in the middle of the index finger and thumb of a hand (should be the hand). Use the middle or finger space to squeeze and claw the shell close to the core. Simultaneously use the thumb and forefinger of the other hand to smooth the edges of the powder cover the top of the core.
After covering the shell around the core, it tightens and blurs the edges of the powder. If there is air between the core and the shell (the shell will be slightly inflated and soft in the air), then use a toothpick to remove this gas and seal it.
Do the same when wrapped up. If you do a lot of work, you should prepare nylon or a clean towel to cover the finished pancakes, so it is difficult to dry the cake. Or it can be wrapped right after wrapping.
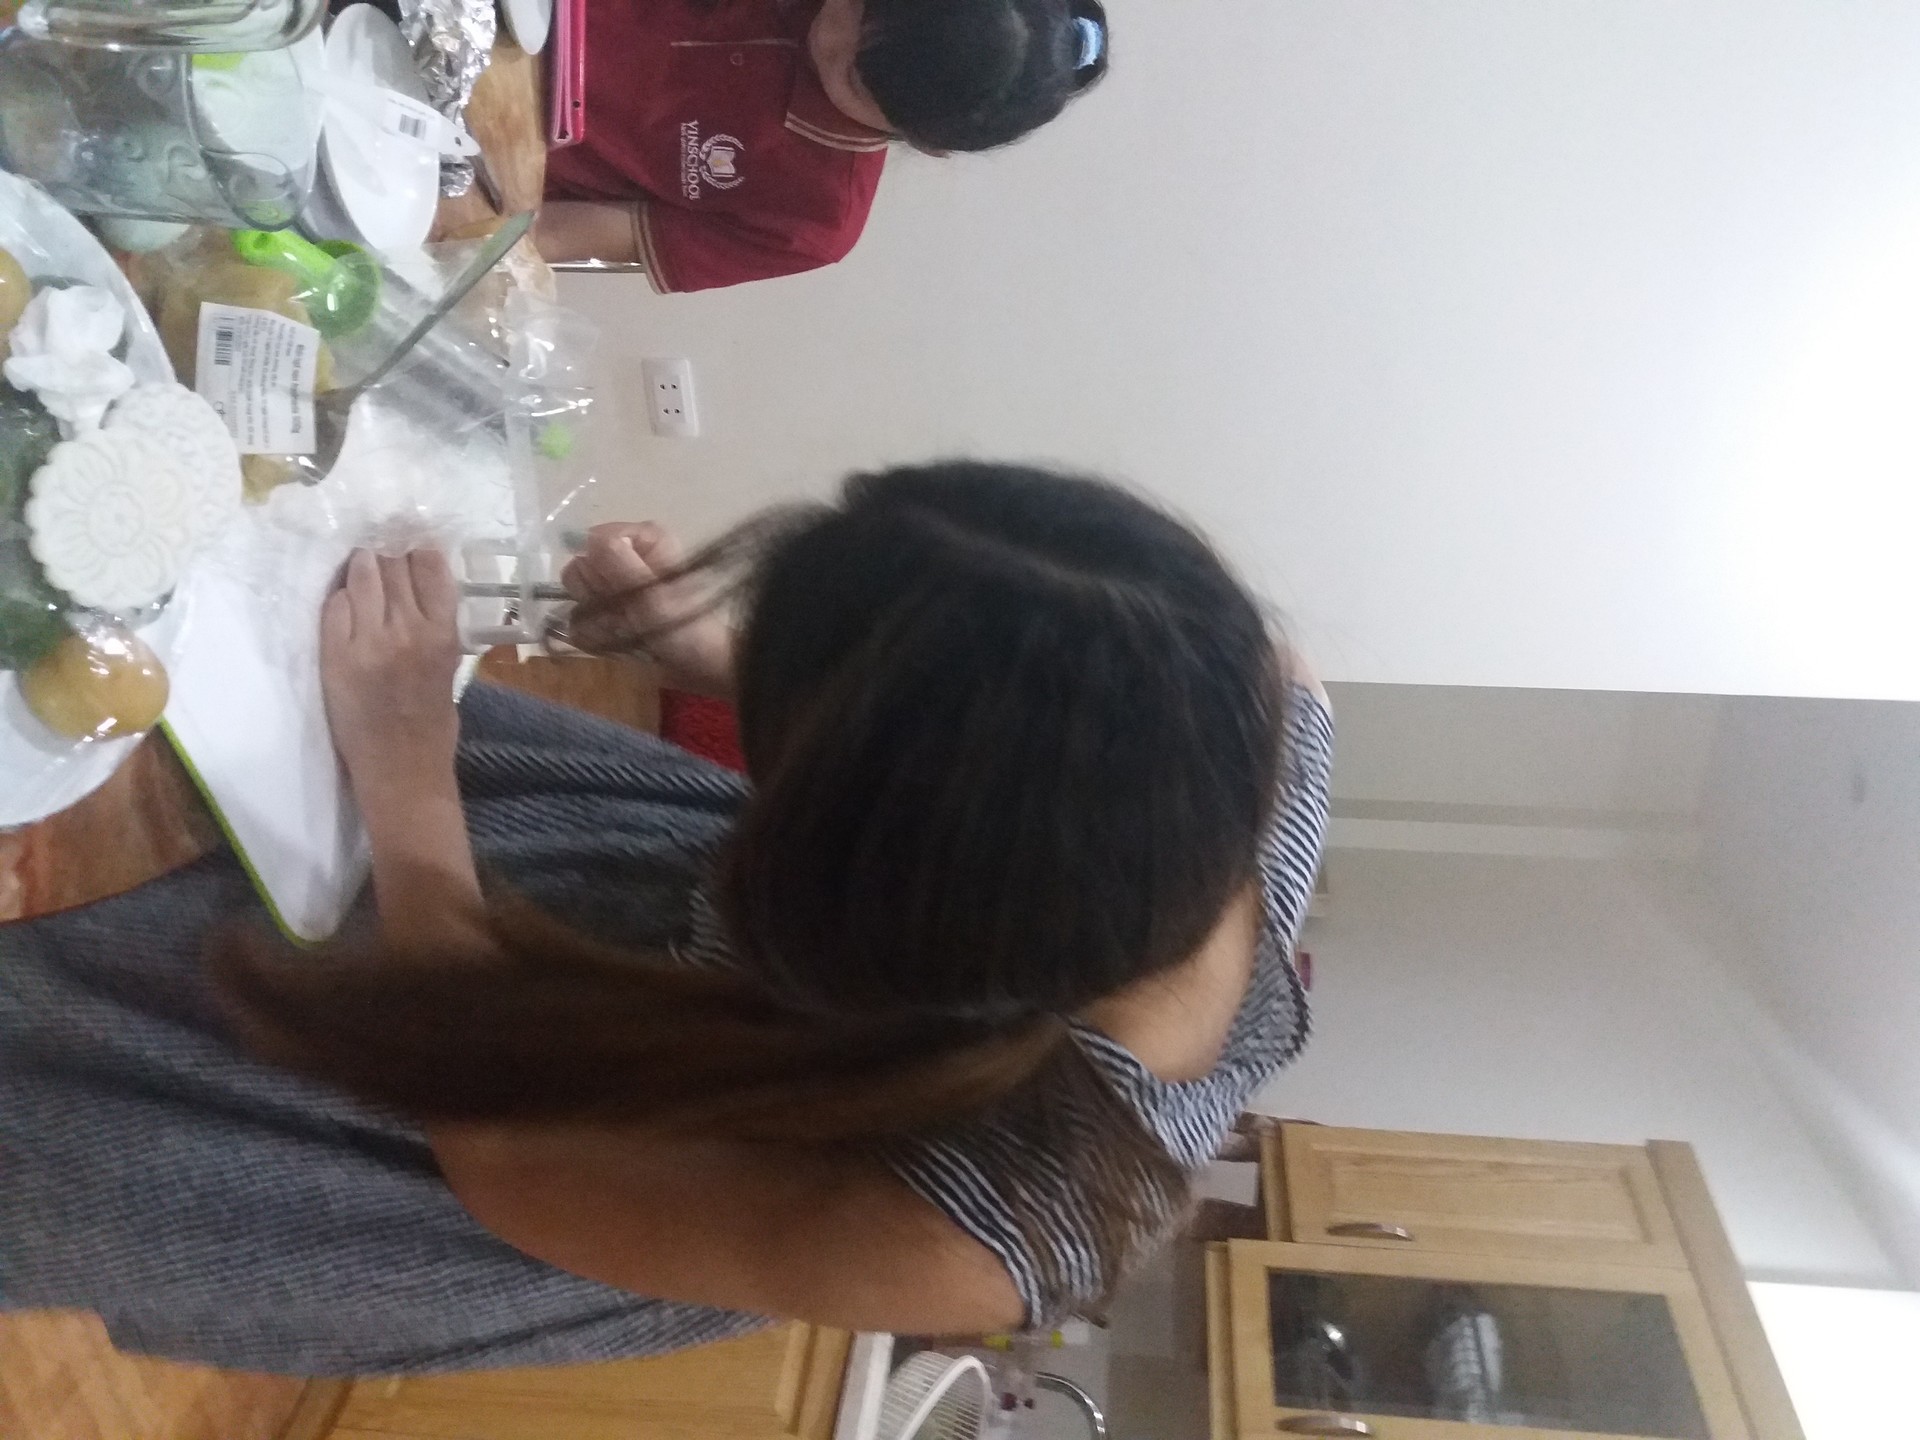
Hien, my sister is making the shape of moon cake.
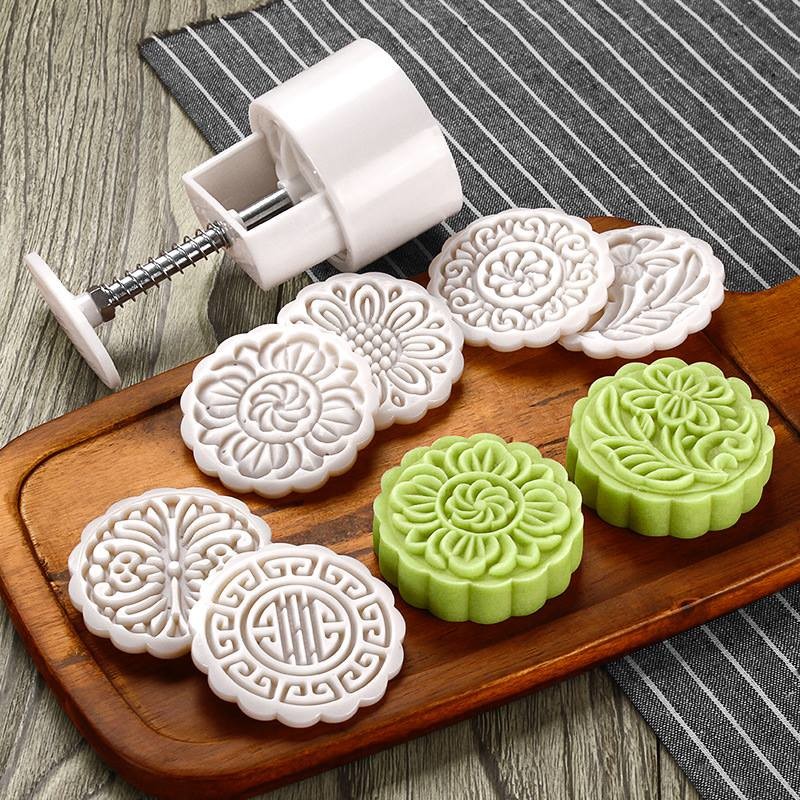
In order to make the beautiful shape of the moon cake, we buy these stuff from the supermarket, for student in Hanoi you can buy online from facebook ( price is much lower) here: https://www.facebook.com/Khu%C3%B4n-L%C3%A0m-B%C3%A1nh-Trung-Thu-1315207655243224/
- 5. Turn on the oven at 180 - 190 degrees C (two fire). Prepare baking tray with silicon grill or baking paper. It is best to bake it on a rack or baking tray, as it is baked directly on the black tray from the oven.
- 6. Close the mold: Dip the tip of the broom into the cooking oil, sweep a very thin layer around the inner wall of the mold (use very little oil to cover the mold, too much oil will create a layer of liquid food on the surface of the cake).
Place the cake in the mold, lightly squeeze the cake evenly. Add the powder to the cake (to prevent the cake from sticking to the table when the cake). It is possible to use a toothpick hole at the bottom of the cake, help the cake out when baking (do not do this).
If using a spring mold, put the mold on the table (thin powder coating). The left hand holds the mold, the right hand shuts down and gently lifts the mold off the cake. This way, the mold will not move, the cakes will be square and sharp.
One hand holds the mold, the other hand press the spring, "squeeze" or make the shape of moon cake.
D. Bake moon cake
Coming to this step, I first heat the furnace 10 - 15 minutes before the oven to put the heat in the oven to the necessary level. The furnace needs to have two upper and lower flames. Tools such as glass oven, baking pot, microwave oven .. usually only one fire, so it is easy to make the cake is uneven, one face burned while the other one alive.
- 1. Bake the cake at 180 - 190 degrees Celsius. The baking time depends on the size of the cake.
I baked 50 to 75 grams of cake(tray placed under the hinge of one step) for about 5-7 minutes, the cake is 100 - 125 grams in about 8 - 10 minutes. When the cake turns white, it is removed. Spray all over the cake, leave about 5 - 10 minutes for the cake to cool off and steam to fly and then sweep the eggs.
Moreover, I found many recipes baking at very high temperatures, from 200 to 220 degrees Celsius or higher. I try to bake with this temperature, the legs and face of the cake is swollen very quickly and the cake is easily curved into. Bake at 180 - 190 degrees Celsius, then fine, and keep the cake form good. But this temperature can vary depending on the oven. Small ovens may need slightly lower temperatures. It is best to have a thermometer to keep track of the heat in the oven.
- 2. While waiting for the cake to cool, prepare the mixture to sweep outside the cake
• 1 egg yolk (make the cake brown)
• ½ white egg white
• 1 - 2 teaspoons fresh milk without sugar (make brown cake and liquid mixture, easy to sweep, less cracked face)
• ½ - 1 teaspoon sesame oil (create aroma and help the cake)
• 1 - 2 drops of red food (yellowish brown) or 1/2 teaspoon of honey or baked bread
- Honey or sugar helps make browns look yellowish, but do not use too much because they are cold or sticky.
In addition to the above ingredients, to the face of dark brown, you can use some ingredients such as black sesame oil, a little coffee or a few drops of soy sauce.
Mix all the ingredients, filter through the sieve.
After about 5-10 minutes from the spray, the cake has cooled down and dry, use soft brush, gently sweep the mixture of eggs on the face and cake.
- How to sweep eggs as follows: dip the tip of the broom into the egg mixture bowl, do not need much, just enough to cover eggs with a thin layer and very thin round the cake is okay. No more sweeping, the more brown the face, but the opposite effect because sweeping more eggs will easily create a layer of thick eggs on the face, resulting in loss of pattern cake.
- Using a soft brush, small bristles will sweep easier than a hard brush or silicon brush. Apply lightly and evenly to keep the eggs uniform, free from thin spots, not to accumulate eggs between grooves on the cake. If there are bubbles, use the brush (no eggs) to sweep through the air bubble burst.
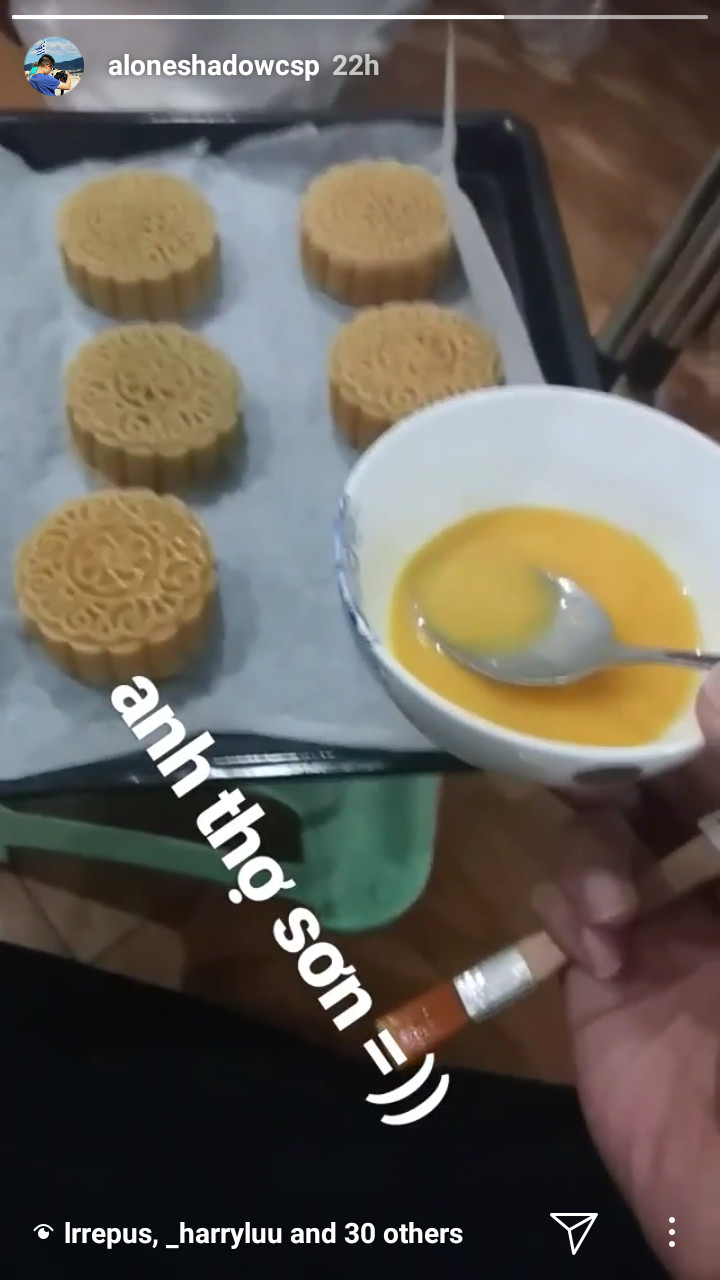
I am " painting" the cake :v :v :v
I like both the face and the yellow cake so I usually sweep the eggs in both. When sweeping into the cake, use a large brush and sweep vertically from bottom to top.
- 4. Put the cake in the oven at 190 to 200 degrees Celsius for 5 - 7 minutes (slightly higher temperature and slightly shorter time than first baking). When the cake is dry and the gold is removed, repeat the spray operation, wait for the egg to dry.
It is possible to scan eggs 2-3 times, but do not scan too much, it will be easier to make the cake surface less sharp.
Cake after baking finished to cool down and then transferred to the rack to cool down. Let the cake cool down on the rack will be better on the tray to avoid the phenomenon of oil stagnation in the cake.
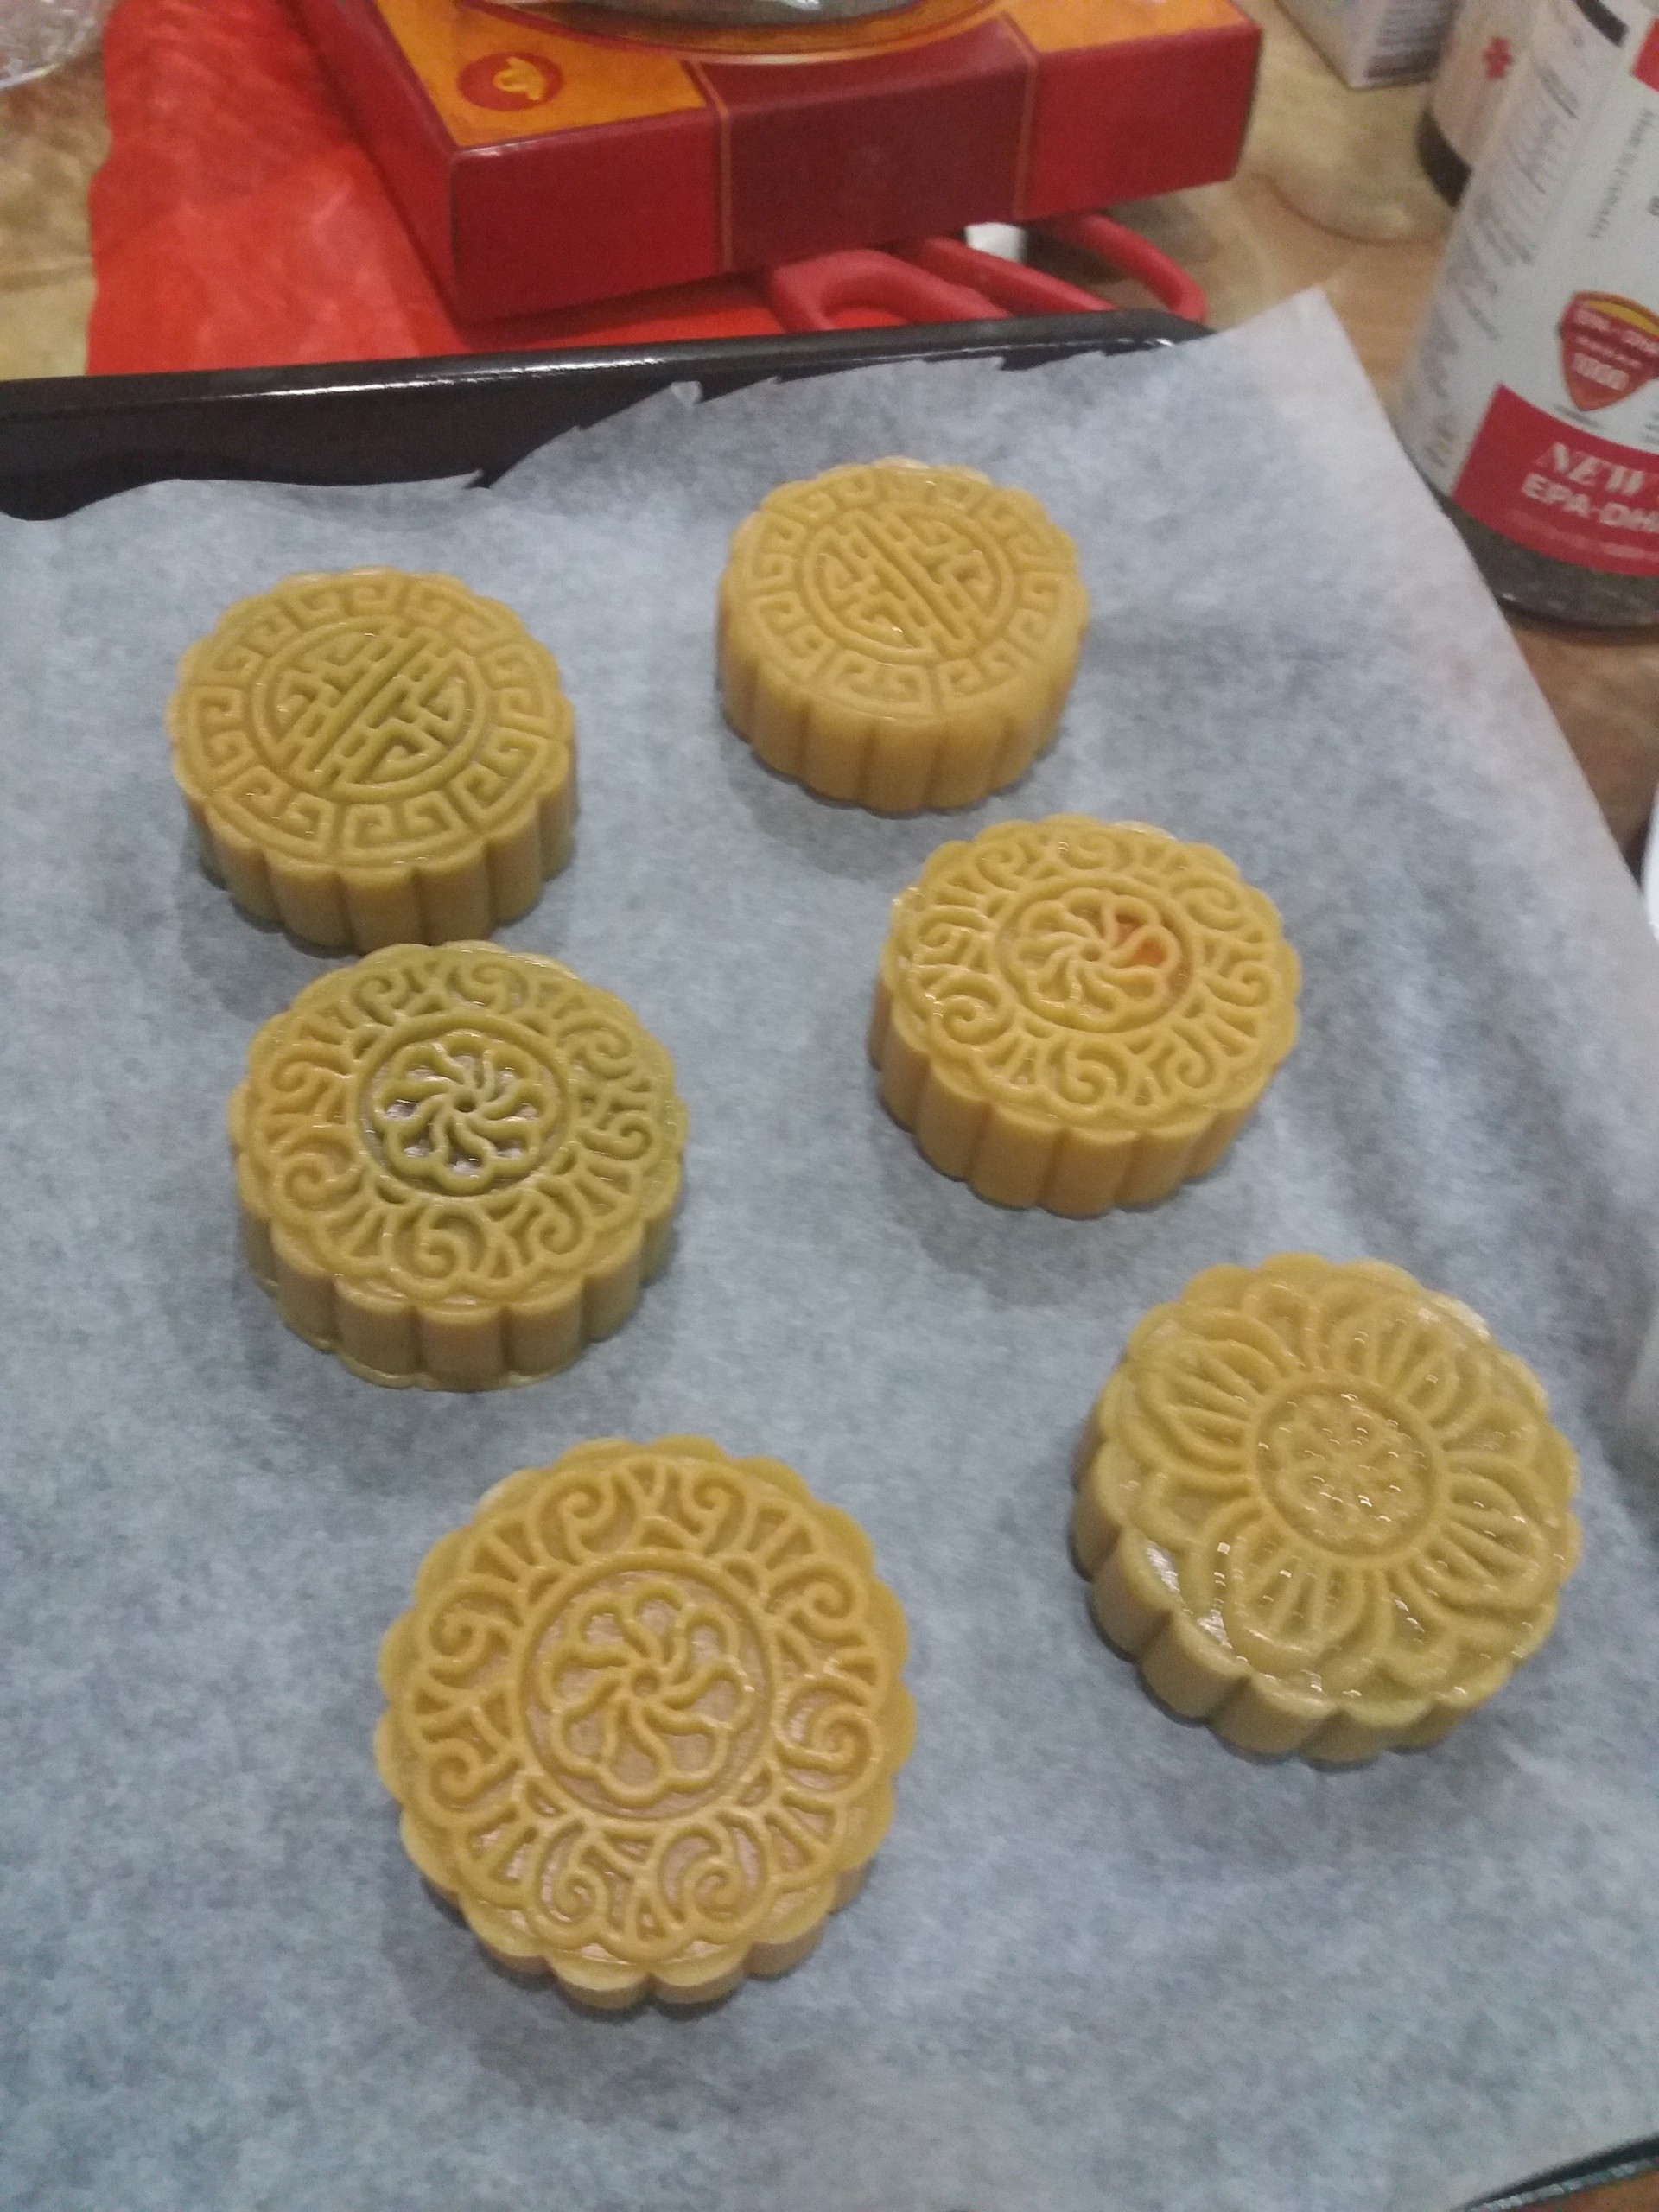
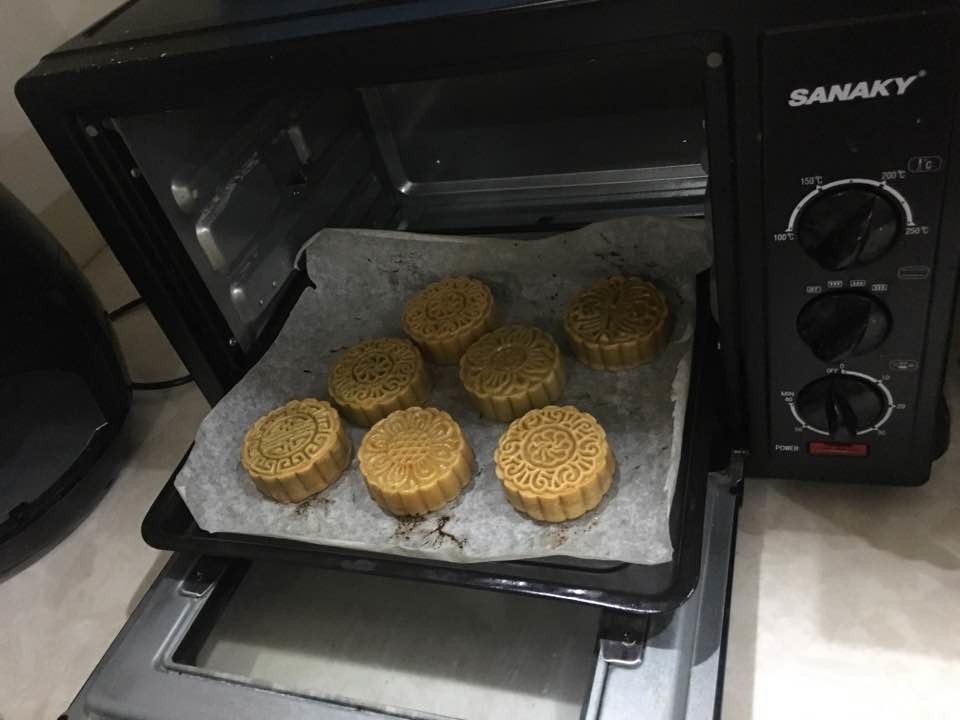
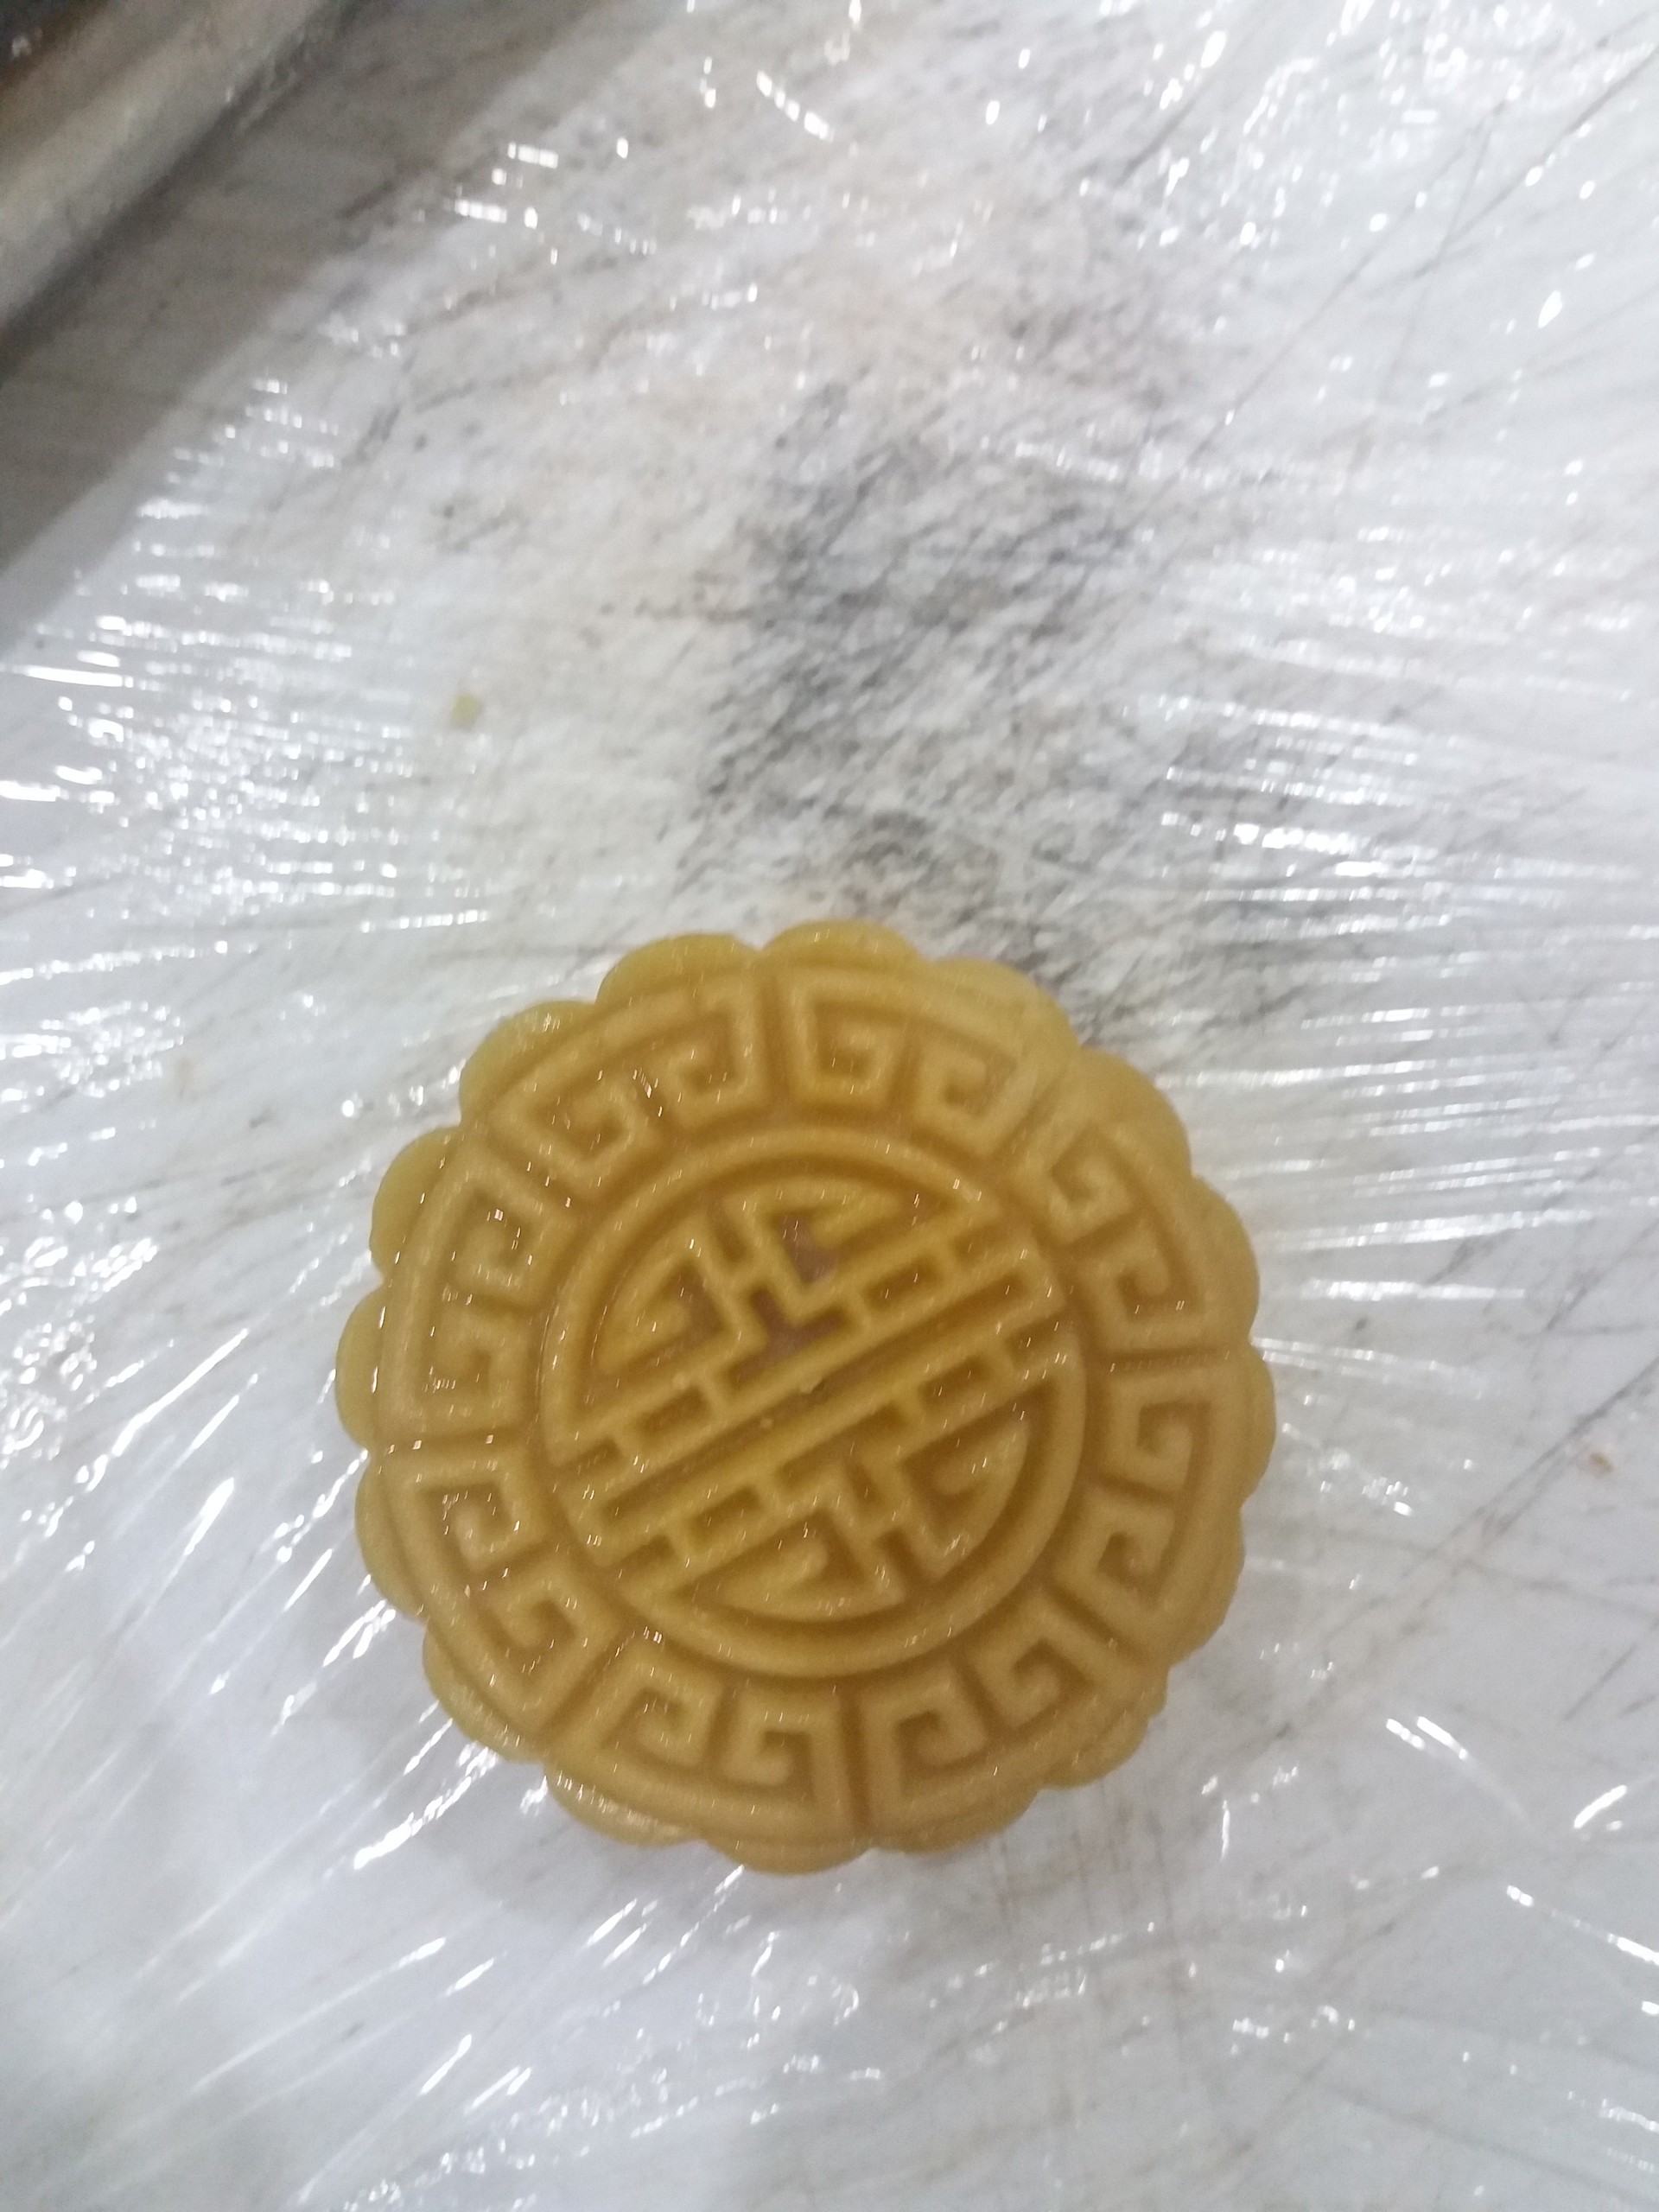
Cake prepared the first time
- After the first baking (the cake is cooked and not scanned eggs)
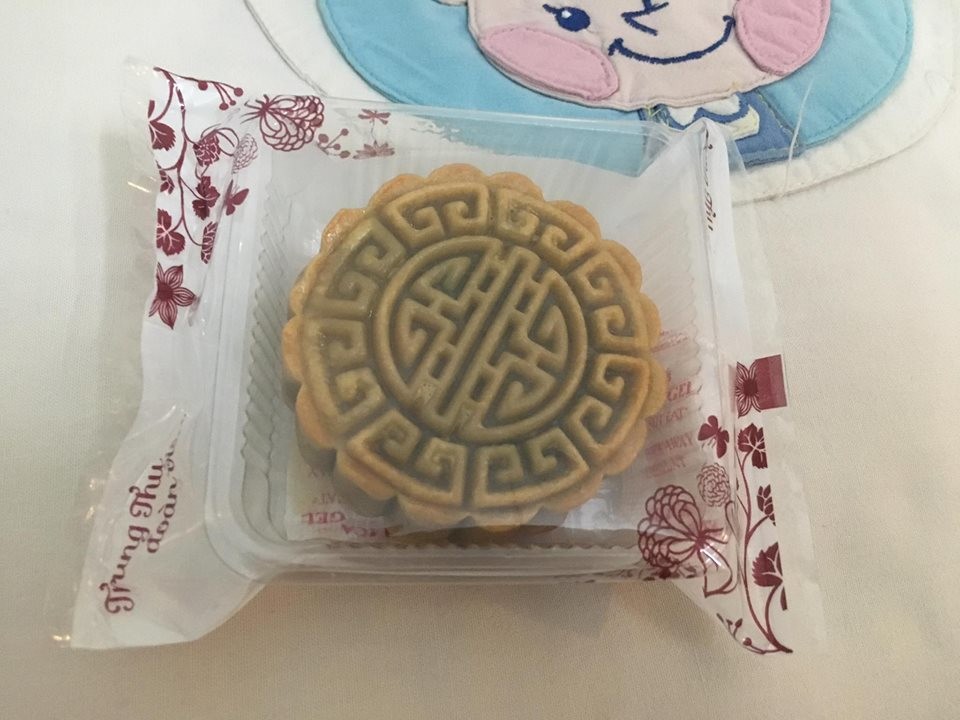
And finally, full of my accomplishments, you can see to it that: Newly baked cakes will have a slightly yellowish color, but for the next day they will turn yellow and brownish. The pattern on the cake is also sharper. After about 2-3 days, you will see the color and oil down from the core of the cake will help the cake is dark brown and glossy. Bean sprouts (oil) are often quicker than croissants or coconut milk (less oil).
Once the cake has cooled, I will put the cake in a bag or box with a damp-proof bag.
Or store the cake in a cool place. Homemade cake should eat as soon as possible, preferably in the first 3 days, if you want to stay longer than 5 days, should be stored in the refrigerator, but the taste may be less delicious than the first day.
Or you can eat it now :v

Photo gallery

Want to have your own Erasmus blog?
If you are experiencing living abroad, you're an avid traveller or want to promote the city where you live... create your own blog and share your adventures!
I want to create my Erasmus blog! →


Comments (0 comments)